
100%
Film tableau ardoise 2 en 1 craie traditionnelle et feutre craie
- ***** 4.67 / 5 Voir les avis
-
Ref : TB-3908
pose intérieure
Vos créations ou logos imprimés sur du film !
Imprimer ma créationNos graphistes adaptent vos créations ✨
suivi de 2 mensualités
Soit un total : Dont de frais
Avis de nos clients
-
***** Il y a 414 jours
Film de haute qualité A poser avec soin
Commentaire Luminis Films - 13/06/2025
Bonjour Christophe, Un grand merci pour votre commentaire. La qualité de nos films est essentielle pour nous, et nous sommes heureux qu’elle vous ait satisfait. Une application minutieuse en fait toute la différence ! Bonne journée, L'équipe Luminis Films
-
***** Il y a 925 jours
Délai livraison rapide. Produit conforme à la commande.
-
***** Il y a 1109 jours
Livraison rapide ,produits de qualités ! Lardoise marche super bien ,pas de problème de trace lors de leffacement.
-
***** Il y a 1193 jours
Meravigliosa!!
-
***** Il y a 1418 jours
Génial comme produit, j'en ai posé dans ma cuisine et dans le bureau !
-
***** Il y a 1526 jours
Très bon produit
-
***** Il y a 597 jours
Globalement très satisfait : le produit semble d'excellente qualité ! Début de pose un peu compliqué qui a occasionné des craquelures (seul et avec 3m de film, c'est pas simple mais Luminis n'y est pour rien). En revanche, l'adhésif me semble trop fort : décoller le film revient à arracher la peinture voire la première pellicule de plâtre : si je décide un jour d'enlever le film, il va y avoir des reprises de mur à faire !!! Un meilleur compromis entre adhérence et facilité à retirer le film me semblerait peut-être judicieux.
-
***** Il y a 1524 jours
Mal découpé aux extrémités
Description détaillée
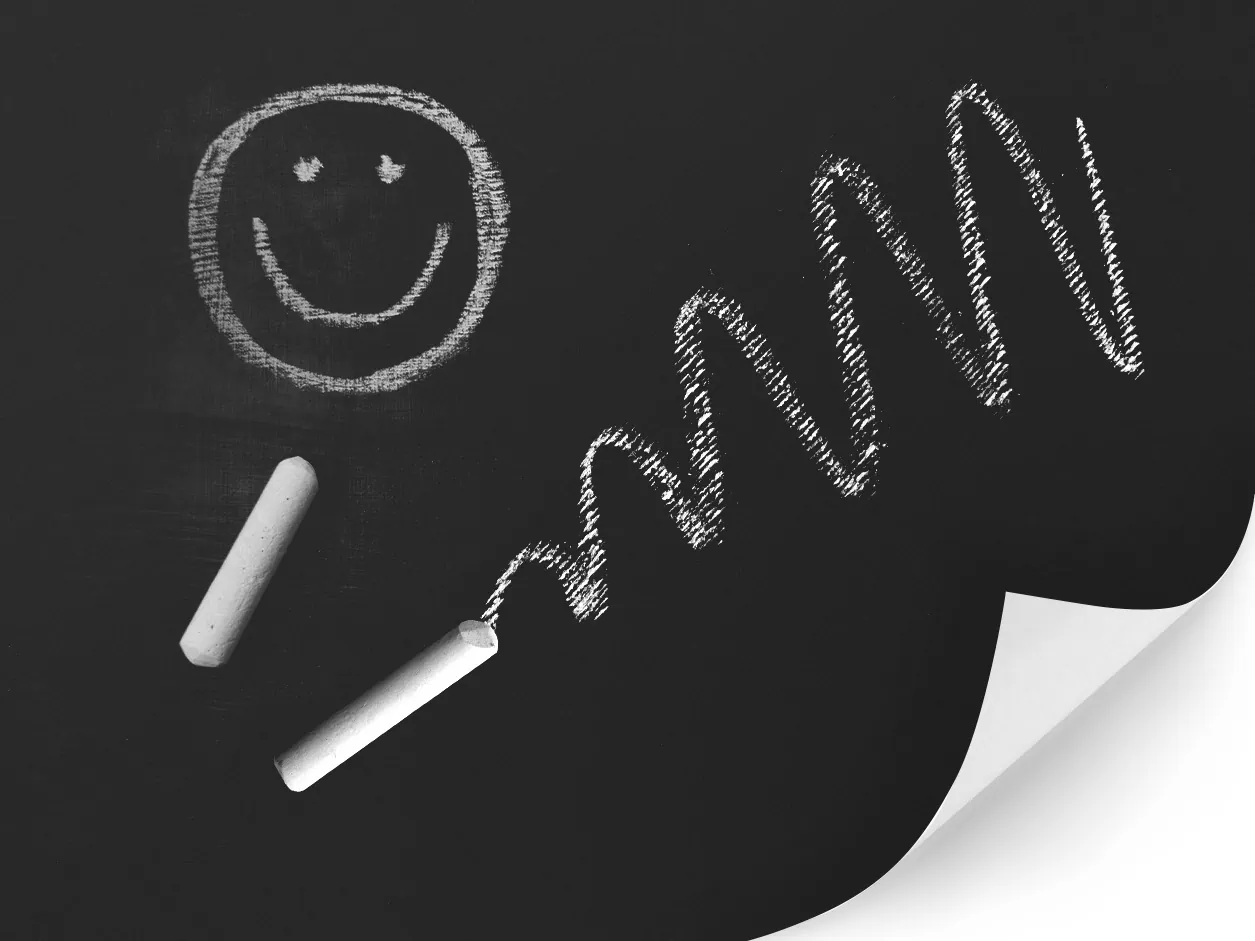
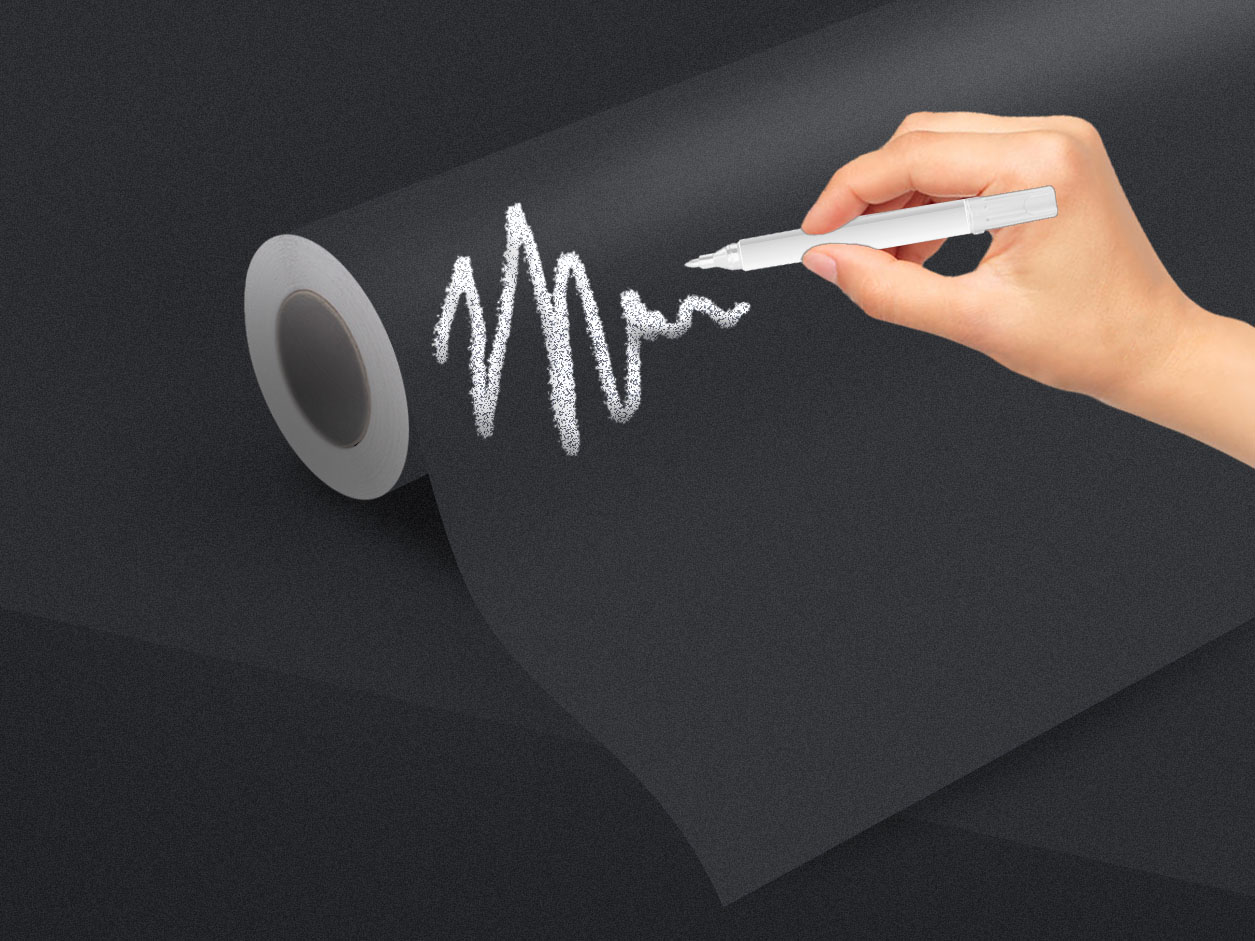
Ce film effet tableau ardoise est pratique, économique et facile à mettre en place ! Ne vous embêtez plus avec de lourds tableaux ou avec de la peinture salissante, optez plutôt pour cet adhésif tableau noir qui se pose en quelques minutes seulement.
Le bel atout de cet adhésif tableau noir est la possibilité d'utiliser aussi bien une craie traditionnelle qu'un feutre craie liquide ! Pour un nettoyage optimal, n'hésitez pas à utiliser un chiffon humide, pour un résultat sans traces.
Ce film tableau noir ira aussi bien dans la chambre des enfants pour leur plus grand bonheur, mais aussi au bureau, en salle de réunion, au restaurant ou dans une boutique : c'est le support idéal pour communiquer de façon ludique et facile !
Nous vous conseillons de nettoyer le tableau toutes les semaines si possible avec une éponge ou un chiffon humide pour éviter les traces récalcitrantes.
Ref. : TB3908
Chaque écran d’ordinateur/téléphone a un calibrage différent, il peut donc exister une différence de couleur et/ou de texture.
En cas de doute, n’hésitez pas à contacter notre service client ou à commander un échantillon.
Tuto : besoin d'aide pour la pose ?
À TÉLÉCHARGER
Notice de poseLes outils pour une pose facilitée
Quel que soit votre projet, les outils et accessoires de pose proposés par Luminis Films, seront grandement utiles pour la réussite de votre application ! Film adhésifs, électrostatiques, revêtements décoratifs... à chaque produit son matériel de pose associé. Grâce à ces accessoires, offrez-vous la possibilité de poser vous-même votre film ou revêtement Luminis Films et obtenez un résultat net et précis en suivant tous nos tutoriels de pose !
 Primaire d'accrochage pour revêtement adhésif - Luminis Films")
Les points forts
- Film effet tableau noir en ardoise
- Utilisation de la craie traditionnelle + feutre, effaçable à l'infini
- Bonne alternative à la peinture et aux vrais tableaux
- Idéal dans un bureau ou une cuisine pour noter ses idées
- Fonction pratique et décorative pour une pose facile
Fabriqué à la demande dans notre atelier en France
Nos produits sont imprimés et découpés dans notre atelier, à Villars-les-Dombes.
Nous proposons des collections exclusives avec des designs créés et imprimés dans notre studio. Chaque produit commandé sur notre site est
réalisé aux mesures du client sans possibilité de rétractation. La couleur perçue peut varier suivant les écrans. Avant de passer commande, testez nos
échantillons gratuits ! Et évitez ainsi de ne pas être satisfait, ou de vous tromper 😉
Demandez vos échantillons gratuits !
Questions fréquentes
-
Comment poser du revêtement adhésif soi-même ?
Toutes les étapes et les astuces à suivre sont disponibles dans notre article « Comment poser un revêtement adhésif ? »
-
Puis-je mettre du revêtement adhésif sur mon plan de travail ?
Oui c'est possible. Nos revêtements sont épais, résistants à l'humidité et très faciles à nettoyer. Quelques précautions sont à prendre, comme utiliser des dessous de plat. Retrouvez plus d'informations sur notre billet de blog "Peut-on installer du revêtement adhésif sur un plan de travail de cuisine ?"
-
Est-ce que le revêtement adhésif se retire sans abîmer les meubles en dessous ?
Vous pouvez retirer le revêtement adhésif, mais il y a toujours un risque d'abîmer la surface en dessous car l'adhésif est puissant. Les surfaces type papier-peint, ou peintures écaillées sont les plus fragiles.
Notre astuce pour retirer le revêtement adhésif :
- Partir d'un coin et tirer assez fermement
- Utiliser une solution de dépose pour annuler l'action de la colle
- S'aider d'un décapeur thermique : la colle va ramollir le film et la colle. Vous retirez beaucoup plus facilement le revêtement adhésif.
-
Peut-on mettre du revêtement adhésif sur une surface avec du relief ?
La pose de revêtement adhésif est possible sur les surfaces à relief comme par exemple certaines moulures. Il faut maîtriser la pose et le thermoformage du film, et s'assurer que le relief n'est pas trop prononcé.
Si vous souhaitez essayer, vous pouvez faire un test avec un échantillon gratuit. Autrement, vous pouvez faire appel à un poseur professionnel.
-
Peut-on mettre du revêtement adhésif sur du carrelage ?
Le revêtement adhésif se pose sur n'importe quelle surface lisse et non-poreuse. Sur du carrelage, c'est possible. Il faudra faire attention aux joints, car le creux au niveau des joints peut se voir.
Afin d'avoir un rendu plus esthétique, deux solutions :
- Lisser la surface avec un enduit de lissage au préalable
- Commander à la taille des carreaux et réappliquer un joint propre par dessus
-
Comment poser du revêtement adhésif dans les angles ?
Obtenez un angle parfaitement recouvert en suivant le guide : « Réussir la pose d'un revêtement adhésif dans les angles. ».
Comparer les produits
- Type de pose
- Relief
- Tendance
- Thermoformable
- Technologie Air Flow
- Avis
-
Meilleure vente
Film tableau ardoise 2 en 1 craie traditionnelle et feutre craie
- Film effet tableau noir
- Craie tradi et feutre
- Pose facile
- Intérieure
- Non
- Contemporain
- Non
- Non
*****
TB-3908
-


-


Vous aimerez aussi !
9 référence(s) similaire(s)


Confiez la pose à nos professionnels
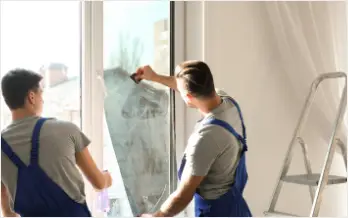
Offrez-vous la sérénité d'un résultat impeccable et d'une pose professionnelle grâce à notre réseau de poseurs !
Validez avec notre équipe le jour et l'heure de l'intervention pour profiter pleinement sans vous soucier des détails techniques et logistiques.
Demandez vos 3 échantillons gratuits ! Important : Nous limitons les demandes à une par jour. Profitez-en pour choisir 3 références gratuites dès maintenant afin de comparer les rendus et faciliter votre choix final ! ▼
Délais de traitement et expédition de vos échantillons : Vos références sont préparées avec soin et expédiées sous 3 jours à 2 semaines selon les stocks disponibles.
Voir ma sélection d'échantillons
Échantillons