Decoration
-
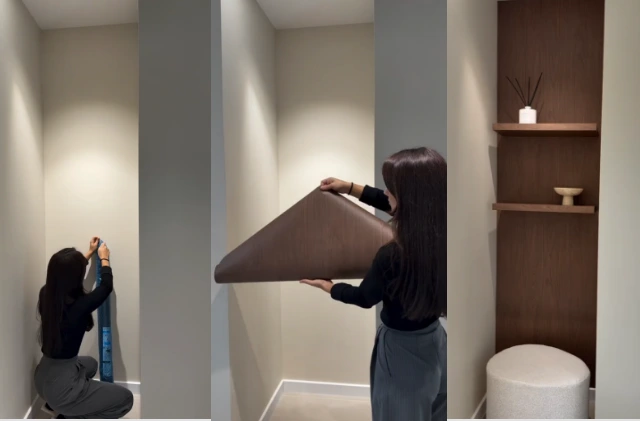
How did interieur.berna enhance its interior with Luminis Films adhesive films?
Dans le monde de la décoration intérieure, on cherche souvent des solutions simples, rapides et esthétiques pour transformer une pièce sans se lancer dans de lourds travaux. C’est exactement ce qu’a fait @interieur.berna, créatrice de contenus déco, qui a complètement métamorphosé deux espaces de son intérieur… grâce au revêtement adhésif Luminis Films.En partageant ses transformations dans deux Reels Instagram qui ont rencontré un énorme succès, elle démontre à quel point un bon revêtement adhésif peut révolutionner une ambiance,sans peinture, sans poussière et sans chantier. -
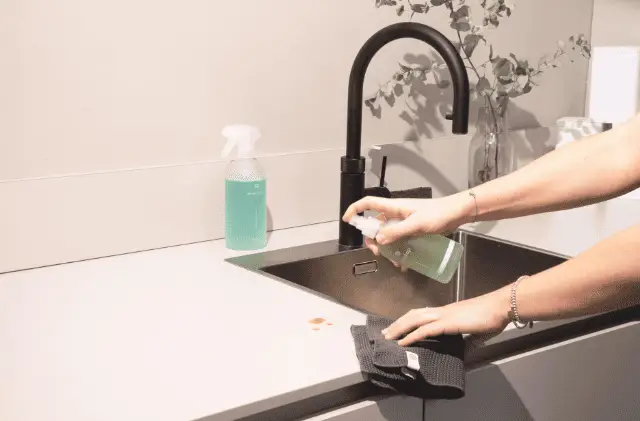
Daily care of adhesive coverings: our advice
Lorsque vous choisissez un revêtement adhésif pour vos meubles, vous bénéficiez d’un design élégant. Mais pour que ce film atteigne sa pleine efficacité et conserve son esthétique, un entretien s’impose. Dans cet article, nous vous proposons les meilleurs conseils de nettoyage adhésif issus de l’expertise de Luminis Films, afin d’optimiser la durabilité et la performance de votre revêtement. -
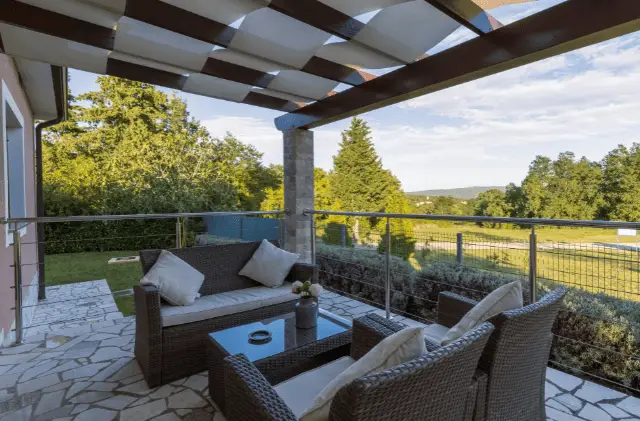
Outdoor furniture: can I use an adhesive coating?
Quand on a du mobilier d’extérieur terne, abîmé ou tout simplement en quête d’un nouveau style, on pense souvent peinture ou remplacement complet… Et si l’alternative était le revêtement adhésif extérieur ? Que ce soit pour une table de terrasse, un banc en métal ou un meuble de jardin en bois, la solution existe et mérite d’être explorée. Voyons ensemble pourquoi, comment et pour quels usages. -
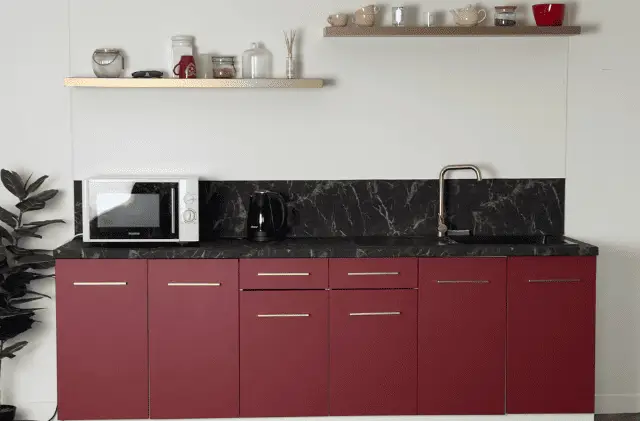
Mythbusters: 9 myths about adhesive coatings debunked
Les revêtements adhésifs sont de plus en plus populaires, mais ils traînent encore une réputation faite de confusions et d’idées reçues. Entre croyances sur la difficulté de pose ou encore la durabilité, il est facile de se tromper.Dans cet article, Luminis Films démystifie 9 mythes courants pour vous aider à mieux comprendre ces solutions pratiques, esthétiques et durables avant de passer à l’achat. -
Our solutions for unsuccessful adhesive coating installation: bubbles, creases, visible joints
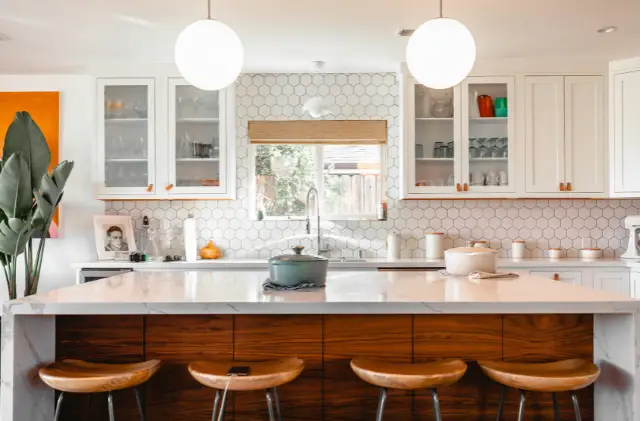
Lorsqu’on pose un revêtement adhésif, que ce soit pour relooker un meuble ou un mur, il arrive malheureusement que le rendu ne soit pas à la hauteur : bulles d’air, plis, raccords visibles ou décollements peuvent gâcher l’esthétique. Voici un article complet pour identifier les défauts fréquents, comprendre leurs causes, et surtout découvrir les solutions concrètes pour corriger ou limiter ces mauvaises finitions. Cet article s’adresse autant aux bricoleurs qu’aux amateurs de décoration souhaitant réussir la pose revêtement adhésif de façon durable. -
Paint vs. adhesive coating: which to choose for your surfaces?
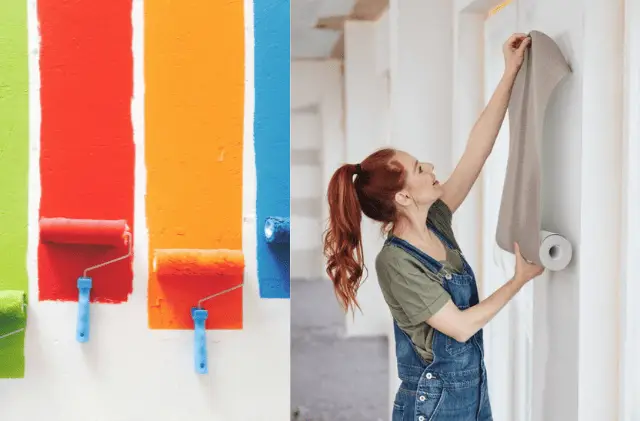
Lors d’un projet de rénovation ou d’aménagement, le choix du revêtement est déterminant. Faut-il opter pour une peinture traditionnelle ou un revêtement adhésif ? Ces deux solutions n’impliquent ni le même coût, ni le même temps de pose, ni la même durabilité. Cet article vous aide à comparer objectivement leurs avantages, inconvénients et usages, afin d’orienter votre choix selon votre projet. -

Top 10 fall 2025 adhesive coatings to adopt
Autumn is back, and with it the warm colors that instantly warm our interiors. With its cocooning ambience, cozy materials and warm hues, this is the ideal season to give your decor a makeover without major work. Your interior deserves the very best, and that means making the right choices in line with current trends. Adhesive coverings are a simple, economical and aesthetic solution for transforming your furniture and surfaces. Let's discover together the top 10 adhesive covering colors to adopt this autumn for a cozy and trendy interior. -
DIY customization: Pauline's best creations
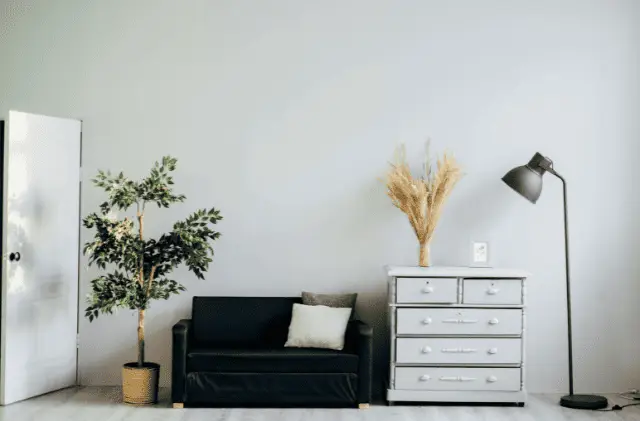
Do you have the soul of an artist? Do you like to work with your hands? Or would you rather renovate a piece of furniture than throw it away? Then you've come to the right place! Pauline, a passionate decorator and DIY enthusiast, has fallen in love with furniture customization. With simple ideas, clever materials and a small budget, she transforms finds into real treasures! Follow her tips to give your furniture a makeover without breaking the bank. -
Transforming a kitchen: the case of Inesaki
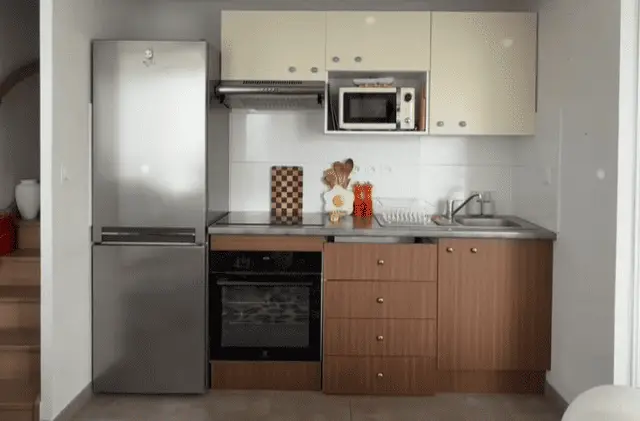
Does your kitchen need a new shine? You love the idea of change, but redoing an entire kitchen can be quite a budget-breaker? What if we told you there was a solution that was economical, quick and terribly effective? Thanks to Luminis Films' adhesive kitchen liner, Inesaki totally transformed hers, without breaking the bank or breaking anything.Follow her inspiring story and our tips for easily replicating this makeover at home! 🙌 -
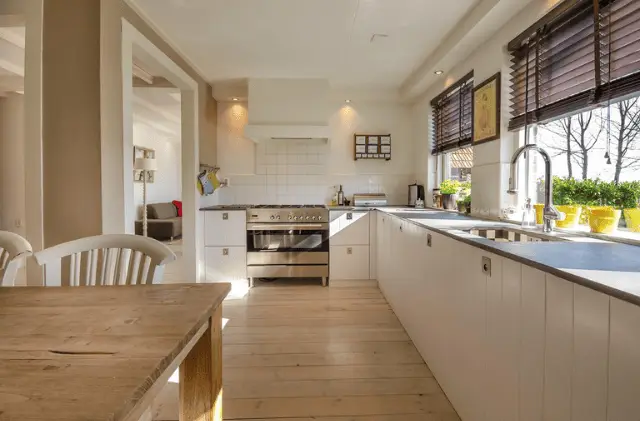
A like-new kitchen with adhesive coating
Have you grown tired of your kitchen? Would you like to give it a new lease of life without changing it or breaking the bank? We've got the perfect solution for you: adhesive flooring! Simple, effective and reasonably priced, it's the ideal solution for rejuvenating your kitchen in the blink of an eye. With Luminis Films, giving your furniture a new look is child's play. So, are you ready to transform your interior? -
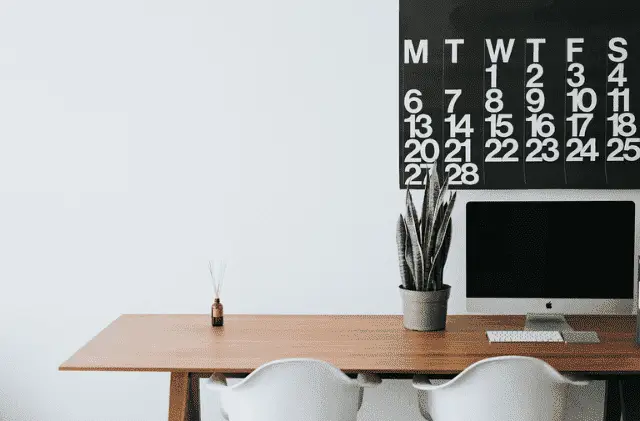
Give your office a back-to-school makeover with Luminis Films!
Back to school is just around the corner, and with it... back to work. This year, you're looking for a new, clean working environment that motivates you at every turn. Good news: at Luminis Films, we've got just the solution you're looking for. Ready to discover our special back-to-school makeover? Let's get started! -
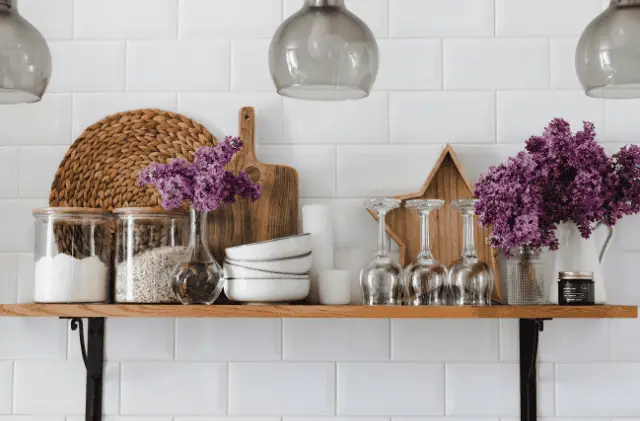
How to renovate a wall shelf with decorative adhesive coating?
Want to change your wall shelving at a lower cost? You've come to the right place! Discover all the steps you need to take to renovate your wall shelf with adhesive coating. -
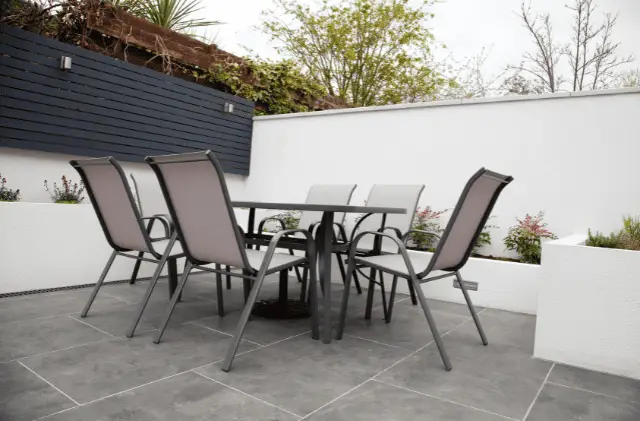
How do I renovate my outdoor furniture with adhesive coating?
When the warm weather arrives, we like to enjoy our garden, terrace or balcony. But then... faded furniture, a damaged gate, a table tarnished by time? No need to replace everything! Thanks to Luminis Films' special outdoor adhesive coating, you can give a second life to your furniture and surfaces at a fraction of the cost. So, how can you renovate your outdoor furniture quickly, without breaking the bank? We explain it all in this article! -

How can you enhance and protect your restaurant with our self-adhesive films?
The ambiance of a restaurant is more than just a setting: it's an experience. And when it rhymes with durability, it's even better! For restaurateurs, it's essential to combine aesthetics, ease of maintenance, personalization and durability. At Luminis Films, we can help you achieve this transformation, without the need for major work, thanks to clever, economical and stylish adhesive coating solutions. -
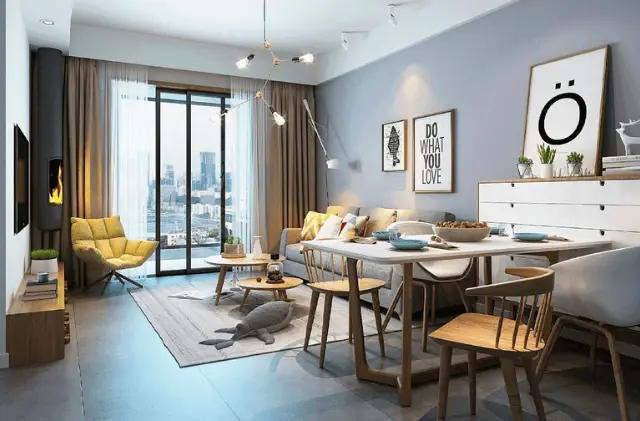
How can you renovate your TV cabinet and enjoy a more pleasant living room?
Do you like to give your home a makeover, customize your furniture and create a space that reflects your personality? Then why not start with your TV cabinet, that central element of your living room that also deserves a little refreshment? Thanks to an imitation wood adhesive coating and an anti-heat film for your windows, you can easily combine aesthetics and comfort, without major work or a huge budget. Follow the guide to transform your living room in just a few simple steps -
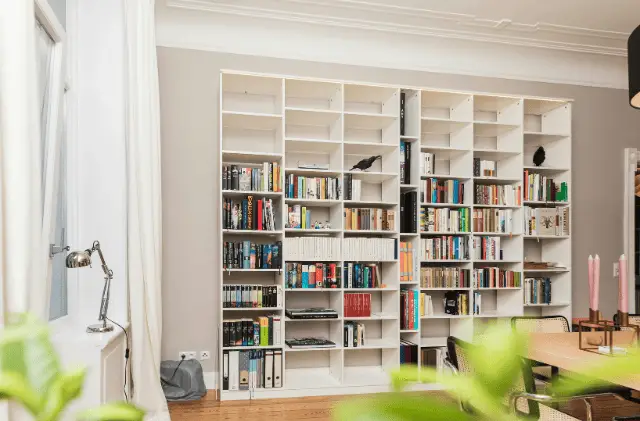
Our 2 solutions to protect your books and decorate your bookcase
As all book lovers know, a beautiful library is a precious treasure. But between dust, humidity and the sun's rays, your books can quickly become damaged. At Luminis Films, we have both aesthetic and protective solutions to care for your books while enhancing your interior. Find out how to protect your books while adding a touch of design to your space! -
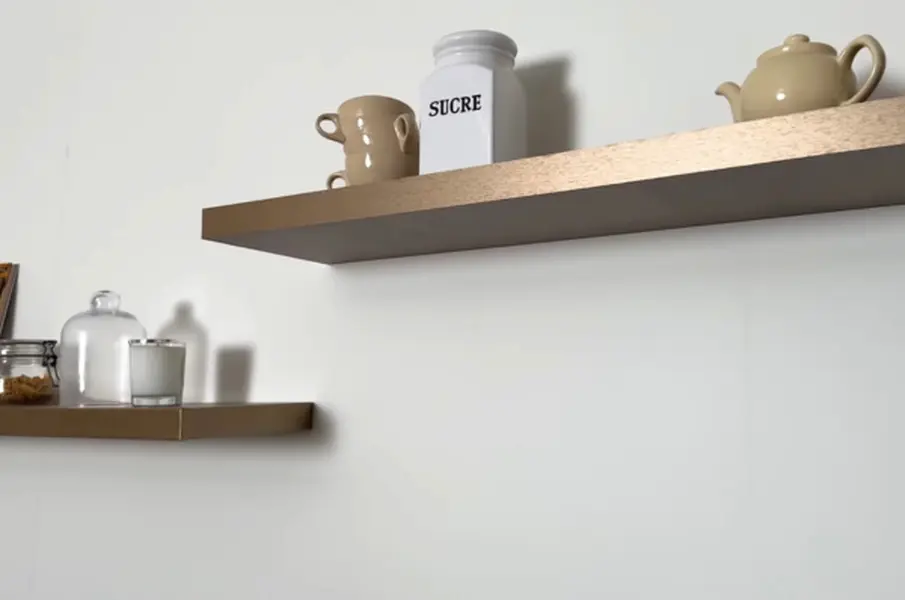
How to modernize a shelf with decorative adhesive?
Want to give your shelves a makeover without breaking the bank? With decorative adhesive, you can bring your furniture back to life in the blink of an eye! Easy to apply, economical and requiring no major work, it's the perfect solution for modernizing your interior, even on a small budget. 💸 Plus, it's a great way to avoid throwing away a piece of furniture that's still functional. ♻️ Give it a second life with a wood, marble, plain or material effect style... there's something for everyone!In our tutorial video, we show you step-by-step how to transform a shelf simply, with a bluffing result at the end. 🙌 -
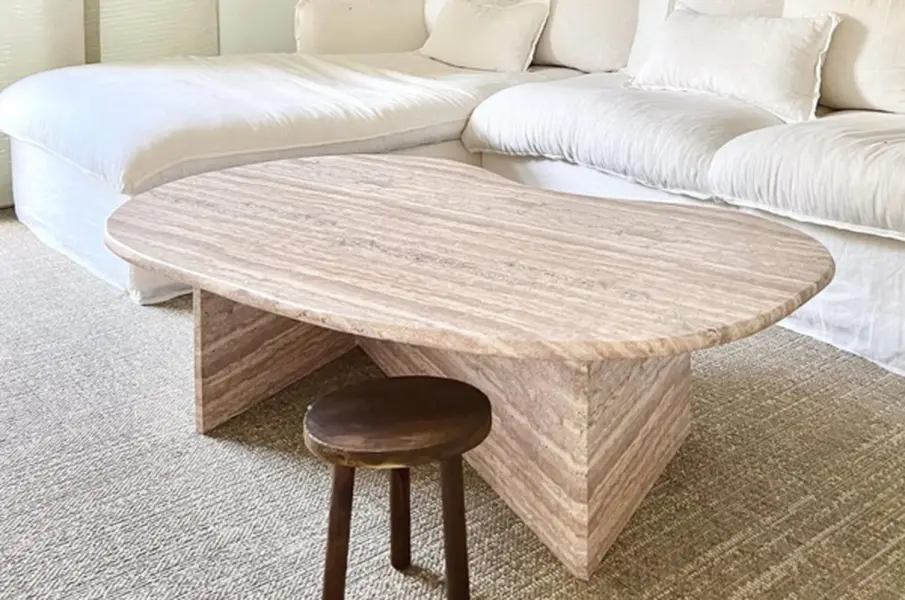
Rounded corners: how to achieve a beautiful finish?
You're looking to give a surface with rounded corners a makeover with adhesive coating, but it seems complex? However, with the right techniques, the result is impeccable! 👌Discover in this article our practical advice, our essential tool for perfect rounded edges and a tutorial video to guide you step by step. Clean, precise edges are yours! 💪 -
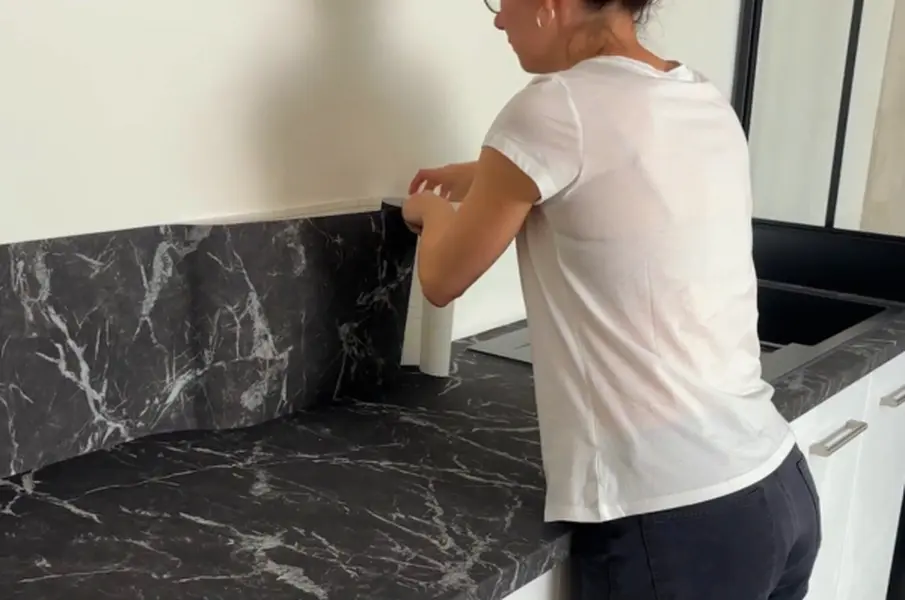
How do I install an adhesive kitchen splashback?
Are you looking for an adhesive kitchen splashback to renovate your interior? In this tutorial, you'll discover how to renovate your credenza easily and cost-effectively with Luminis Films adhesive coating 😉 -

Our coworking space solutions.
As the new school year approaches, coworking spaces are gearing up to welcome new users, seeking to reconcile productivity and well-being in a stimulating environment. At Luminis Films, we understand the importance of a work environment that is both functional and aesthetically pleasing, and our self-adhesive film solutions are the perfect way to transform and embellish your coworking space. Here are some of our best proposals for the new season.
