Le 10/04/2025
rédigé par Alice O.
Comment moderniser une étagère avec un adhésif décoratif ?
Une solution facile et « petit budget » pour transformer vos meubles.
Envie de relooker une étagère sans vous ruiner ? Avec l’adhésif décoratif, redonnez vie à vos meubles en un clin d’œil !
Facile à poser, économique et sans gros travaux, c’est la solution parfaite pour moderniser votre intérieur, même avec un petit budget. 💸
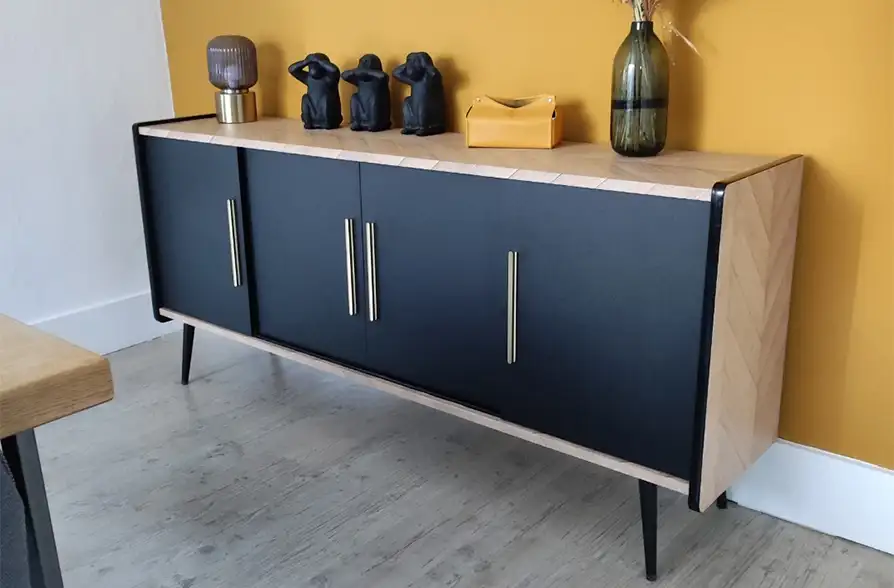
En plus, c’est une belle façon d’éviter de jeter un meuble encore fonctionnel. ♻️ Offrez-lui une deuxième vie avec un style bois, marbre, uni ou effet matière… il y en a pour tous les goûts !
Dans notre vidéo tutoriel, on vous montre étape par étape comment transformer une étagère simplement, avec un résultat bluffant à la clé. 🙌
Comme Pauline, suivez ces étapes pour rénover votre étagère avec du revêtement adhésif 👇
Choisissez et commandez votre revêtement adhésif
Sur notre site internet, découvrez une large gamme de revêtements adhésifs décoratifs avec de nombreux coloris et finitions.
Une fois votre choix fait, rentrez vos dimensions et recevez votre commande. Plus qu'à l'installer ! 💪
Besoin d'aide pour prendre vos mesures ? Suivez notre guide pour prendre correctement les mesures avant de commander du revêtement adhésif. Cliquez ici.
Préparez votre espace de travail ainsi que votre matériel
Vous aurez besoin d'une surface plate et propre, à bonne hauteur pour travailler sans vous faire mal au dos. Rassemblez tout le matériel nécessaire pour l'avoir à portée de main.
Vous aurez besoin de :
- L'adhésif décoratif commandé
- Un chiffon propre et doux
- De l'alcool isopropylique
- Une maroufle en feutrine
- Un cutter
Vous pouvez aussi commander un kit de pose pour revêtement adhésif, disponible sur notre site internet. 😊
Nettoyez la surface avec minutie
C'est l'étape la plus importante ! Si le nettoyage est trop léger, l'adhésif risque de ne pas bien tenir dans le temps.
Dépoussiérez votre surface de chaque côté et dégraissez bien à l'aide d'alcool isopropylique.
N'oubliez pas les angles et les arêtes !
Collez les 10 premiers centimètres de l'adhésif
Retirez le liner de protection sur 10 cm et centrez le film. En le plaçant, pensez à laisser assez d'adhésif de chaque côté pour recouvrir les bords et les retours.
Une fois que l'adhésif est bien centré, fixez-le à l'aide de la maroufle. Marouflez du centre vers l'extérieur pour évacuer les bulles d'air.
Appuyez sur le liner de protection pour l'aplatir. Il vous gênera moins pendant la pose.
Appliquez le reste de l'adhésif sur la première face
Avancez petit à petit, en retirant doucement le liner de protection. Il ne faut pas le retirer entièrement d'un seul coup, sinon vous risquez d'avoir beaucoup de bulles.
Insistez sur la tranche avant de passer à un autre côté
À l'aide du côté rigide de votre maroufle, insistez sur la tranche pour marquer l'arête. Ainsi, l'air sera bien évacué et la finition sera plus nette. Ensuite, appliquez la face suivante en marouflant. Insistez bien sur toutes les tranches du meuble.
Retournez l'étagère pour faire l'autre face
Délicatement, retournez l'étagère pour appliquer l'autre côté.
Continuez d'appliquer le film en marouflant
Reprenez les étapes précédentes : marouflez petit à petit, sans vouloir aller trop vite, de l'intérieur vers l'extérieur pour chasser l'air et fixer l'adhésif.
Coupez le surplus à l'aide d'un cutter
Pour avoir de belles finitions, coupez le revêtement adhésif à ras (sauf sur les côtés, qu'il faudra rabattre). Il se découpe très bien à l'aide d'un cutter. Vous pouvez vous aider de la tranche de l'étagère pour avoir une coupe droite.
Changez la lame de votre cutter pour avoir des coupes bien nettes.
Appliquez les bords de l'étagère
Coupez les angles en biais et rabattez l'adhésif sur les côtés. Enfin, coupez le surplus à ras pour que rien ne dépasse.
Dans la vidéo, nous ajoutons une bande d'adhésif effet laiton brossé sur l'épaisseur de l'étagère pour avoir un joli détail doré. Vous n'êtes pas obligé !
Si vous ne le faites pas, appliquez l'adhésif de manière à recouvrir toute l'épaisseur de l'étagère.
Vérifiez les finitions et coupez le surplus si nécessaire
C'est le moment des finitions ! Jetez un dernier coup d'œil sur les angles et les bords afin de vérifier que tout soit propre et net. Si besoin, ajustez les découpes à l'aide de votre cutter.
Replacez votre étagère et admirez le résultat !
Et voilà, votre étagère est comme neuve ! 🤩 Bravo pour votre travail !
C'est le moment d'inviter vos proches pour leur montrer le résultat. Ils seront probablement surpris de savoir qu'il regardent votre ancienne étagère rénovée avec seulement de l'adhésif décoratif. 😉