Le 14/01/2025
written by Alice O.
How to cover kitchen skirting boards with adhesive coating?
Installation tutorial for your kitchen baseboards
How about giving your kitchen skirting boards a fresh look? With adhesive coating, it's quick, easy and headache-free! In this article, we explain everything: easy-to-follow steps and a tutorial video for an express makeover. Your kitchen's about to get a makeover!
Installation tutorial 👉 Baseboards
Prepare your equipment
Before you start, gather all the materials you'll need for the installation. Place the various elements within easy reach to avoid unnecessary to-ing and fro-ing.
- A squeegee with a felt edge
- A cutter
- Isopropyl alcohol
- Paper towel (or soft cloth)
Our adhesive coating installation kit contains a squeegee, a cutter and isopropyl alcohol. In short, everything you need for a smooth installation!
Install the baseboard in a stable position
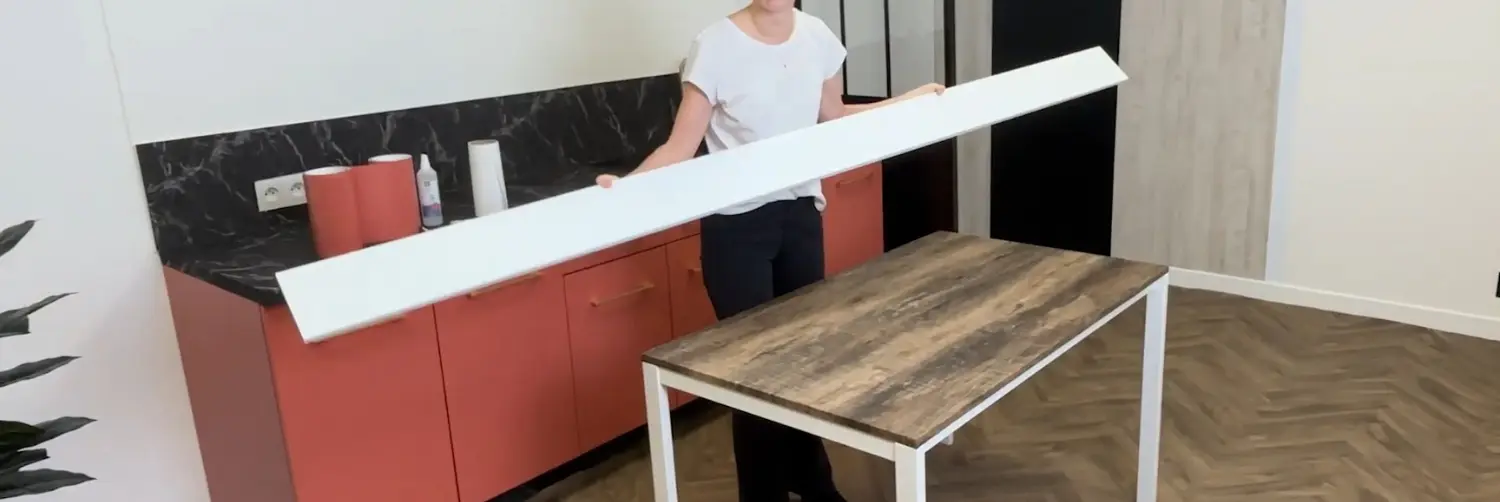
Remove the baseboard and place it on a large table (or other large surface) so that it is stable. You need to be able to access the baseboard easily and work on it without it falling off.
Clean your baseboard thoroughly
Using isopropyl alcohol and paper towel, clean and degrease the surface. Be sure to go over the corners and edges of the baseboard. Goal 0 dirt, 0 dust! ✨
1 dust = 1 bubble. So don't neglect this step!
Check that your adhesive is the right size
Place your adhesive on the baseboard to check that the dimensions are correct. Make sure there's enough margin to cover the thickness and the return.
If the dimensions seem OK, you can start the installation. 😊
Is your adhesive too big? Cut it off with your cutter. If it's too small, you can always make a seam with another piece of adhesive.
Apply the first 10 cm of adhesive
Start with one side. Remove 10 cm of protective liner and position the adhesive on the edge of the baseboard. Be sure to center the adhesive so that it doesn't come off askew.
Once the adhesive is in place, tamp from the inside out to remove air bubbles. Stop when you reach the protective liner.
Be sure to use the felt side of the squeegee on the flooring to avoid damaging it.
Continue applying the film, advancing a little at a time.
We advise you to advance every 10 centimetres, removing the protective liner a little at a time. If you remove all the liner at once, the film may fold in on itself and wrinkle.
Remove a further 10 cm or so of protective liner, and repeat the process from inside to outside. Repeat this operation all the way to the end of the baseboard.
We often tend to make a "dumpling" towards the end because we feel we've almost finished. So you take everything off at once, and BAM, a crease. So take your time ;)
Press down again a little more firmly to remove any air bubbles.
Repeat all over the baseboard to complete this section. We can't stress this enough: always work from the inside out! 😉
Insist on the edges to mark the corners.
Using the felt side of the squeegee, mark the corners to evacuate air from this high-risk area. The edge of the baseboard should be clearly visible.
Cut your 4 corners diagonally
Split the corners in two. Start at the baseboard corner and cut towards the adhesive corner (at an angle).
Change your cutter blade and cut with a new one. This will ensure a clean cut.
Apply adhesive on two opposite sides
Using your trowel, apply the adhesive to the edge and then to the return. Bear in mind that air must be forced outwards, so start at the top and work your way down.
Once the edges have been applied, use the cutter to trim off the excess adhesive for an attractive finish.
You can pull on the film while treadling. This helps prevent wrinkles. If a bubble appears, you can gently peel off the adhesive to reposition the liner.
Apply adhesive to the other two opposite sides
Repeat the previous step on the last two sides.
Trim excess adhesive for an attractive finish
Still using your cutter, cut off any protruding adhesive flush with the surface.
Change the blade every 2 or 3 cuts maximum to ensure clean cuts at all times.
Check that corners and finishes are clean and reposition your baseboard.
As an option, you can lightly heat the corners with a heat gun to secure the adhesive. Then put your baseboard back in place.
And that's it!
Don't hesitate to send us photos of your work on social networks by logging in 😉

