06/16/2023
written by Alice O.
How do I apply an adhesive coating?
An easy, economical way to give your home a makeover!
Would you like to redecorate your home for less? You're not afraid of Do It Yourself? Then this article is for you!
Whether you're looking to give your kitchen a makeover with our wood-effect adhesive wallcoverings, or change the mood of a room with our panoramic wallpapers, we've got everything you need :)
Here you'll find our technique for efficiently installing adhesive coverings to give your interior a new lease of life. Let's get started!
How do I apply an adhesive coating?
Installation equipment: The essentials for your decorative covering
The right tools for the right job! For this step, you'll need :
- A raclette
- Primer plus spray
- Isopropyl alcohol
- A cutter
- Hairdryer or heat gun (recommended)
- And if you don't have anything at home, take a look at our wallcovering installation kit (walls and furniture):)
Got everything you need? Let's get started!
Preparing decorative adhesive film
To facilitate installation and ensure that the adhesive coating holds well, it is important to check that your surface is smooth and non-porous:
- Be sure to smooth with sandpaper and apply an undercoat if necessary, to smooth the surface as much as possible;
- Clean greasy stains with isopropyl alcohol and dirty surfaces with soapy water, then dry.
The aim is to achieve a smooth, dry and clean surface for the adhesive coating, to ensure good adhesion.
First carry out a compatibility test on a small 20 x 20 cm format and wait 1 to 2 weeks for the adhesive to polymerize perfectly. If no deformation appears, you can go ahead with the installation!
Ask for our free samples to do your own tests.
Installing decorative adhesive film on a flat surface
If your order is not pre-cut to shape on request, pre-cut each format yourself with an extra 5 cm border.
And now we're taking it one step at a time!
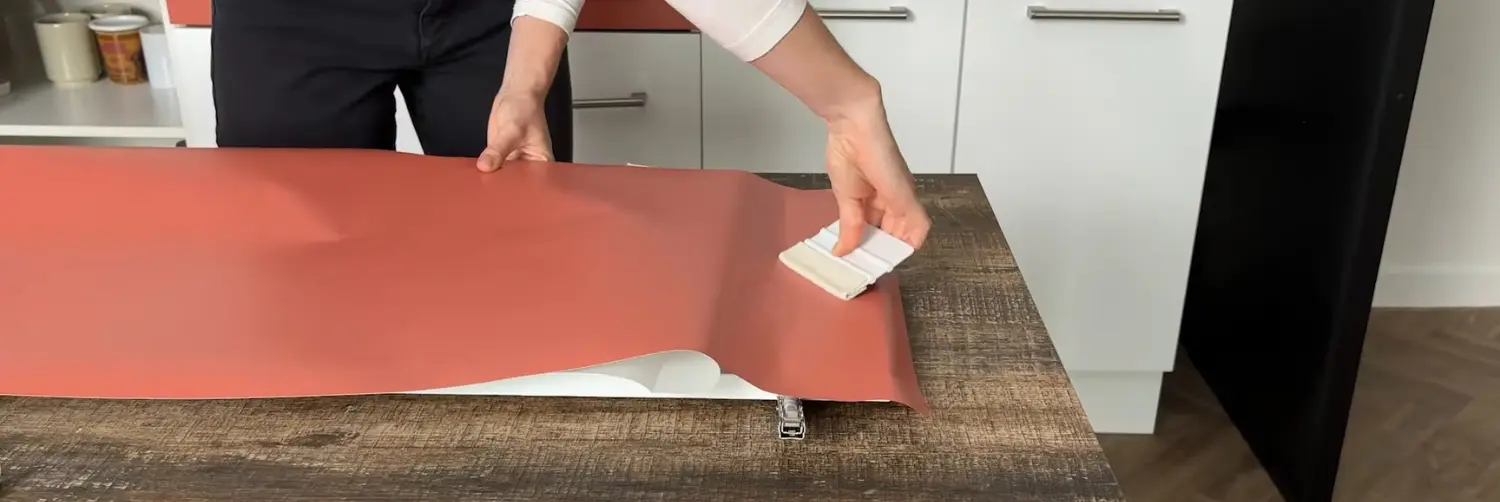
- Start at the top of the substrate: gradually peel off the protective liner (approx. 10 cm) and gently apply the film making sure that it is straight and aligned ;
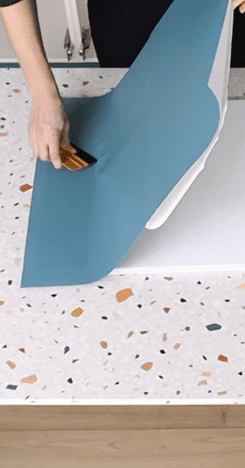
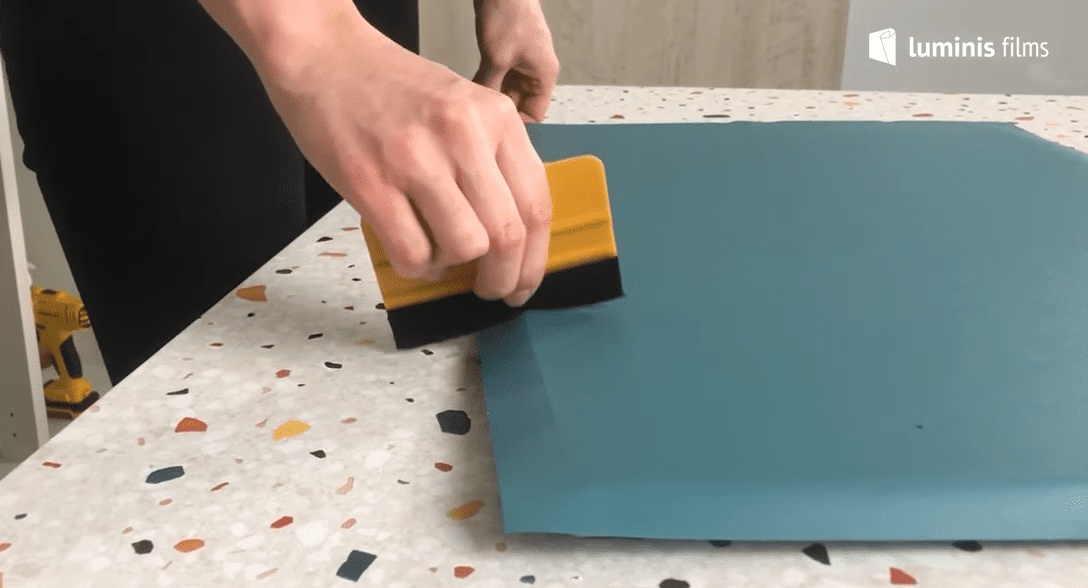
- As you go, apply light pressure from bottom to top and then from top to bottom, holding the squeegee at a 45° angle;
- Once the first 10 cm have been properly positioned, you can continue removing the liner and repeat the troweling operation - while checking alignment, of course!
- Once your decorative adhesive covering has been laid, a new, firmer troweling in the vertical direction is necessary to evacuate the last air bubbles.

Tip: Are small bubbles still appearing? Pierce them with a needle to expel the air, and gently rewrap over them 😊
Successful joints
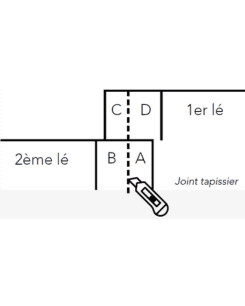
For large panels, take care to leave a 5 cm liner behind the two strips laid as follows, and cut (example of the dotted line) in the center using a good cutter and a large ruler.
Excess "A" falls off, then lift "B" to remove
surplus "C".
Finally, gently remove the liner from the top of part "D",
at the same time as you lightly marouflez.
Repeat with part "B" to finish.
Accentuate the marouflage towards the center of the joint with a slight rotation, from top to bottom, to ensure a flawless finish.

Installing a decorative adhesive coating on curved corners
For furniture returns or wall corners, you'll need to apply the adhesive coating to a curved surface.
The use of a primer (or primer plus) is highly recommended! Its use reinforces adhesion to the surface.
On the outside corners :
- Apply primer to the surface to be covered (4cm from the corner);
- Cut the corners of the cladding with a cutter to clear the angles if necessary (see video above);
- Apply the coating to the smooth surface, tapping to release any bubbles;
- Slightly pull the coating as you apply it around the corner;
- Gently diffuse a heat source (hair dryer or heat gun);
- Be careful not to stay too long: excessive heat will stretch and warp the film!
On the inside corners :
- Apply primer to the curved surface to be covered (4 cm from the corner);
- Measure and cut the protective liner at the corner (using the cutter);
- Keep the protective liner on the return area so it doesn't stick to the surface unintentionally;
- Insist on marking the angle of the corner with the trowel;
- Gradually remove the protective liner to make the return, and press down to continue your installation.

Installing decorative adhesive film on a column
- Apply the film vertically over a distance of only about ten centimetres (see sketch opposite), to center it properly;
- Start laying the parts on the left and right, always starting from top to bottom;
- To join the two parts, repeat the "Joints / Raccords" section above to ensure a good finish.
And that's all there is to it! :)
Take a look at our installation tutorials on our Luminis Films Youtube channel to see the steps to follow.
