
May 23, 2024
written by Alice O.
Tutorials and installation instructions
Our tips for successful installation of window film and adhesive coating.
Installing window film and adhesive coatings can be scary if you're not very handy. But what if we told you that bubble- and crease-free installation is possible for the average person? The advantages are considerable:
✅ Less expensive project
✅ Time-saving and flexible
✅ Proud to have done the renovation yourself
Discover our tips on how to do it yourself and get professional results.
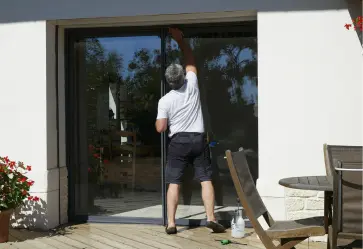
Installation tutorial 👉 adhesive film
- Clean the glass thoroughly. Don't forget the corners and frame.
- Separate the protective liner from the adhesive.
- Spray the glass and adhesive with plenty of soapy water.
- Apply the film to the glazing, and press firmly from the inside out, using a squeegee to remove water and bubbles.
- Wipe the glass with a clean cloth and trim off any excess.
See the full tutorial, video explanation and installation instructions below ⬇️
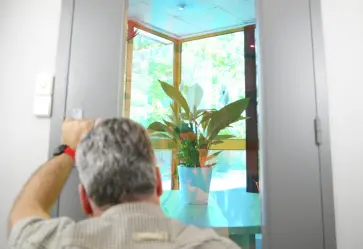
How to apply 👉 electrostatic film
- Clean the glass thoroughly. Don't forget the corners and frame.
- Separate the protective liner from the electrostatic film.
- Spray the film and glass with clear water.
- Position the electrostatic film on the glass.
- Mould from the center outwards to remove water and bubbles.
- Dry the glass and trim any excess if necessary.
See the video tutorial, our tips and the installation instructions below ⬇️
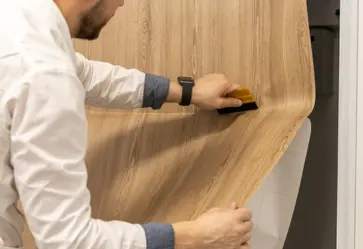
Installation tutorial 👉 Adhesive coating
- Clean and degrease your surface thoroughly.
- Apply a primer to edges and corners (optional).
- Peel off about 10 cm of protective liner to reveal the adhesive.
- Position the adhesive on your surface.
- Mould from the center outwards. Peel off adhesive a little at a time, then press down.
- Apply adhesive to edges and corners, if any.
See the video tutorial, our tips and the installation instructions below ⬇️
Discover our other installation tutorials and videos.
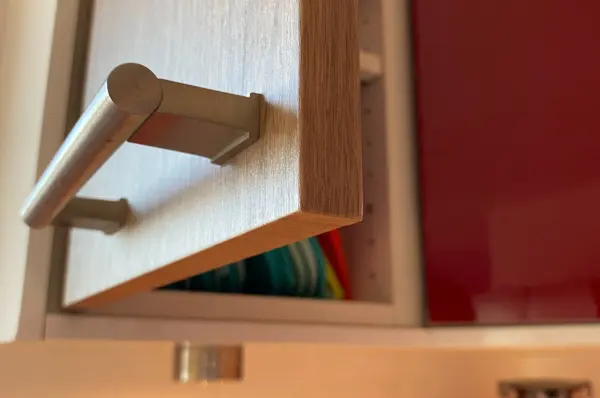
Tuto de pose Revêtement Adhésif 👉 Réussir les angles
Corners can be a bit tricky when applying film to a door or piece of furniture. But with the right technique and the right equipment, there's no need to get your spleen in a knot!
The secret:
- Remove the surface from its support for greater mobility,
- A new cutter blade for clean cuts,
- Patience and meticulousness!
Discover our technique for successful angles in this article. 🎥
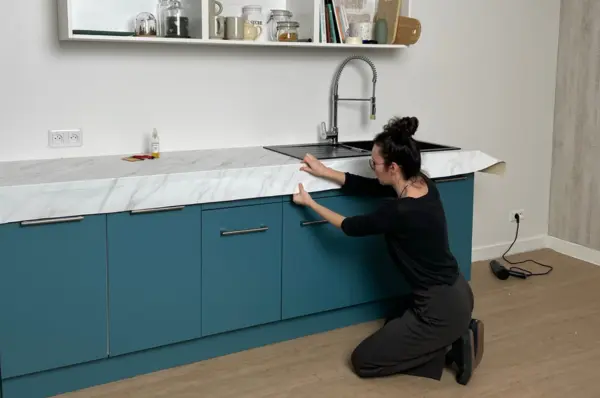
Adhesive Coating installation tutorial 👉 Worktop
Would you like to give your kitchen worktop a makeover with adhesive coating? It's possible!
Whether matte, glossy, wood effect or natural stone effect, it doesn't matter - the installation method remains the same. 😉
To find out how to apply an adhesive coating to a worktop, click on the button below ⬇️
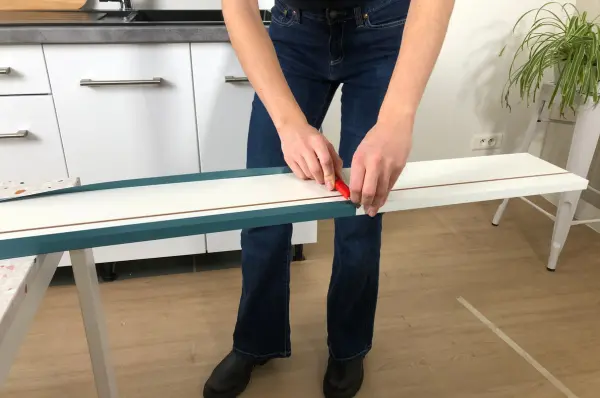
Installation tutorial Adhesive Coating 👉 Baseboards
Skirting boards may seem complicated because of their length. However, this is not necessarily the most difficult part of a kitchen renovation with adhesive flooring!
- Clean and degrease the baseboard thoroughly.
- Check the dimensions of the adhesive coating in relation to the baseboard.
- Apply the coating as for a conventional façade.
- If your baseboard is very long, don't hesitate to use trestles.
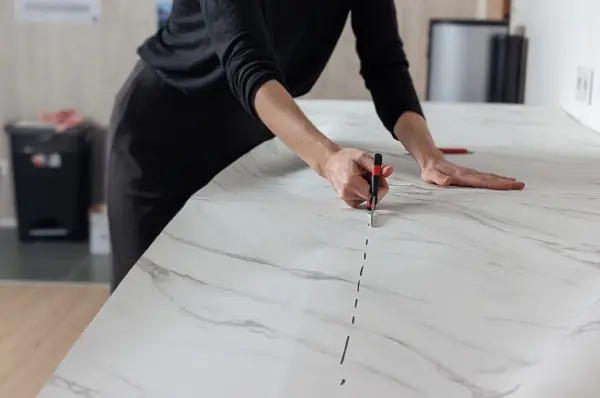
Tuto de pose Revêtement Adhésif 👉 Crédence et étagère
- Cut your film to the size of your credenza (or order made-to-measure).
- Remove covers from electrical outlets.
- Unroll the adhesive coating along the credenza, and tape it in place.
- Remove the first 10 cm of protective liner, and start taping from the inside out to secure the first side.
- Remove the liner a little at a time to marouflage the rest of the film.
- Cut out sockets and other components with a new cutter blade.
- For the shelves, we recommend that you fix them after applying the adhesive coating. Simply apply the same method as for a facade ;)
Check out our tutorial images and tips in the video below. 🎥

Tuto de pose Revêtement Adhésif 👉 Réussir son raccord
- Clean and degrease the surface thoroughly.
- Apply your first splice.
- Position the liner to be connected against the film already installed.
- Tape the second joint along its entire length.
- Turn the film over to access the protective liner.
- Remove about ten centimetres of the liner on the connection side.
- Turn the film over and press from the inside out to apply the adhesive.
- Gradually remove the protective liner to apply the rest of the coating.
- Remove the tape from the fitting. That's all there is to it!
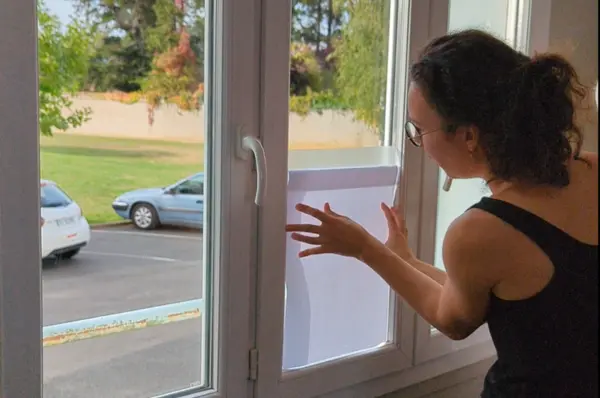
Adhesive film installation tutorial 👉 Dry application
Dry-laid films are very pleasant to use, as they are less messy during application.
The technique is the same as with adhesive film, but without the soapy water during application. See our tutorial below!
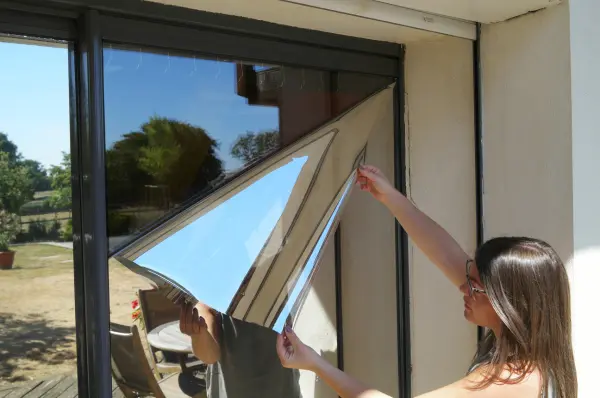
Installation tutorial 👉 Laying adhesive film
Many people are apprehensive about removing adhesive film from their windows. Glue residues can be quite stubborn, making the operation long and painful.
Find out how to remove your adhesive film with ease! 🎥
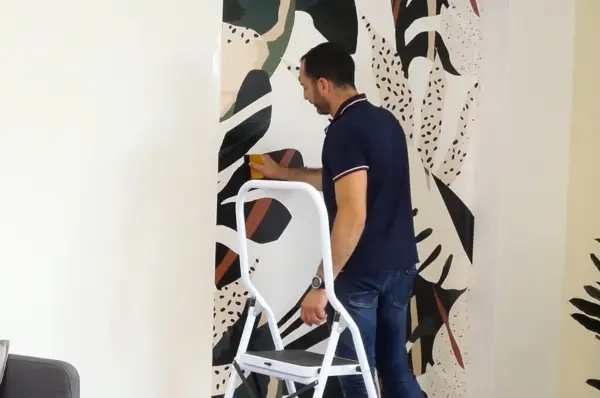
Wallpapering tutorial 👉 How to hang panoramic wallpaper successfully
- Open your order and place the strips in the order indicated on the instructions.
- Check that your surface is smooth and clean.
- Protect baseboards and ceilings with masking tape.
- Trace your marks on the wall, starting from one of the wall's edges.
- Moisten wall and wallpaper surface with water.
- Apply the wallpaper to the wall, following the markings.
- Roll from the inside out.
- Repeat marouflage a second time to secure the wallpaper.
- Clean excess glue from the sides with a clean sponge.
- Trim off the excess and repeat the operation for the remaining strips.
Discover all our tips and tricks in the video below 🎥
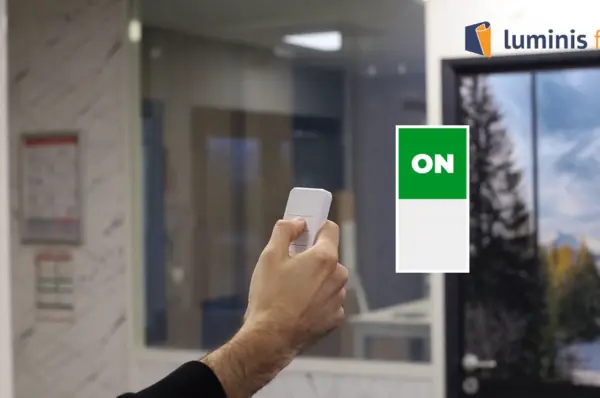
Installation tutorial 👉 Successful installation of liquid crystal film
- Clean glazing thoroughly to remove 100% of impurities and dust.
- Unroll the liquid crystal film flat.
- Remove the adhesive tape protecting the electrical connections.
- Remove the first 10 cm of the protective liner.
- Apply the film 3mm from the top of the glass to avoid short circuits.
- Mould from the inside to the outside, and continue downwards, removing the liner.
- Strip the film connectors and install an extension lead.
- Connect the connectors to the extension lead using a domino, wago or solder.
- Connect the extension lead to the transformer and plug it in.
- Remove the outer protective liner and you're done!
This film is a little more technical to install than a more conventional film. We recommend using a professional installer if you're not comfortable with this tutorial.
Other related issues
-
Anti-cold glazing film: improving winter insulation
-
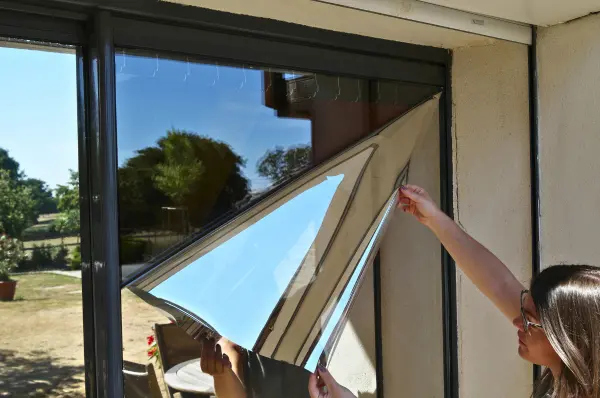
What's the difference between an adhesive film and an electrostatic film?
-
Léna aka @blondie_house creates her back-to-school office corner
-
How can you maintain an anti-frost film to extend its lifespan?
-
Mythbusters: 9 myths about adhesive coatings debunked
