August 17, 2023
written by Alice O.
DIY Kitchen: A marble-effect kitchen worktop
Marble-effect adhesive coating, for a trompe l'oeil worktop
You're in the middle of renovating your kitchen and dreaming of treating yourself to a marble worktop.
Except that, between the exorbitant price and the lack of practicality due to being heavy and cumbersome, you've turned to another alternative: marble-effect adhesive.
Ultra-realistic, all you need is a few minutes and a good blow of the trowel. All it takes is a few minutes and a good tug of the hammer, and you've got yourself a great, inexpensive kitchen worktop !
Follow our advice to redo your kitchen worktop!
Step 1: Cleaning
Cleaning is an essential step in the success of your marble adhesive worktop. If it's messy, there's a good chance that themarble adhesive won't hold well or will bubble!
To make sure your cleaning is a success, we recommend that you first clean with a sponge andsoapy water. Then finish by spraying withisopropyl alcohol and wiping with a clean, dry towel.
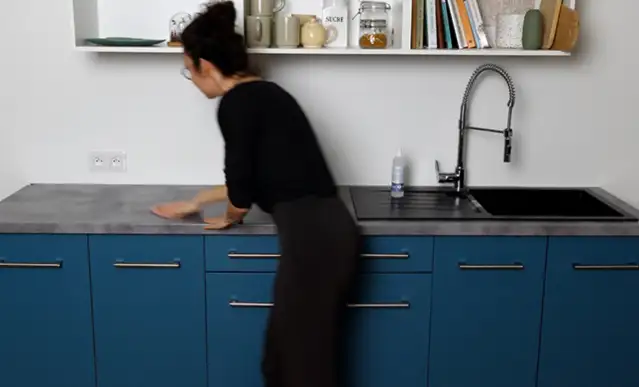
Don't forget to insist in corners like around the sink!
Step 2 : cutting
To make life easier, you can choose to have your adhesive cut to size. Alternatively, you can order your marble worktop in linear meters to pay a little less, and cut it yourself.
In all cases, measure the length of the original worktop and add 20cm. For the depth, it's the same: take the measurement and add 10cm.
These extra trims will make application easier and ensure that you don't make any mistakes when measuring. Once you've cut your rectangle, you can start laying your adhesive marble worktop.
Step 3 : the marouflage
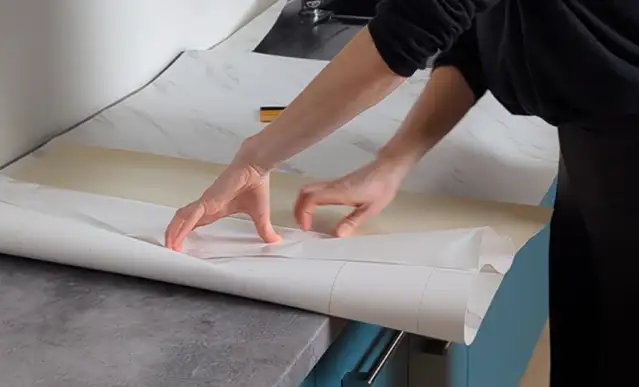
Start by peeling off about 10cm of the liner, then place it face down on the work surface.
Then, using a felt-tipped squeegee, you'll need to smooth the surface a little at a time, working from the center outwards to avoid bubbles.
Unroll the roll of adhesive gradually, removing the liner and pressing firmly.
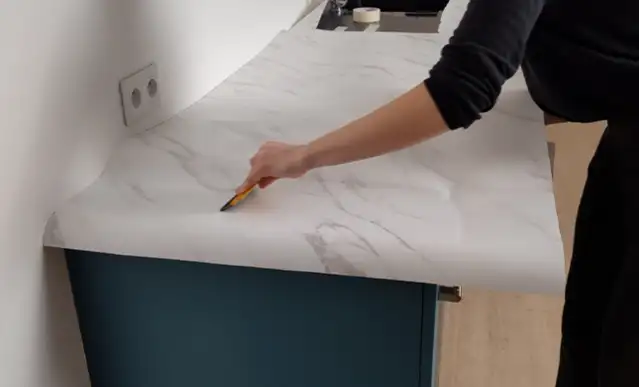
Press firmly to release the bubbles, pulling the film tight! If some bubbles are stubborn, don't hesitate to pierce them with our bubble-piercing pen and let the air out.
Step 4: Cutting around the sink
Once you've reached the edge of the sink, mark the corners so that you can make a rough cut. For this tricky step, we invite you to watch the marble worktop installation video on our Luminis Films Youtube channel.
Watch the video at the top of this article!
Step 5: the angles
To make your corners a success, simply cut off the excess and fold the other side over it for a clean, precise result.
To visualize this step, you can also watch the video tutorial for a successful marble worktop with adhesive.
Step 6 : the finishing touches
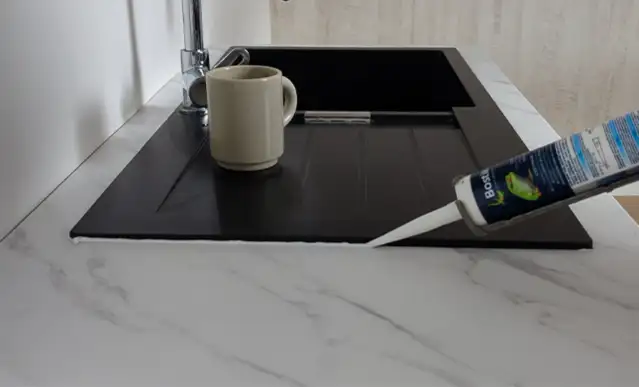
We strongly recommend that you finish off the installation of your marble-effect adhesive by applying a silicone seal all around the sink.
This not only enhances the aesthetic effect, but also makes the adhesive more durable and easier to clean, so that water or household products don't get between the adhesive and the marble worktop.
And now you've got a new, inexpensive kitchen worktop that's as good as new!
Here, we've chosen a marble adhesive, but you can use the same procedure for a wooden worktop, for example. In addition to your worktop, how about renovating your kitchen furniture;)
