07/01/2025
written by Alice O.
How to renovate a kitchen splashback with decorative adhesive?
A simple, economical solution for renovating your kitchen.
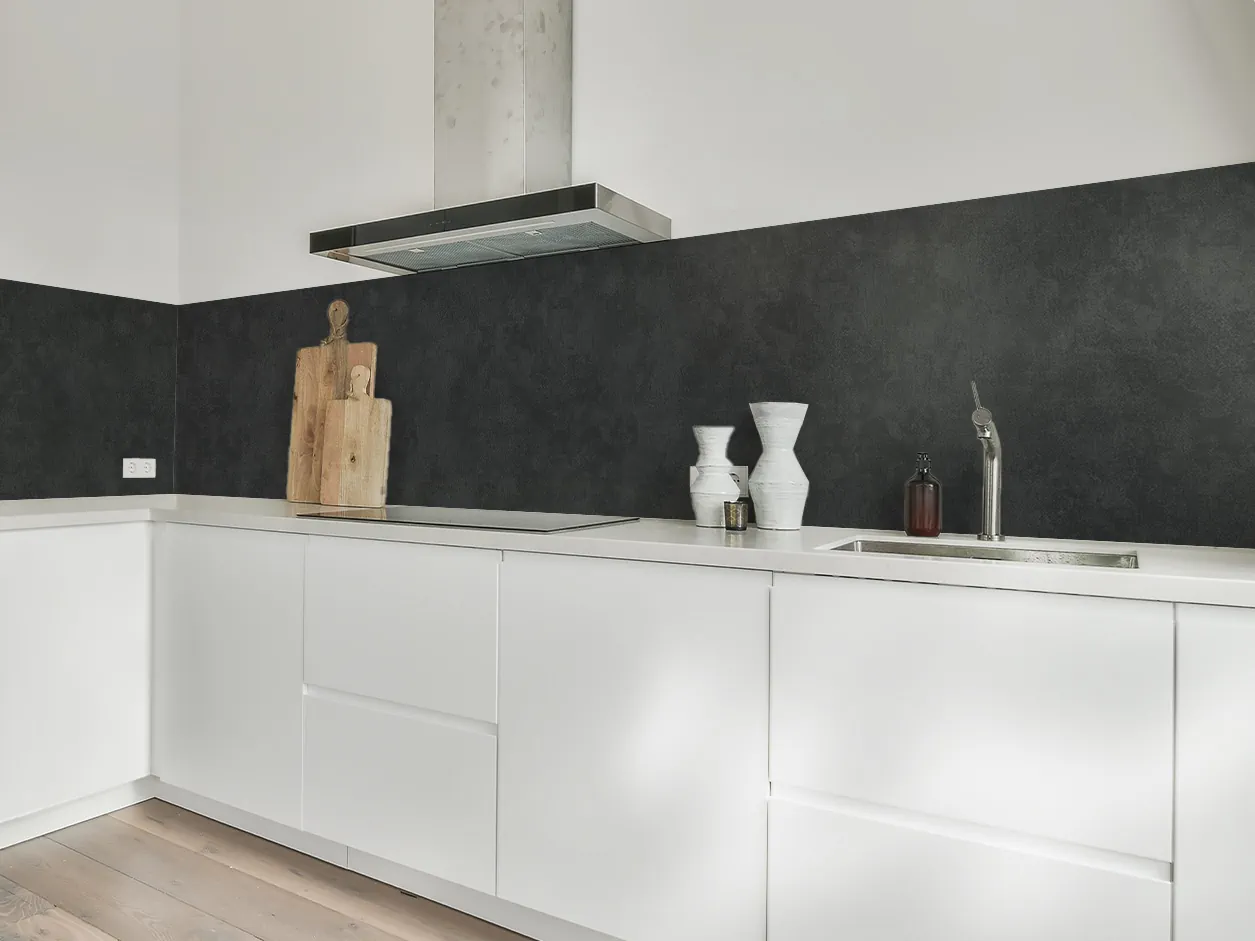
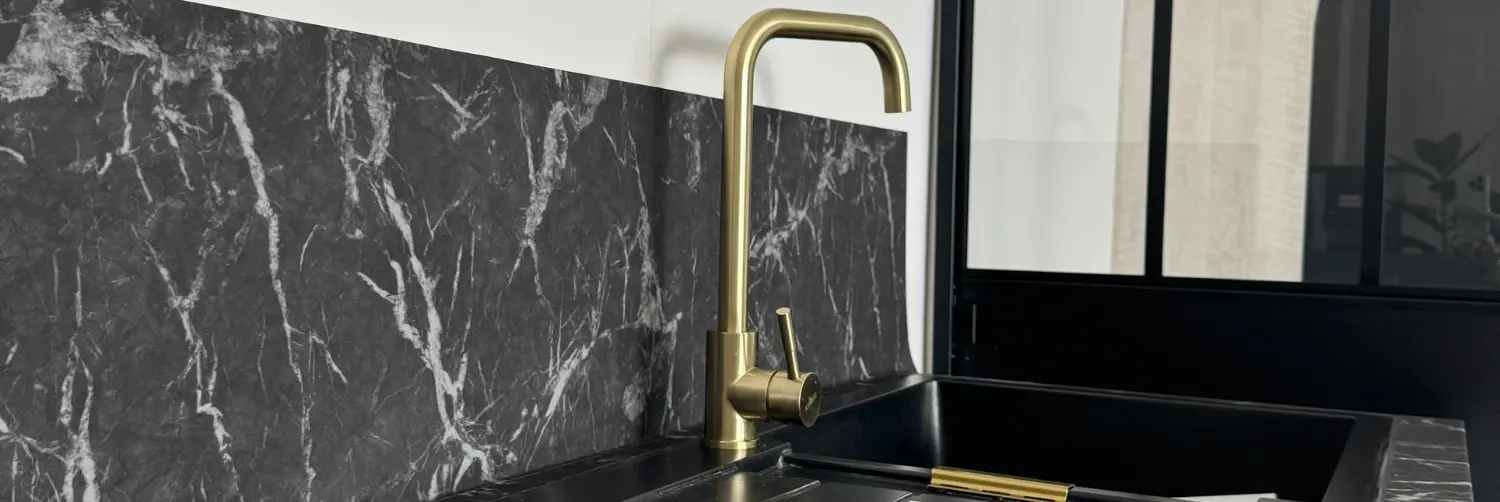
How about giving your kitchen a fresh look without breaking the bank? Renovating a credenza with decorative adhesive is quick, easy and trendy! We've got all the tips you need to make this transformation a breeze 😉
Discover our tutorial: Applying decorative adhesive to a kitchen splashback 👇
What products should be used to renovate a kitchen splashback?
When it comes to decorative adhesive, you can use any of our Luminis Films adhesive coatings. They're moisture-resistant, so there's no need to worry about spills or maintaining your credenza. 🙌
Make sure your credenza is smooth and non-porous beforehand, so that the adhesive lasts over time.
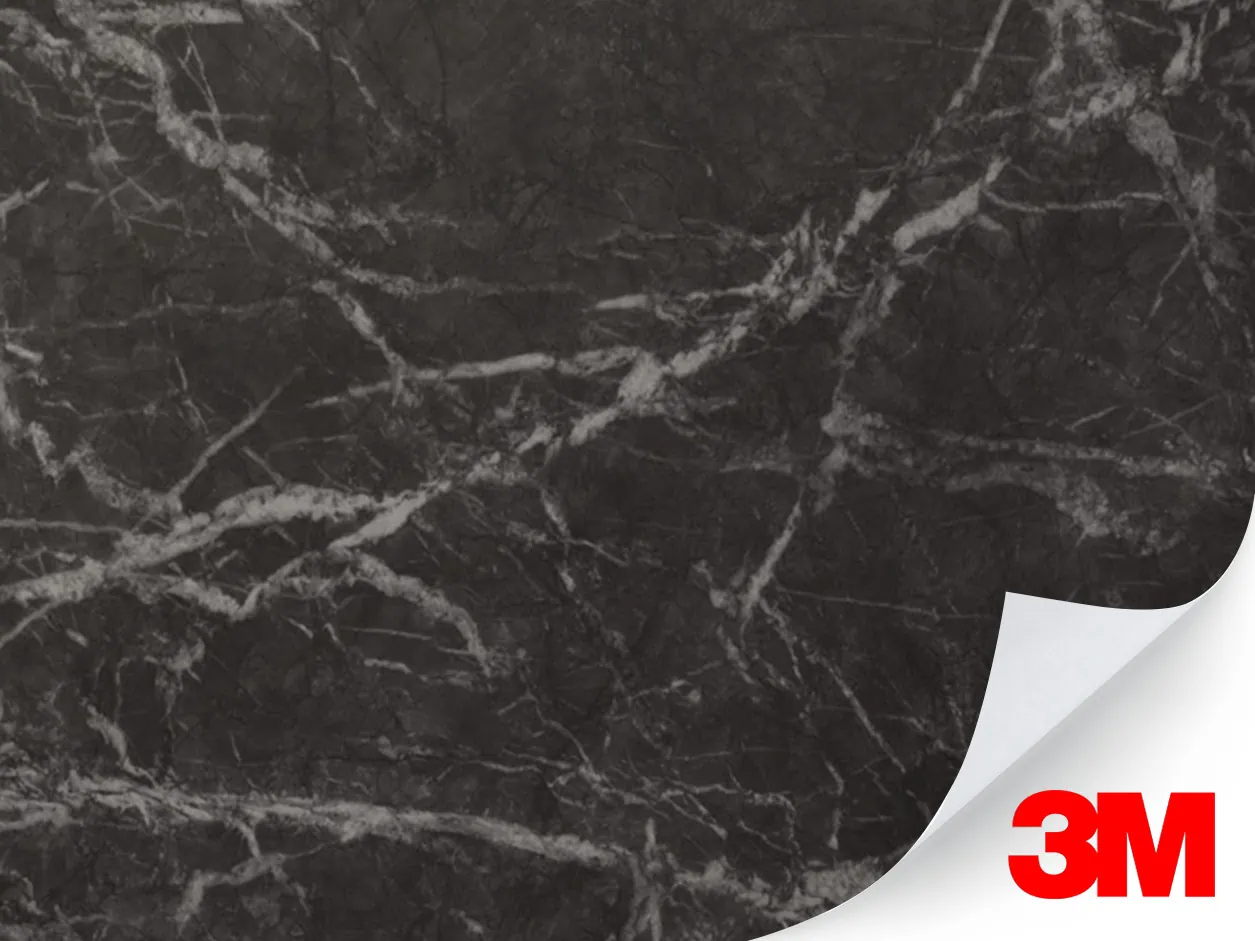
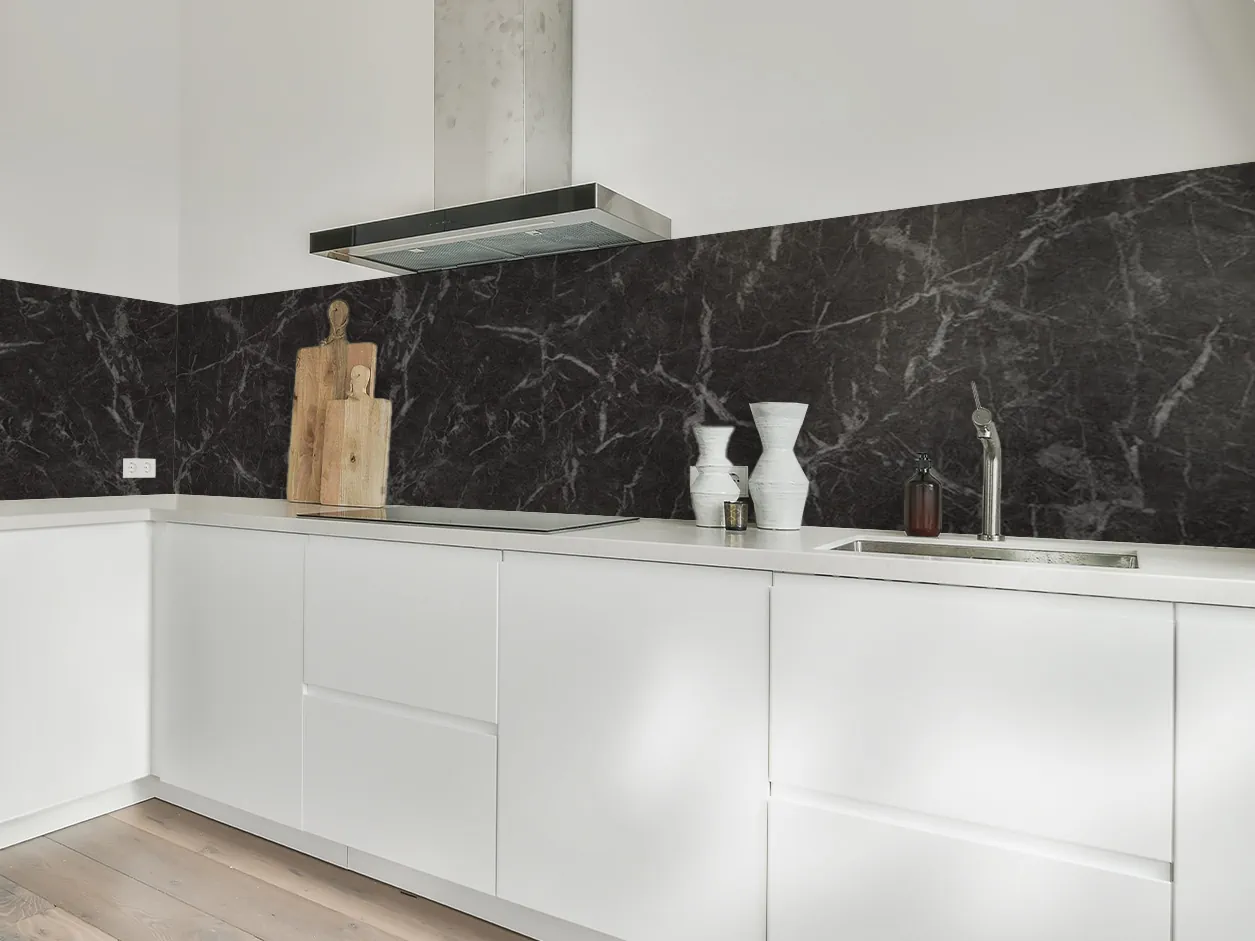
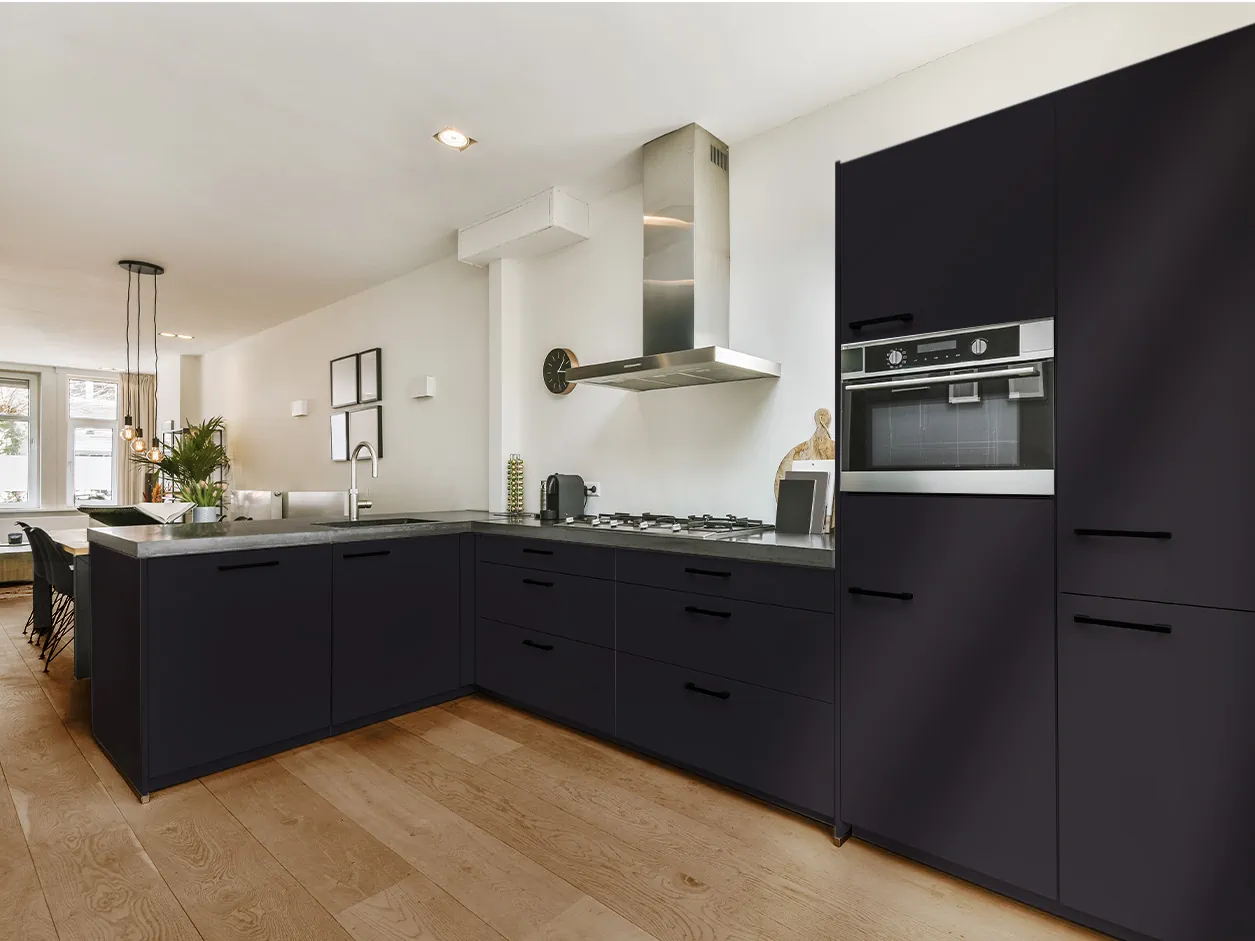
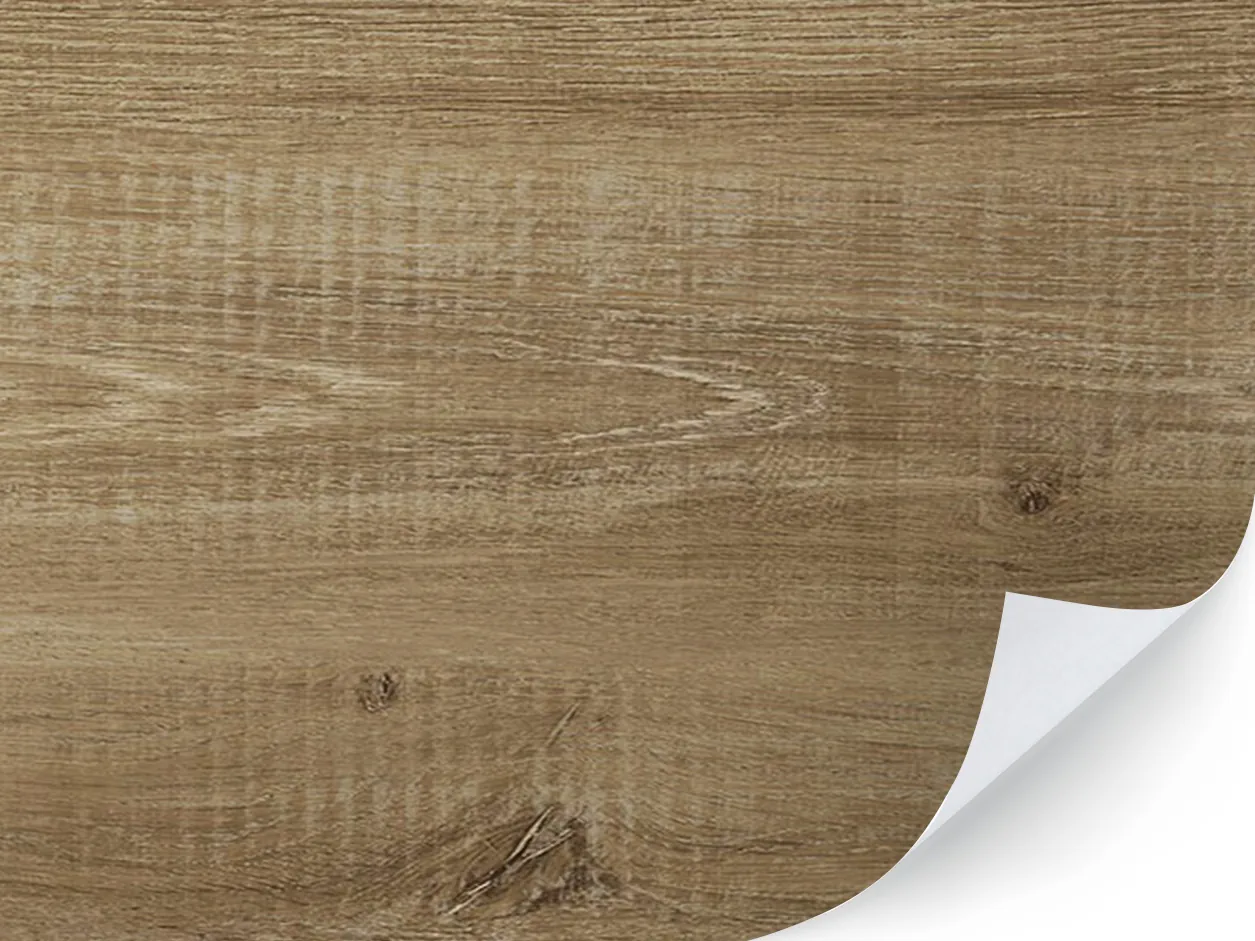
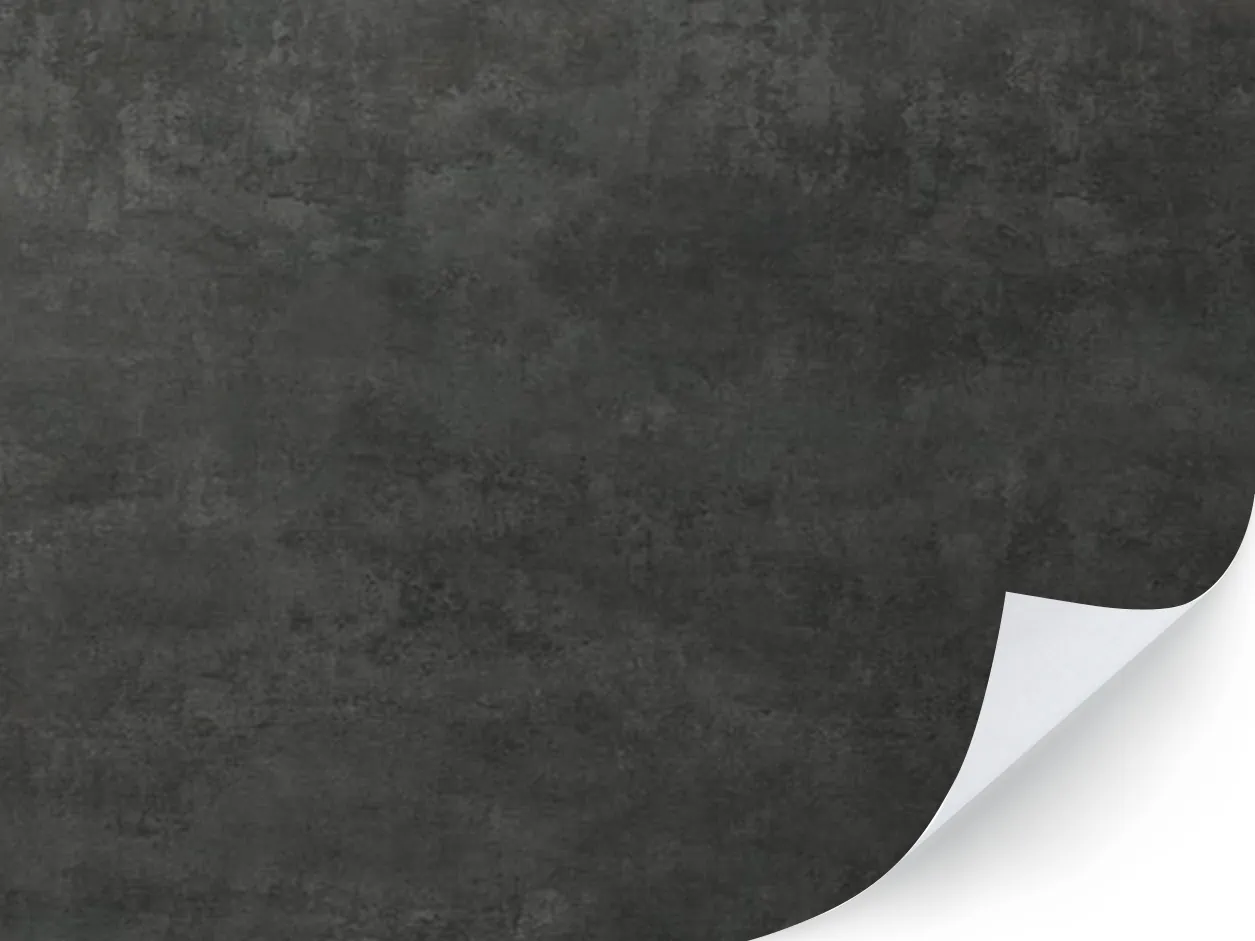
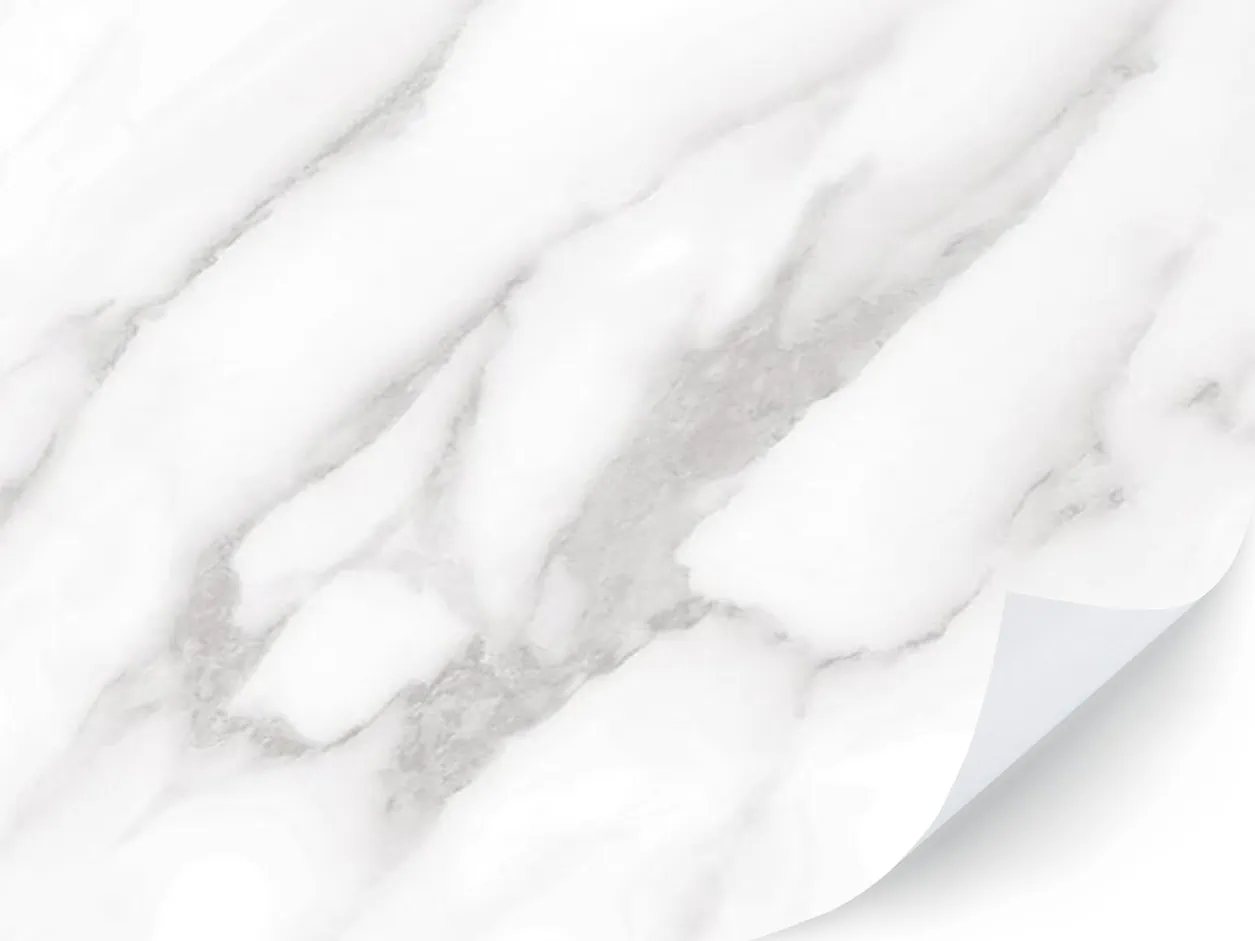
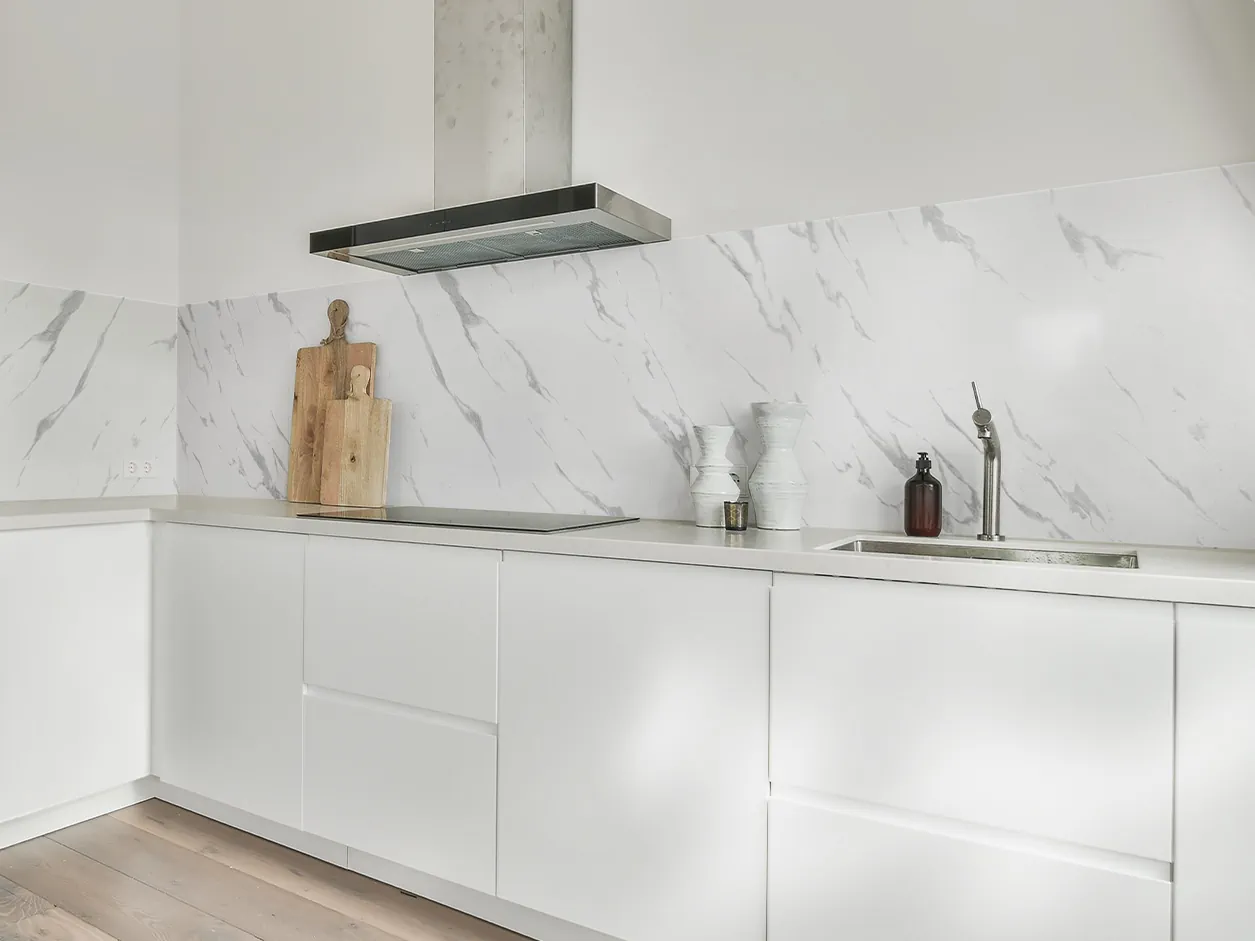
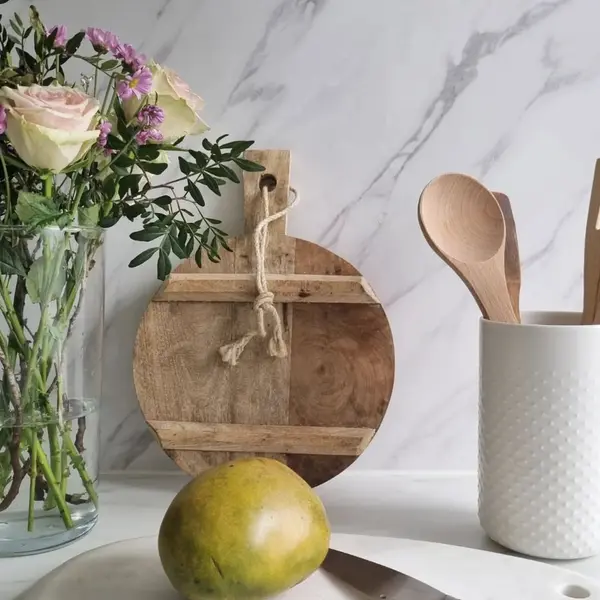
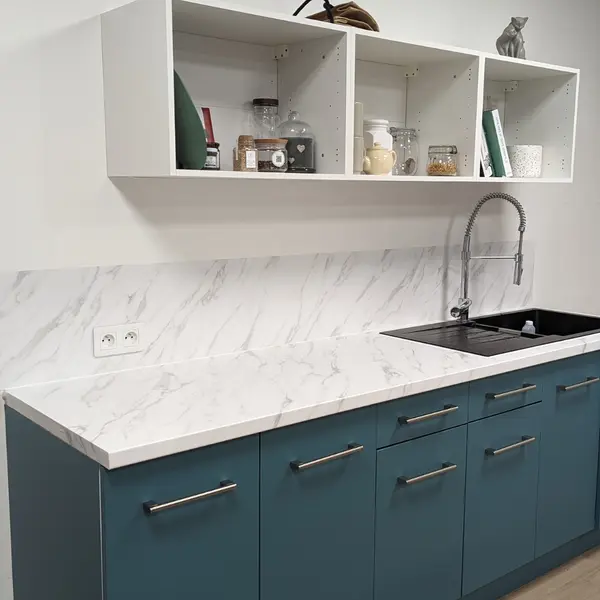
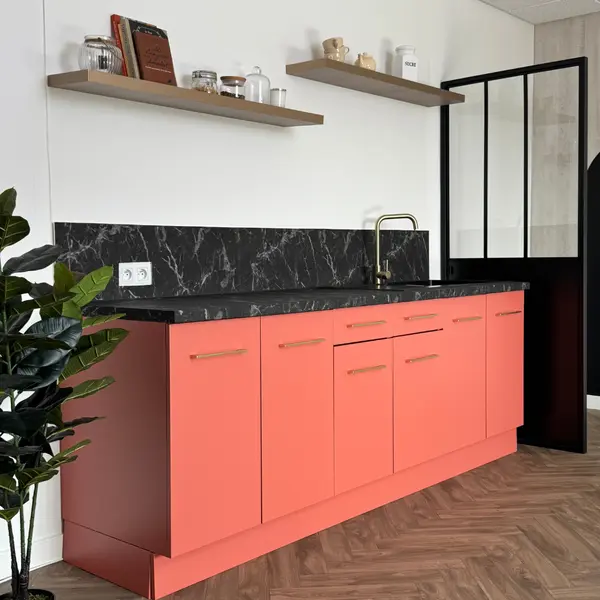
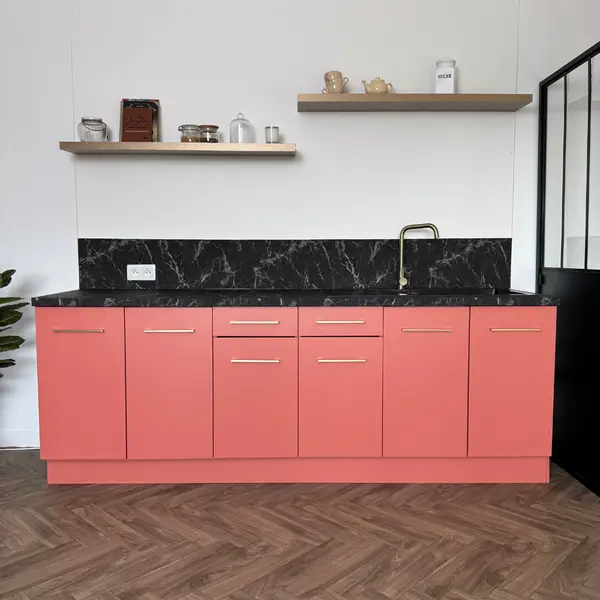
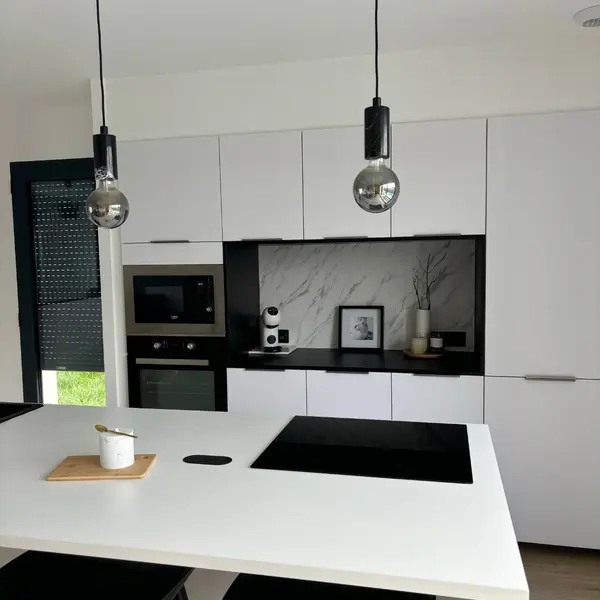
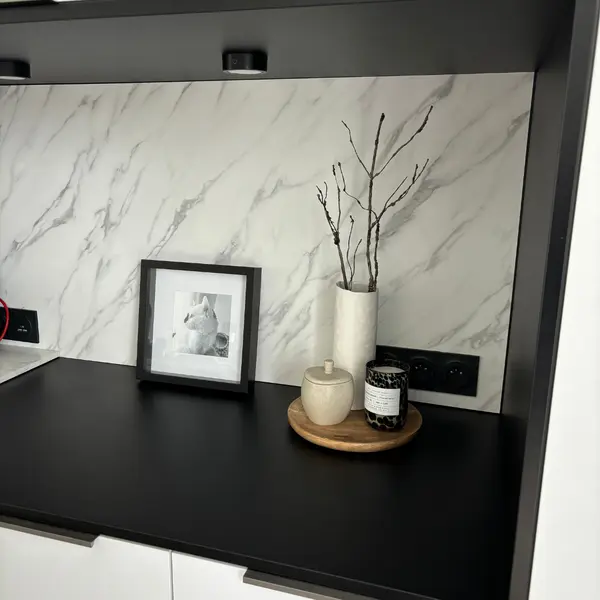
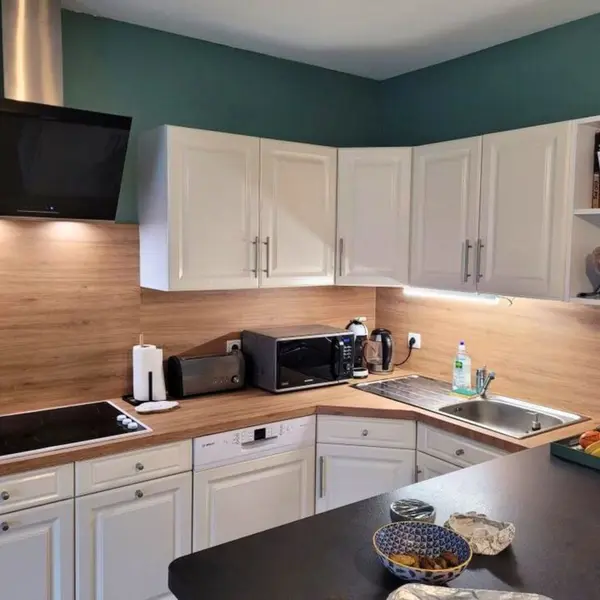
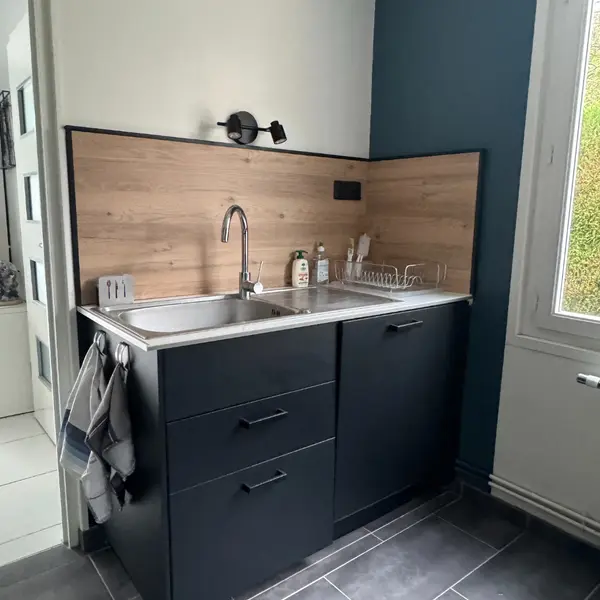
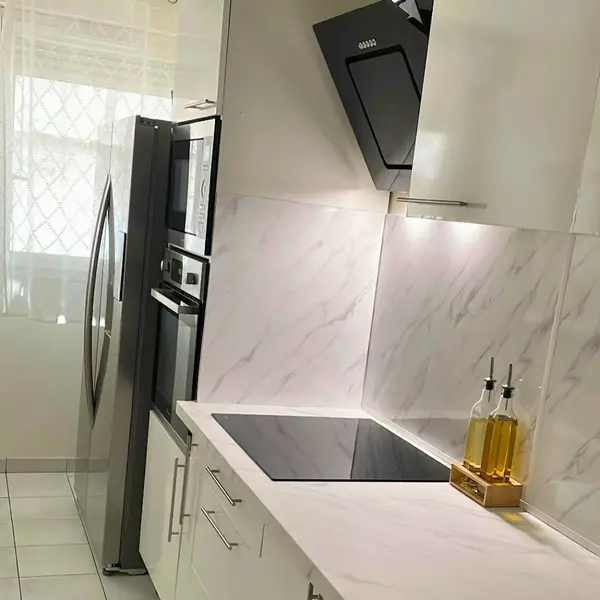
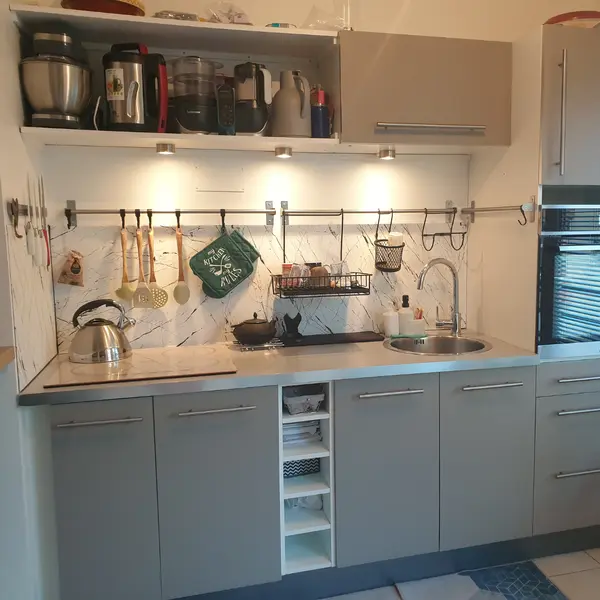
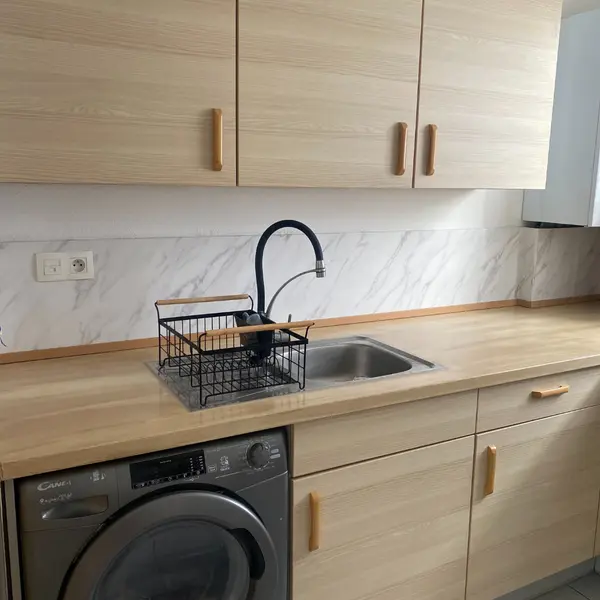
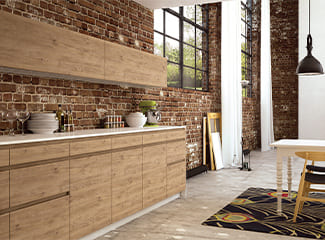
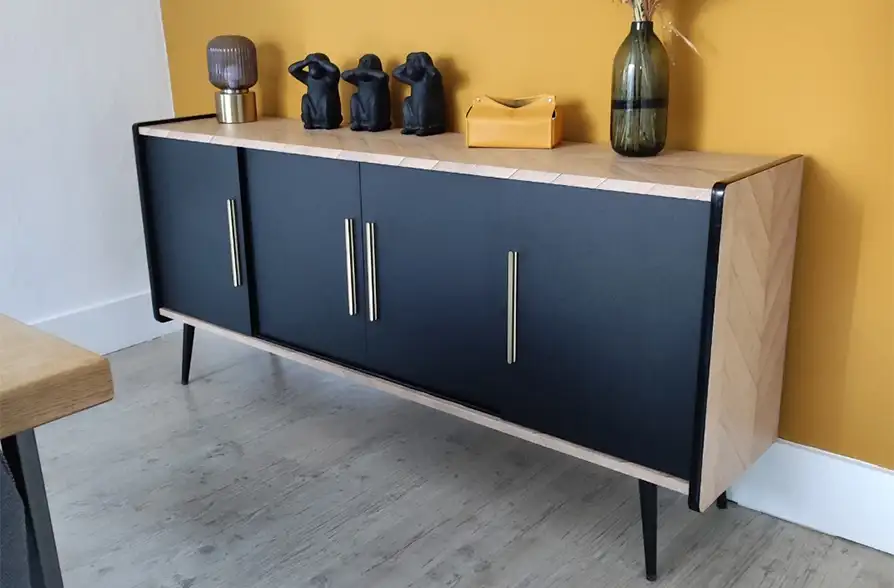
Our most popular adhesives are marble and wood effects, but you can also apply a solid color or a custom adhesive. A unique credenza is yours! 😉
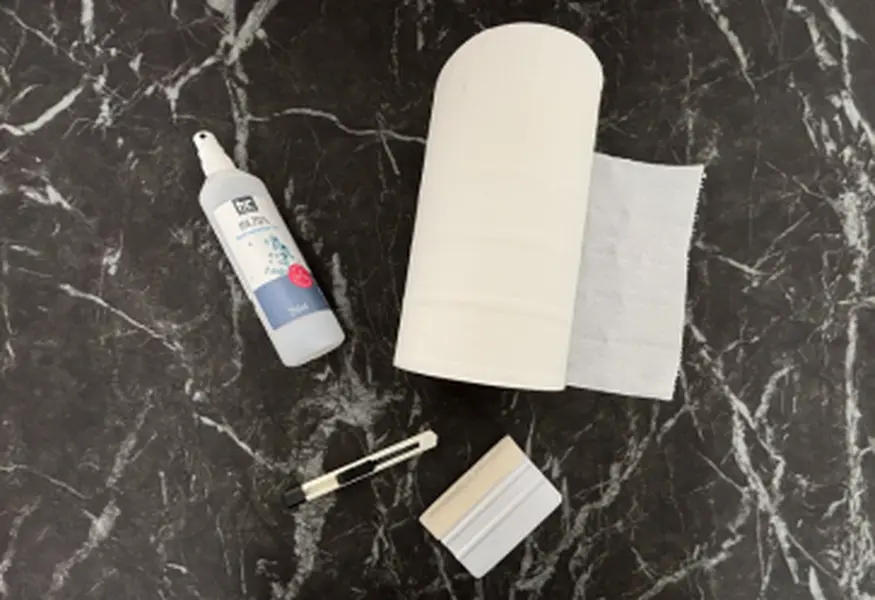
For your equipment, bring these accessories:
- A cutter (with a new blade) ;
- A felt maroufle;
- Isopropyl alcohol;
- Paper towel (or soft microfiber cloth);
- Optional: Silicone sealant for watertightness.
In this video we use 👇
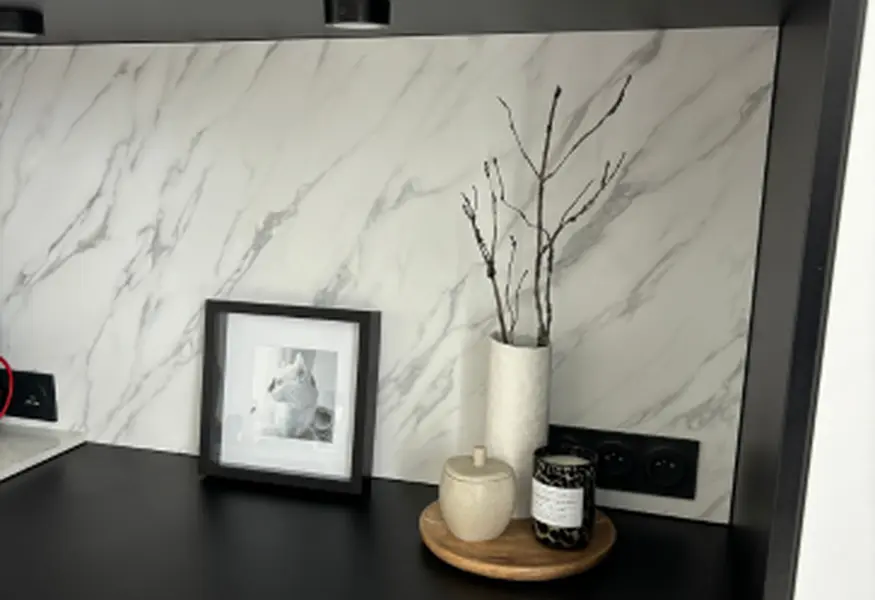
What are the advantages of an adhesive credenza?
Adhesive credenzas are winning over more and more homeowners, tenants and decorators. It offers numerous advantages for kitchen renovation:
- Simple, do-it-yourself installation. Do you like the pride of "homemade"? Do you find it satisfying to do the work yourself? With a self-adhesive credenza, installation is easy!
- A fast solution. No need to call out an installer or make an appointment to move forward with your renovation project. In 48 to 72 hours, you receive your order and can install it straight away! 🚀
- Price. Adhesive credenzas are much more affordable than tiled or concrete credenzas! Expect to pay around €50 for 3 linear meters ofcontrasting matt white marble-effect decorative adhesive, for example.
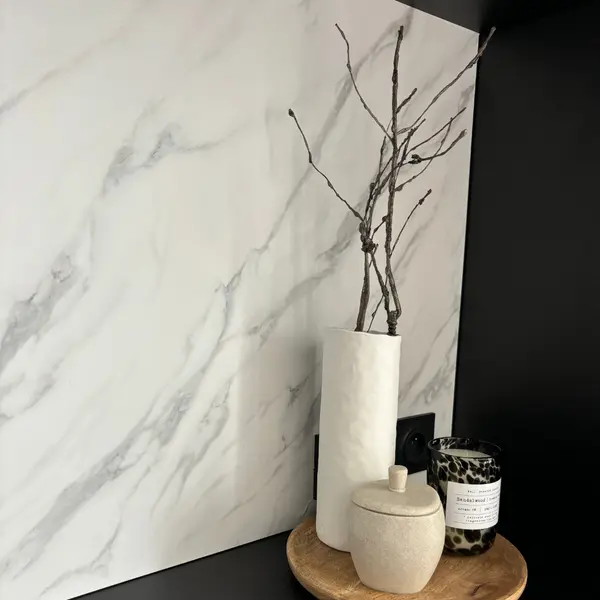
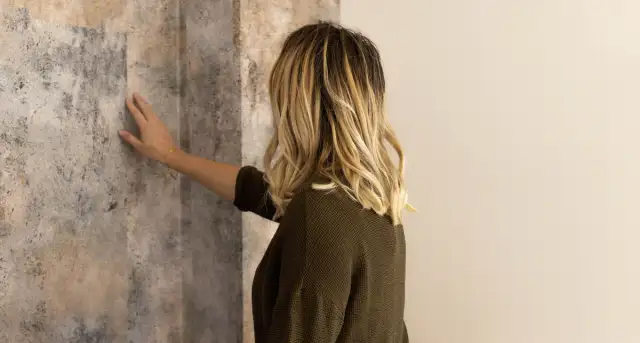
- Aesthetics. Today's self-adhesive credenzas are of the highest quality, with stunning imitations and finishes! Fromultra-matt with a silky touch towood-effect with textured veining, you'll easily find what you're looking for. Enough to fool the eye of your guests at your next meal 😉
Dozens of finishes available for your self-adhesive kitchen splashback!
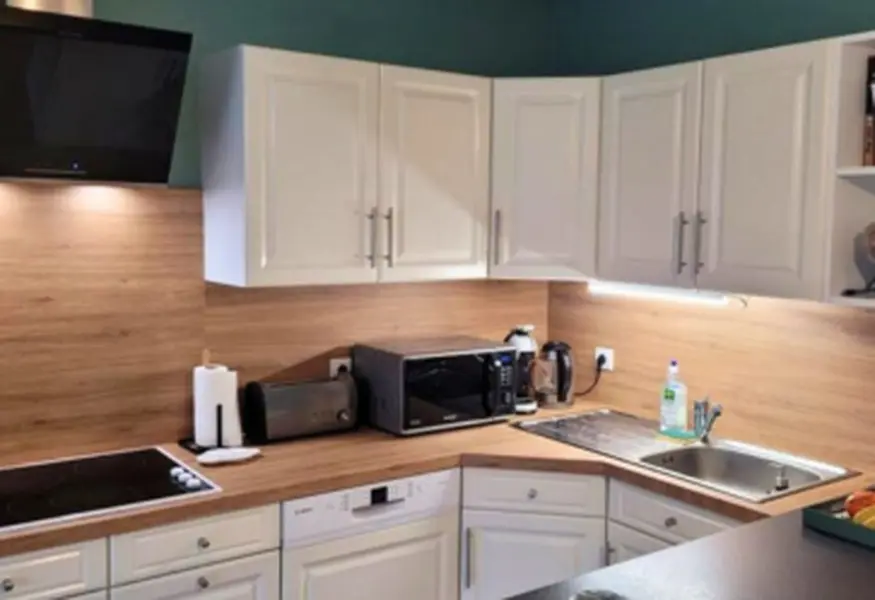
What are the disadvantages of adhesive credenzas?
Nothing's perfect, and neither is an adhesive credenza! If you're planning to opt for this solution to renovate your kitchen, here are a few things you need to know:
- Less durable than traditional materials. Compared with tiles or aluminum, adhesive vinyl is less durable. However, if properly installed and maintained, our adhesive coverings can last up to ten years! ⌛
-
Removal can be long and tedious. Our adhesives are designed to last for many years without peeling. They can therefore be a little tricky to remove (especially if they've been installed for a long time).
If you change your mind and want to remove your credenza, you can use a heat scraper to heat and pull off the coating. If possible, you can also apply your new credenza on top.
- Materials. Adhesive credenzas are often made of PVC, a poorly recycled material. Credenzas made from natural materials seem to be more environmentally friendly. That's why we've come up with new PVC-FREE adhesive coverings a better alternative for the environment and your wallet 🙌
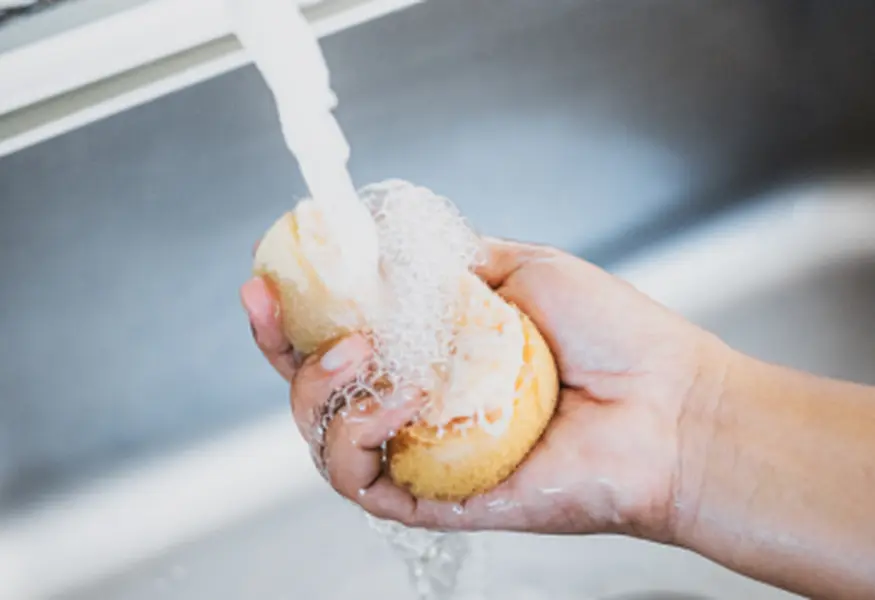
How do I wash an adhesive kitchen splashback?
As we said earlier, our adhesive vinyls for credenzas and other kitchen furniture are moisture-resistant.
Cleaning them couldn't be easier: a quick wipe down with a sponge and soapy water is all it takes! 🧼 A quick wipe dry with a microfiber cloth, and you're all set.
We advise against the use of abrasive products such as those containing bleach. Be sure to use the "soft" side of the sponge to avoid scratching the vinyl.

