Le 18/08/2023
rédigé par Alice O.
Réussir la pose d’un revêtement adhésif dans les angles.
Réussir les coins est important pour avoir des finitions parfaite.
La pose de revêtement adhésif décoratif peut être réalisée par le commun des mortels, à la condition d'être un minimum patient et minutieux. Quelques techniques et astuces sont tout de même à maîtriser pour obtenir un rendu digne d'un professionnel.
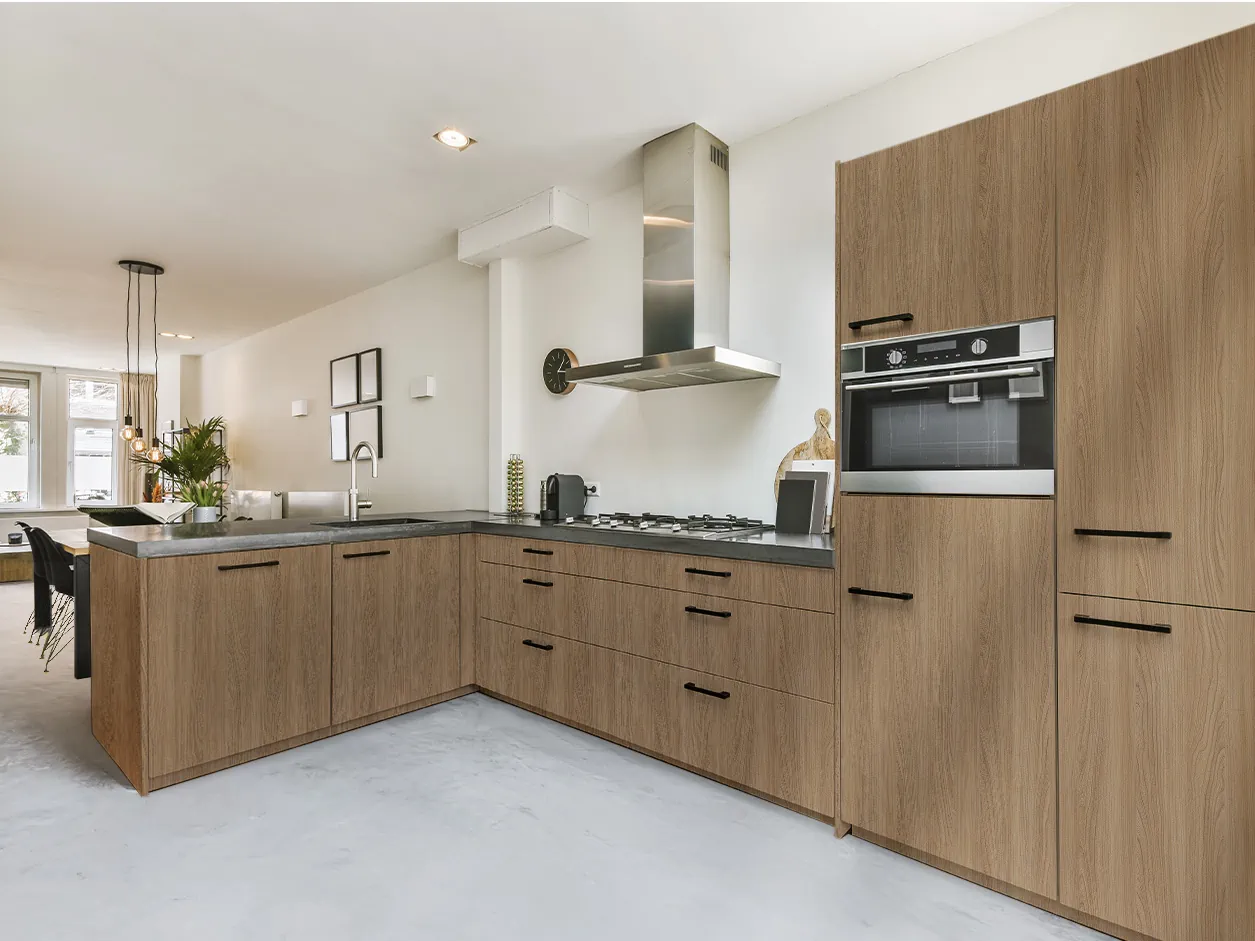
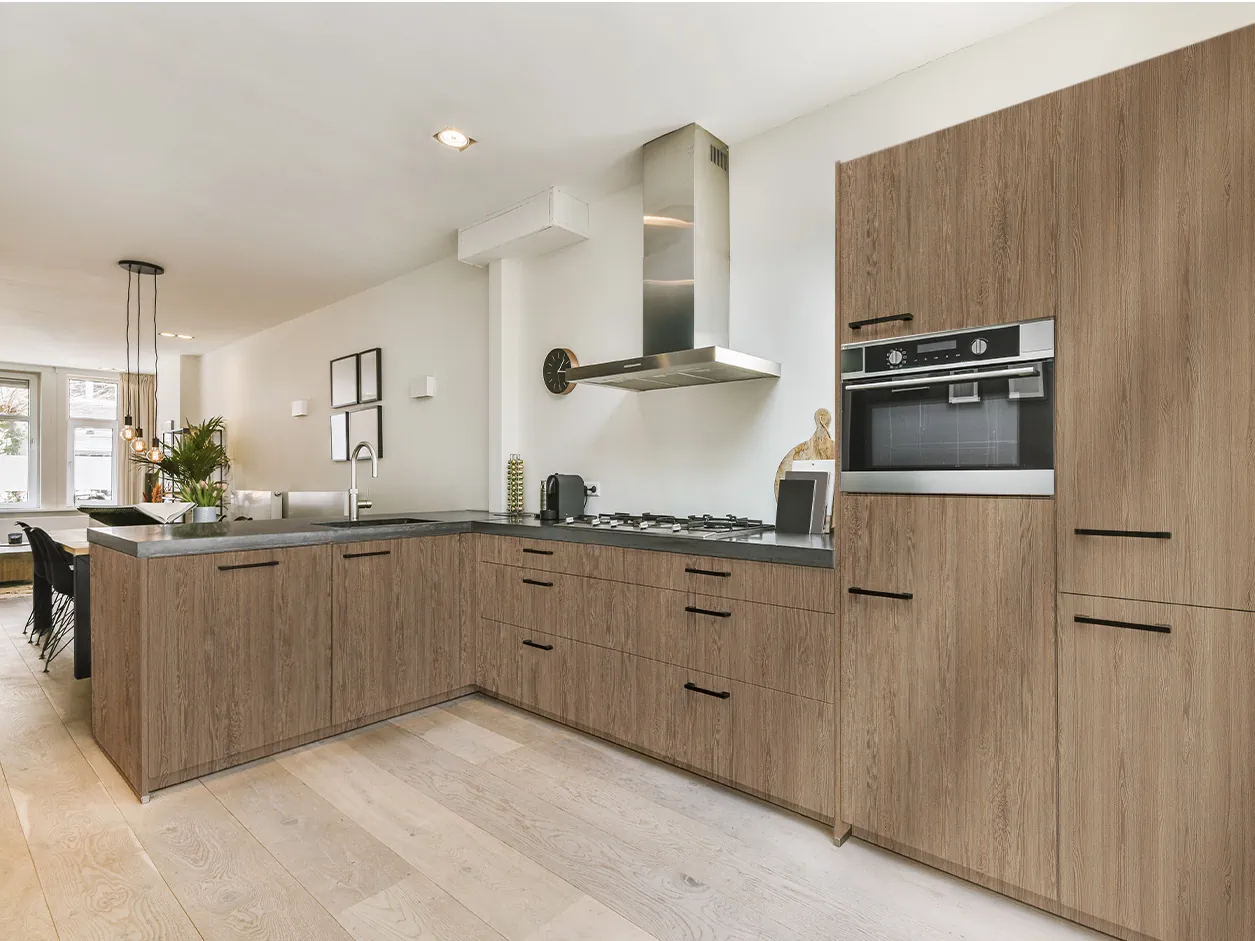
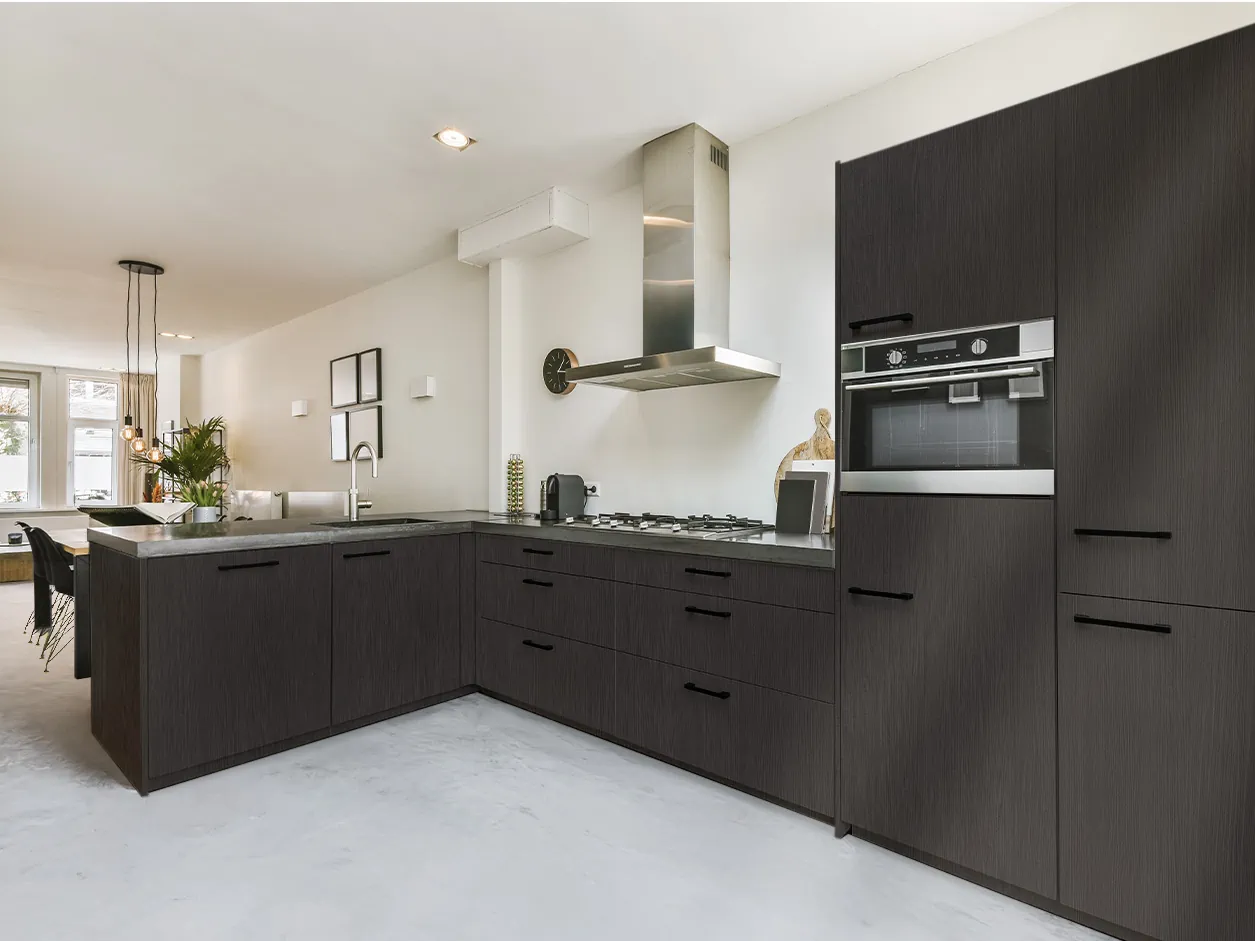
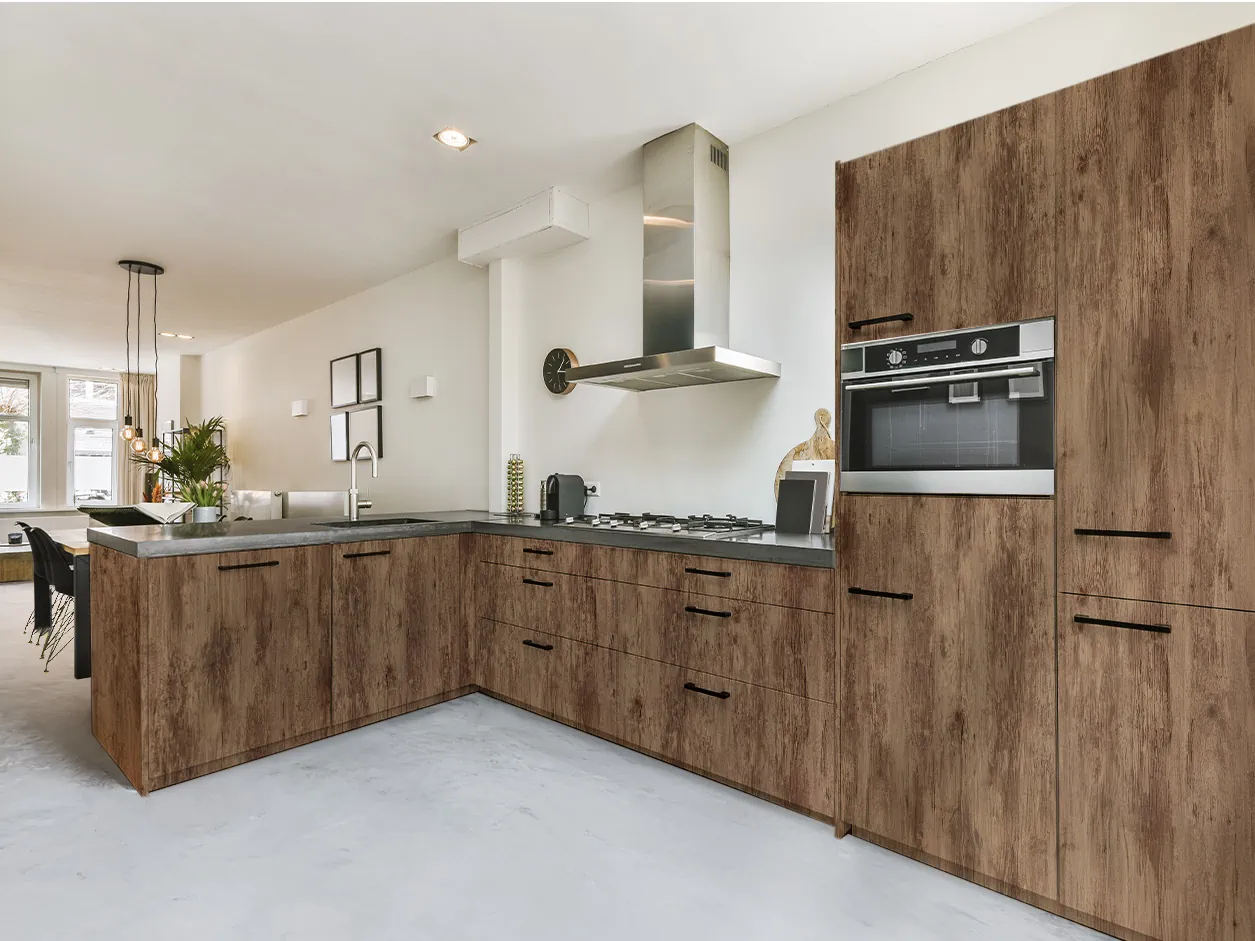
Que ce soit pour un projet de revêtement adhésif pour porte d' intérieur, de cuisine, ou autre, vous avez été nombreux à nous demander ce tutoriel dédié aux angles.
Dans cet article, on vous explique en détail cette étape importante : La pose du revêtement adhésif dans un angle. À vos maroufles !


Le matériel à prévoir
Comme pour une surface plane, la pose d’adhésif dans les angles demande le même matériel. Les coins sont néanmoins plus exposés aux chocs et au risque décollement. Pour éviter qu’il ne s’abîme, il est préférable de prévoir du matériel supplémentaire afin d’assurer une pose dans les règles de l’art :
- De l’alcool isopropylique, pour nettoyer et dégraisser parfaitement la surface;
- Un chiffon doux et propre, pour bien enlever les poussières ;
- Une raclette, pour maroufler le revêtement ;
- Un cutter, pour réaliser les découpes à suivre ;
- Du Primadher (primaire d'accrochage), pour augmenter la tenue du revêtement ;
- Un décapeur thermique, pour chauffer le revêtement (ou un sèche cheveux si vous n’en avez pas).
Une fois que vous avez tous ces éléments, vous pouvez passer à la prochaine étape 😉

L’application sur les coins extérieurs
Pour commencer, appliquez votre revêtement adhésif sur la surface plane de votre meuble. Déroulez le film et marouflez de l’intérieur vers l’extérieur comme nous vous l’indiquons dans notre tuto « Comment poser un revêtement adhésif ».
Ensuite, comme dans la vidéo, marquez bien les tranches du support en insistant pour que le film prenne la forme. Pour faciliter la prise en forme, vous pouvez chauffer le film avec des petits mouvements circulaires grâce au décapeur thermique. Il va assouplir le revêtement et le rendra plus malléable.
C’est le moment d’attaquer les coins : Dégagez les angles en faisant une incision du centre vers l’extérieur avec un cutter. Vous pouvez voir Pauline réaliser cette action dans la vidéo plus haut.
Une fois les angles dégagés, retournez votre surface et appliquez du Primer Plus sur les angles et autour pour augmenter la tenue du film.
Ensuite, vous pouvez commencer à rabattre le revêtement sur une tranche (un côté à la fois) tout en marouflant à nouveau.
Repliez les angles sur eux-mêmes, et découpez l’excédent d’adhésif sur les tranches et les bords des angles à l’aide du cutter pour parfaire les finitions.
Si vous souhaitez adhésiver le verso de votre support, il suffit d’appliquer un revêtement sur la surface plane et couper l’excèdent avant les angles. Ils sont déjà faits, pas besoin de repasser dessus 😉


Trucs et astuces de pro
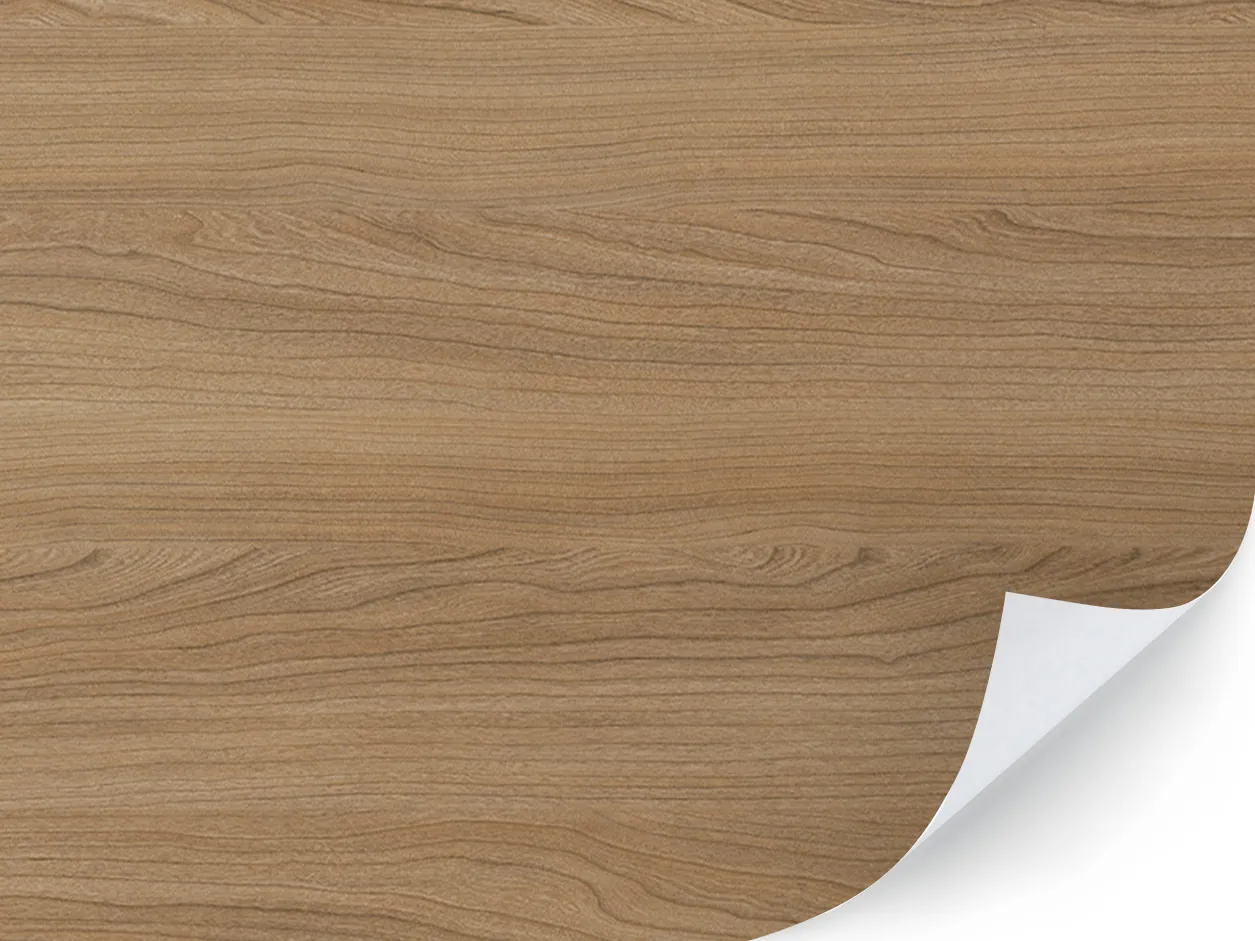
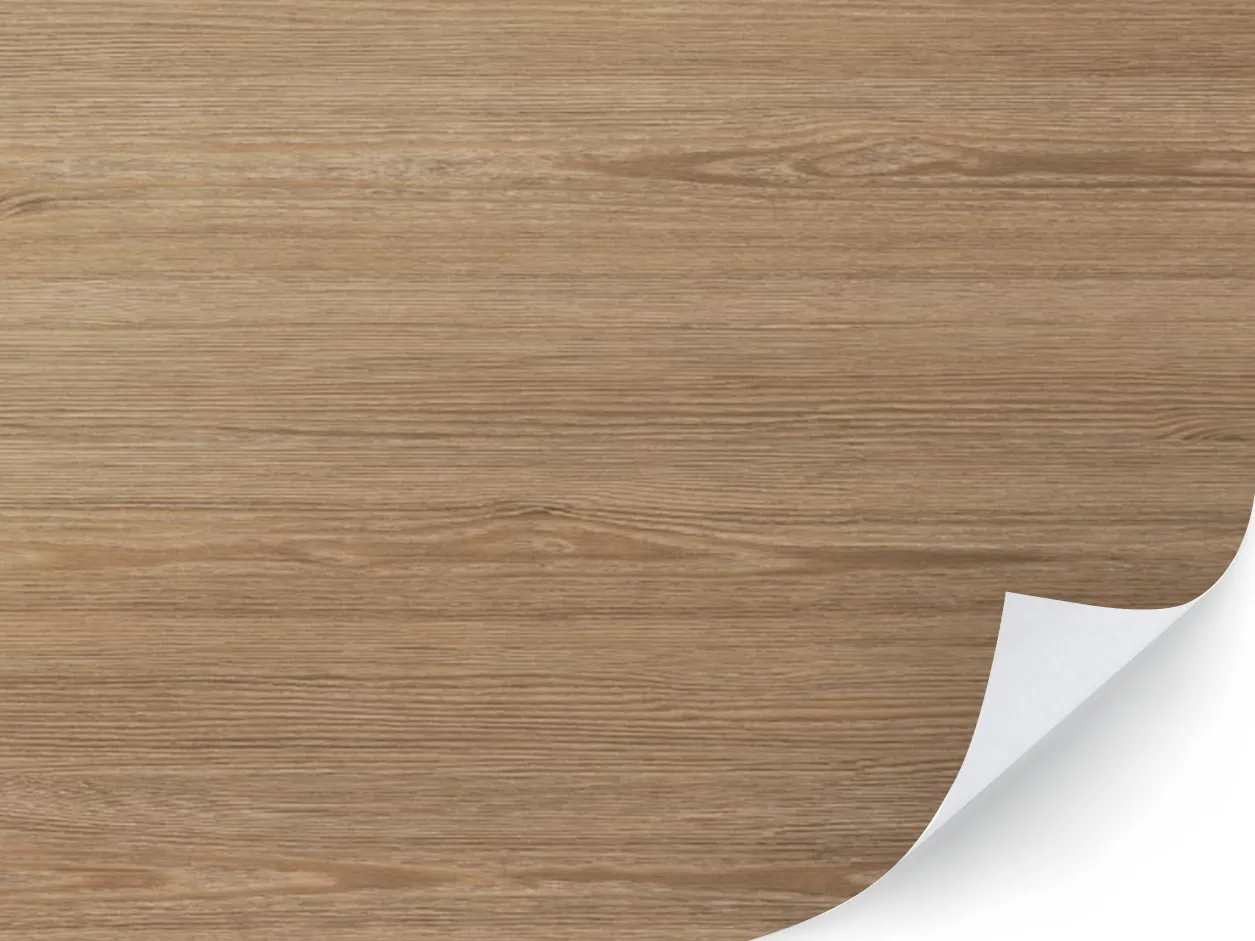
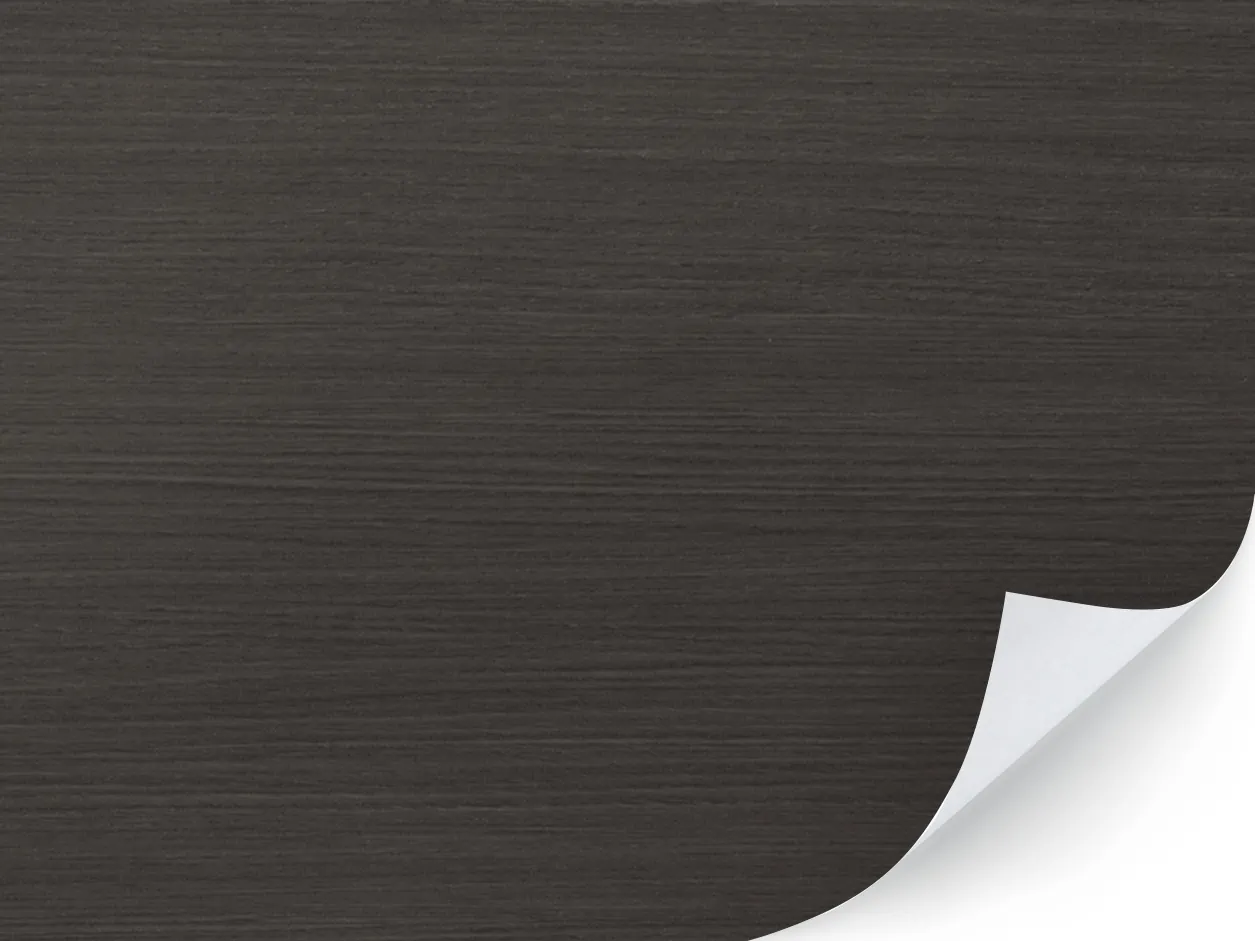
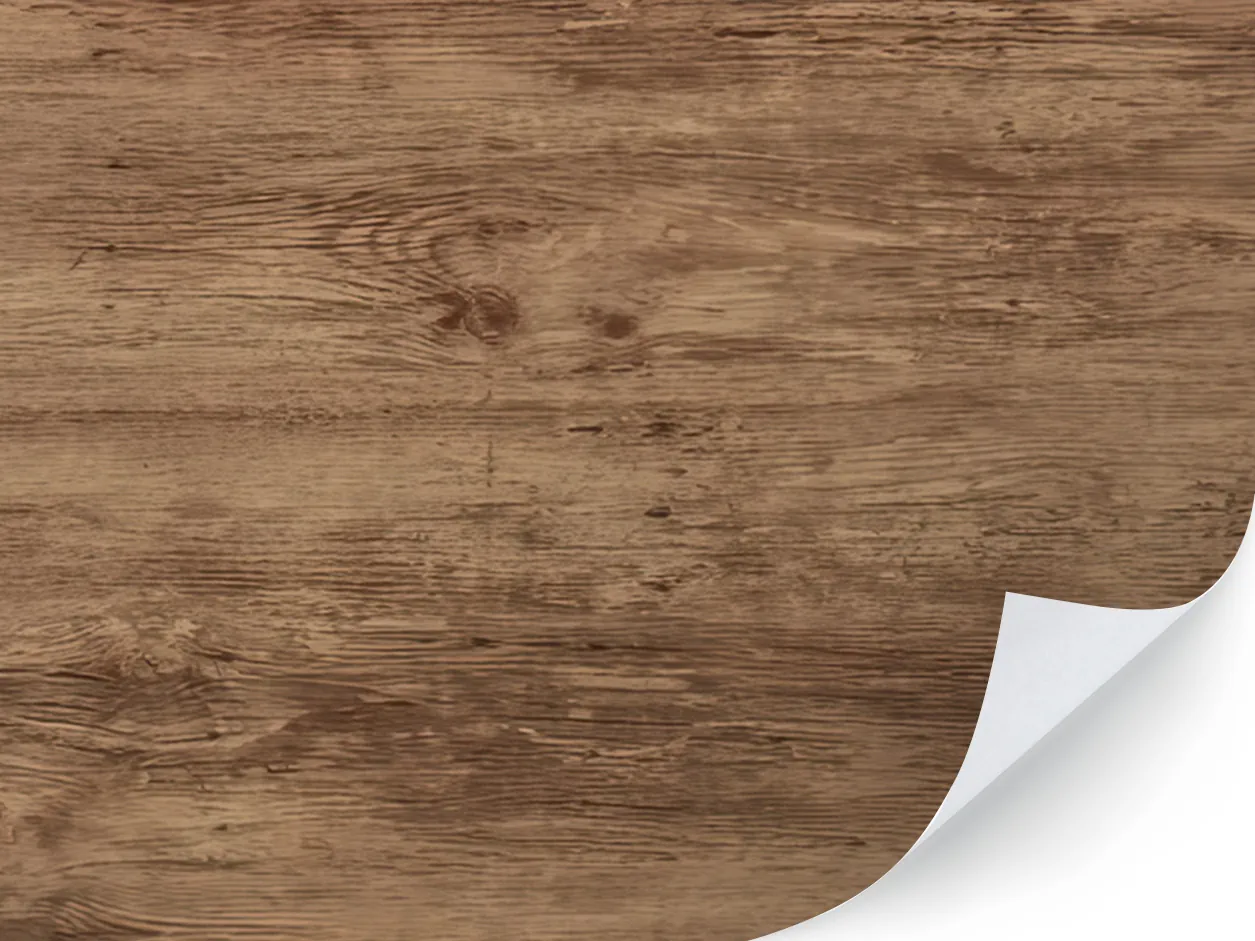
Pour dissimuler encore mieux les coupes et les raccords, privilégiez des motifs texturés comme le revêtement adhésif bois. Les découpes seront dissimulées par le veinage du bois, pour un effet naturel à coup sûr. 👍