August 18, 2023
written by Alice O.
Successful installation of adhesive coatings in corners.
Getting the corners right is important for a perfect finish.
The installation of decorative adhesive coating can be carried out by the average person, provided he or she is patient and meticulous. However, there are a few techniques and tricks to master if you want to achieve a professional finish.
Whether it's for an interior door cladding project, a kitchen cladding project, or any other, many of you have asked us for this tutorial dedicated to corners.
In this article, we explain this important step in detail: Installing adhesive flooring in a corner. To your slippers!
Equipment to bring along
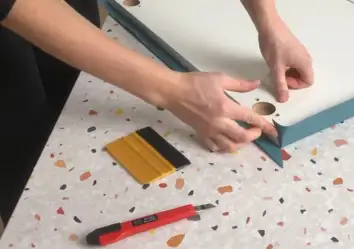
As with a flat surface, the same materials are required to apply adhesive to corners. Corners, however, are more exposed to impact and the risk of delamination. To prevent damage, it's a good idea to bring along extra equipment to ensure proper installation:
- Isopropyl alcohol, to clean and degrease the surface perfectly;
- Use a soft, clean cloth to remove any dust;
- A squeegee to smooth the surface;
- A cutter, to make the cuts to follow;
- Primadher (bonding primer), to increase the resistance of the coating;
- A heat gun to heat the coating (or a hair dryer if you don't have one).
Once you have all these elements, you can move on to the next step 😉
Application to outer corners
To begin, apply your adhesive coating to the flat surface of your furniture. Unroll the film and roll it from the inside out, as described in our "How to apply an adhesive coating" tutorial.
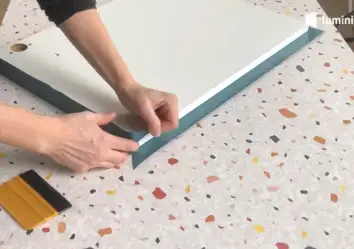
Then, as in the video, mark the edges of the support, pressing down to ensure that the film takes the shape. To help the film take shape, you can heat it with small circular movements using a heat gun. This will soften the coating and make it more malleable.
Now it's time to attack the corners: Clear the corners by making an incision from the center outwards with a cutter. You can see Pauline perform this action in the video above.
Once the corners have been cleared, turn your surface over and apply Primer Plus to the corners and all around to increase the film's hold.
Then you can start folding the liner over on one edge (one side at a time), while tamping again.
Fold the corners in on themselves, and use the cutter to trim off excess adhesive from the edges and corners to complete the finishing touches.
If you want to apply adhesive to the reverse side of your substrate, simply apply a coating to the flat surface and cut off the excess before the corners. They're already done, no need to go over them again 😉
Professional tips and tricks
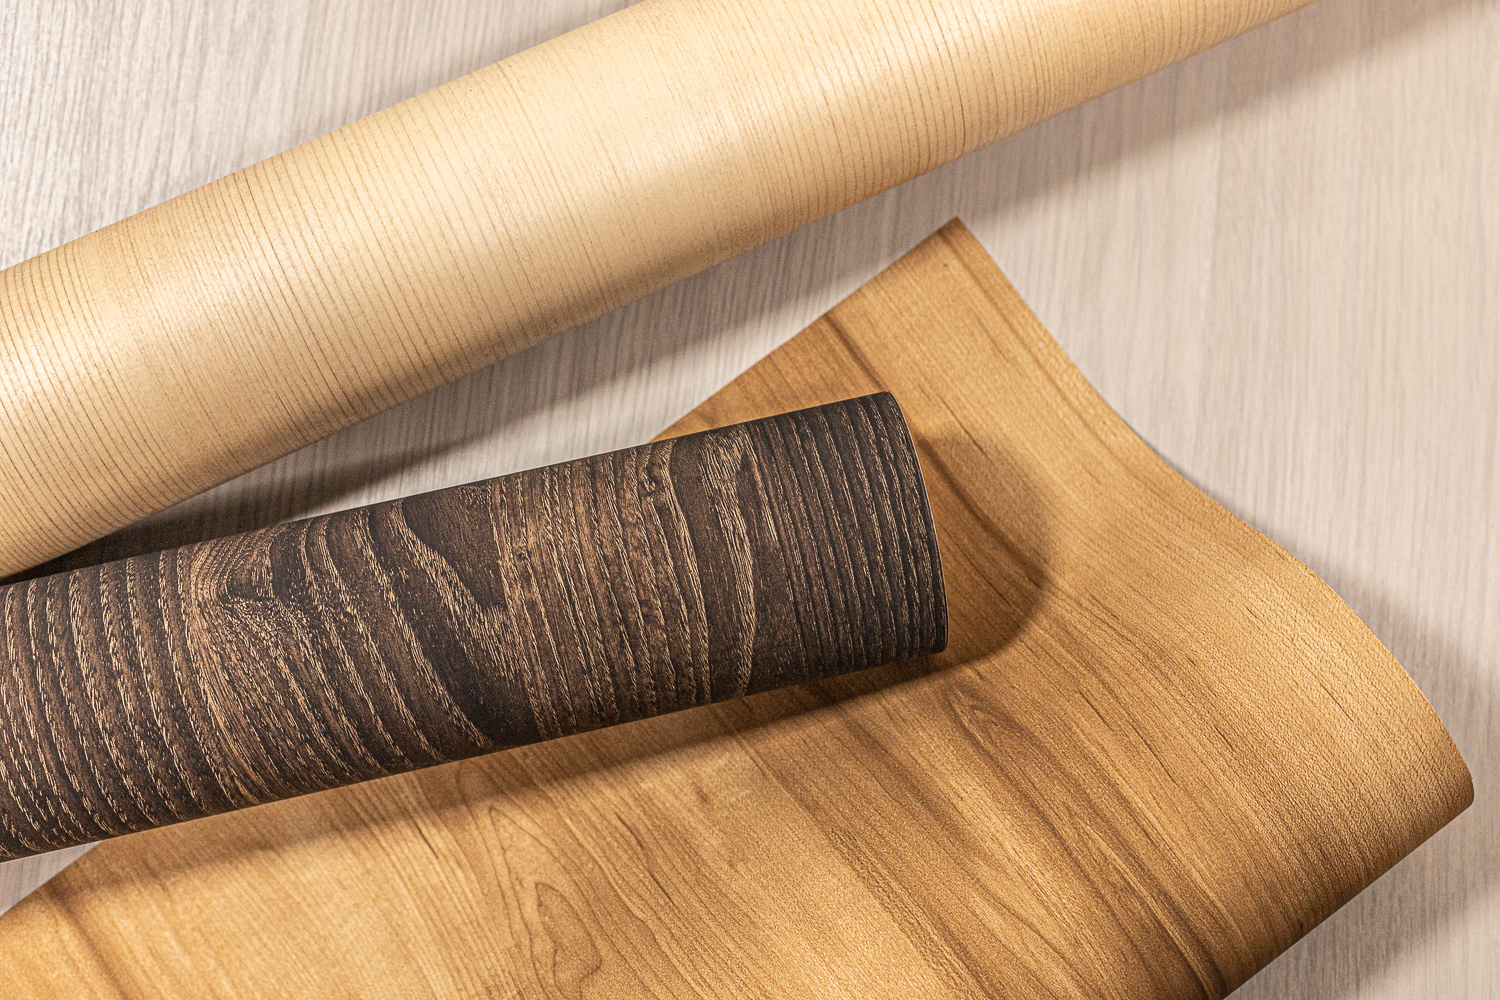
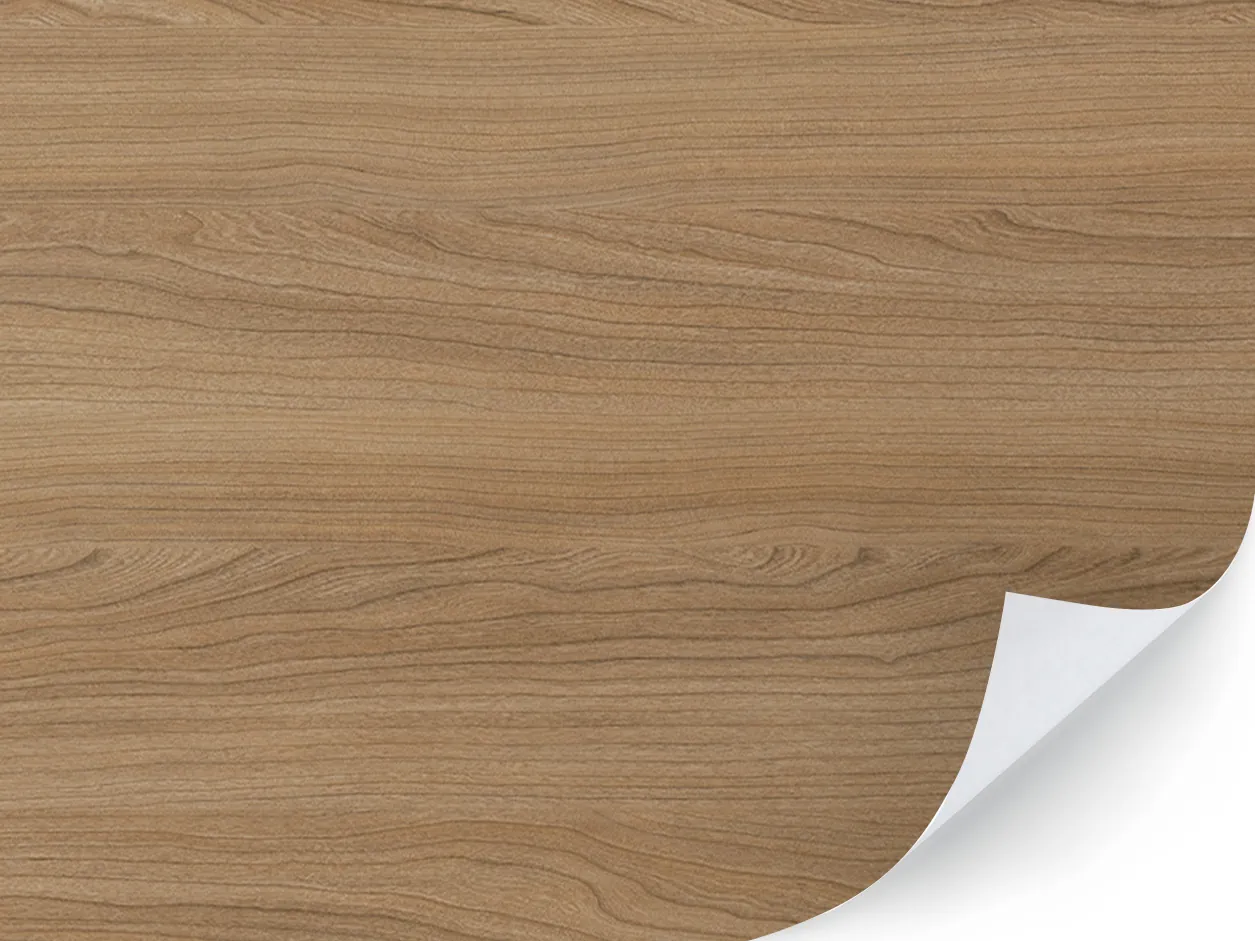
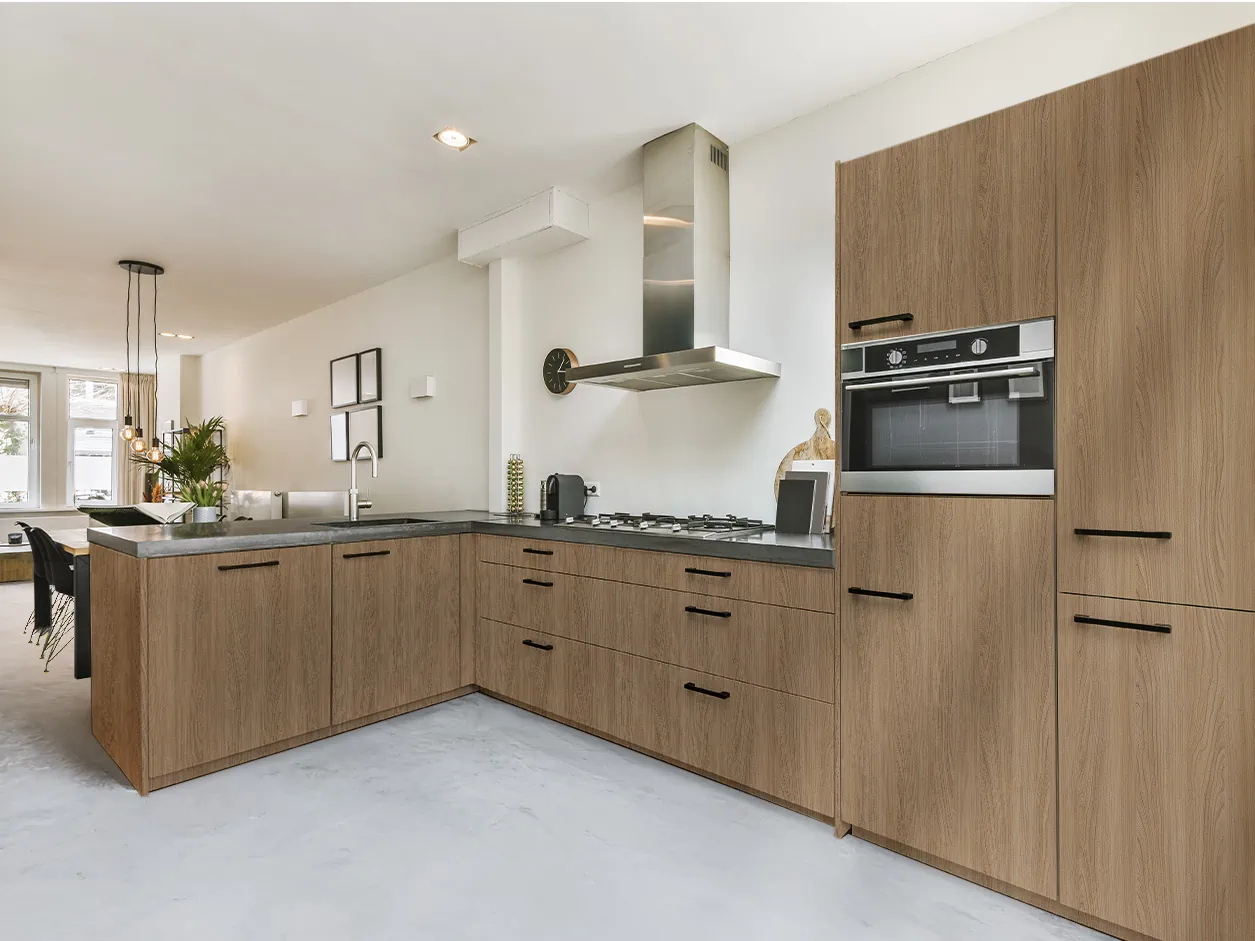
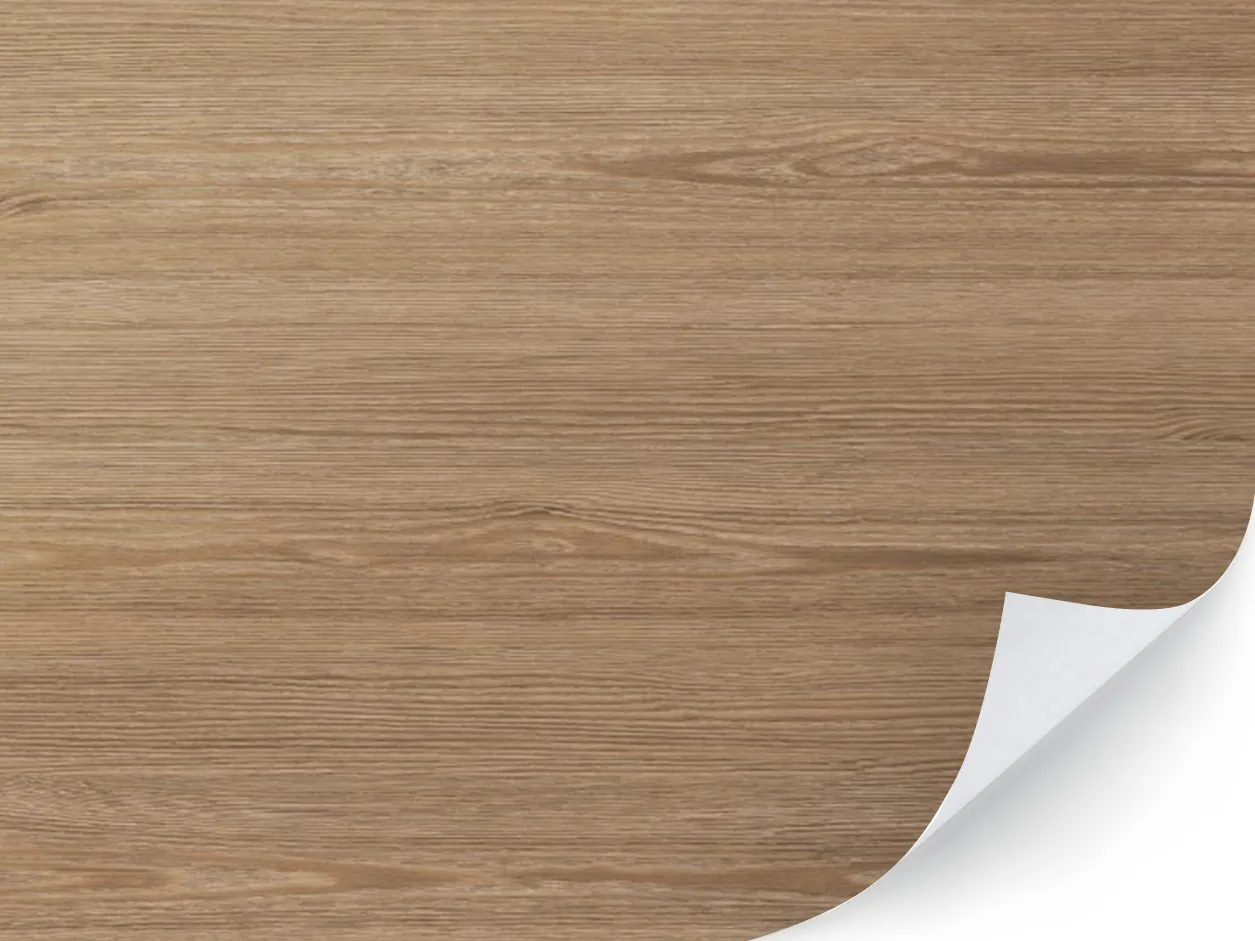
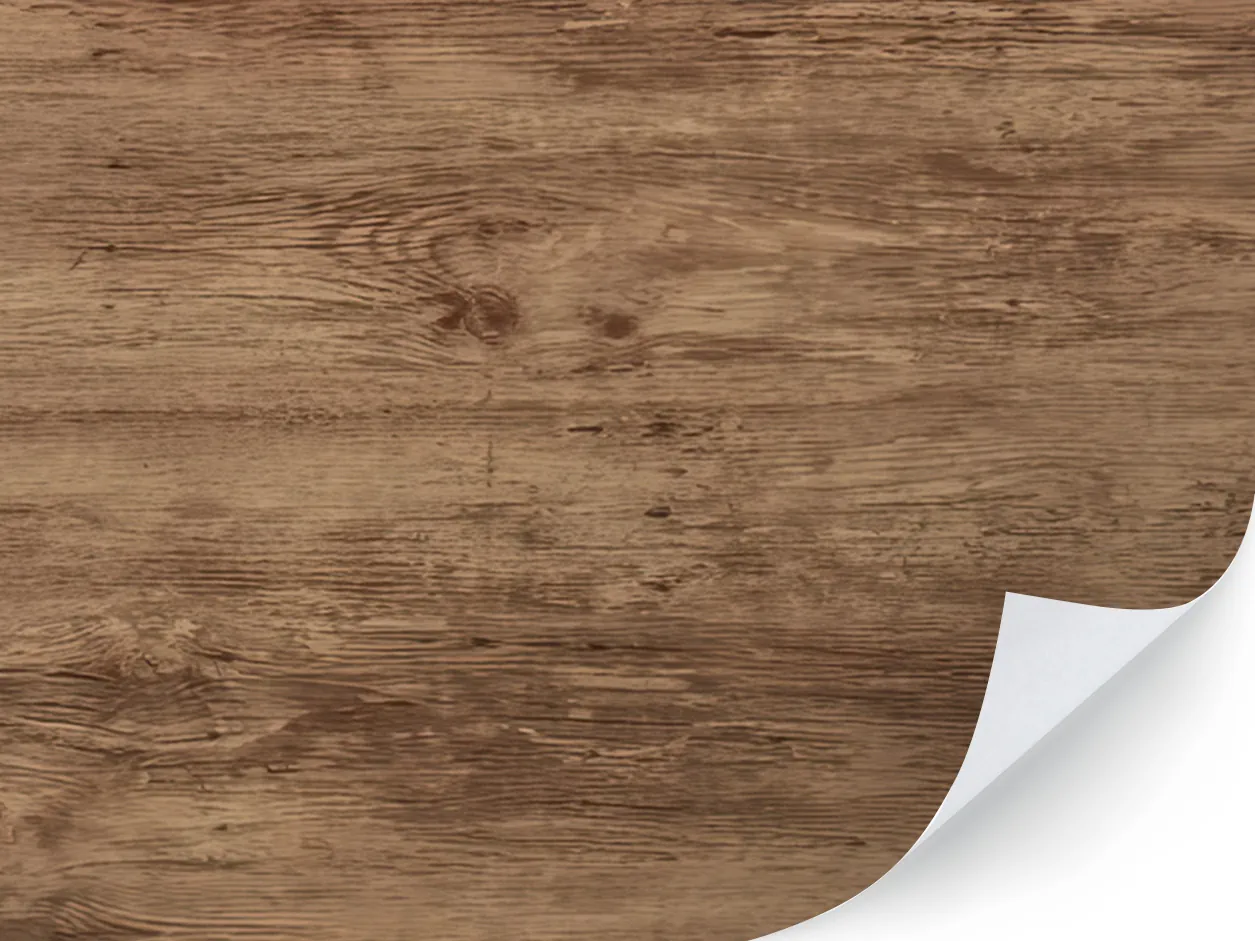
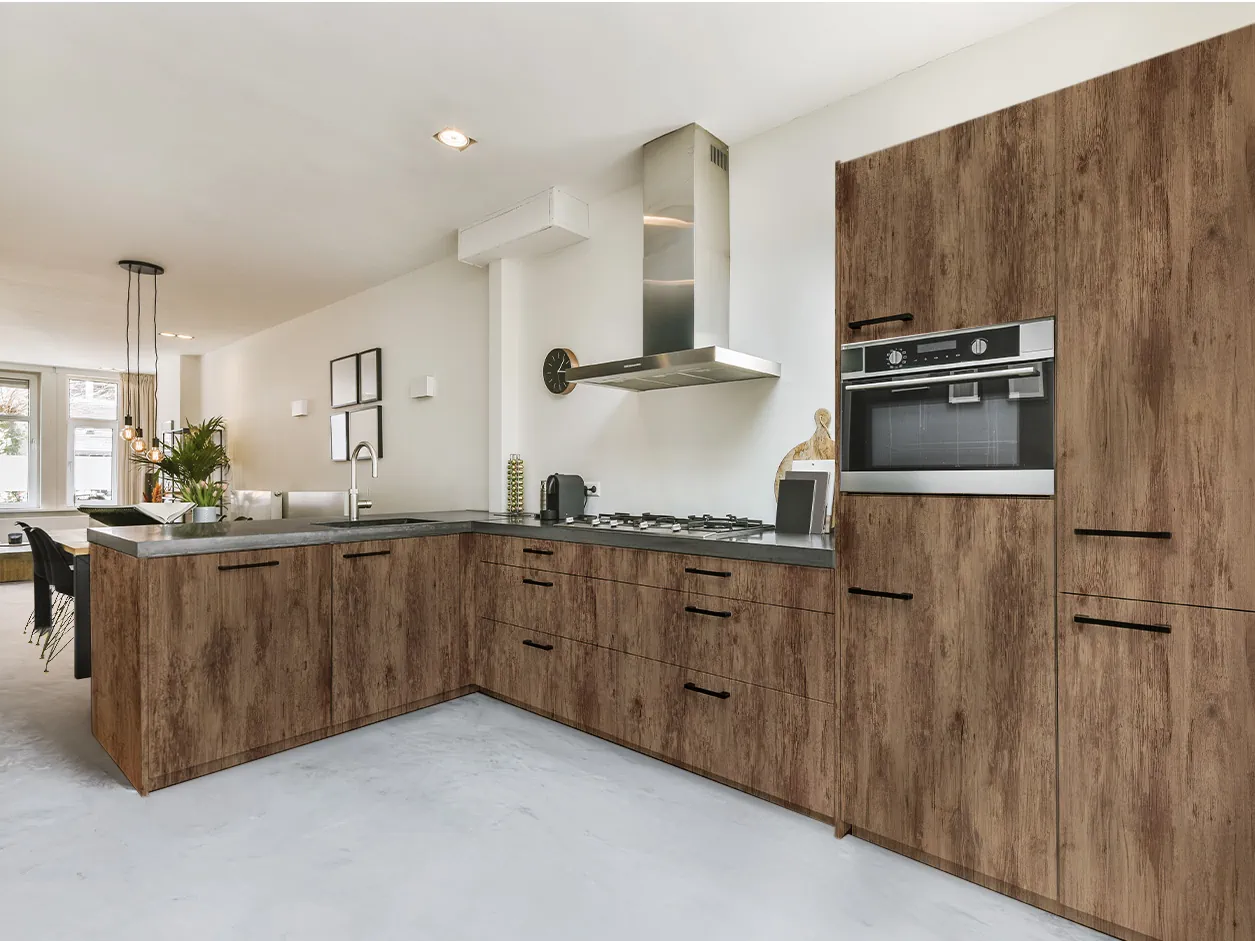
To hide cuts and joints even better, choose textured patterns such as wood adhesive coating. The cut-outs will be concealed by the wood grain, for a natural effect that's guaranteed. 👍

