08/09/2023
written by Alice O.
Our DIY cocooning bedroom with decorative coverings
Easily create a cocooning wellness space in your bedrooms.
Are you thinking about decorating and furnishing your bedroom? If you'd like to create a truly cocooning space, then check out this guide and discover how decorative adhesive can enhance your cozy nest.
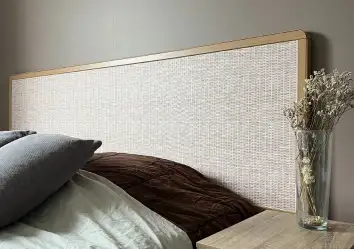
Customize a headboard for a master bedroom
Create a pretty headboard for your cocooning bedroom, in any shape you like! Grab a pair of scissors and let your imagination run wild. You can opt for natural-effect materials like rattan-effect upholstery. Arches and semi-circles are very much in vogue at the moment, adding a touch of roundness: ideal for a cocooning bedroom!
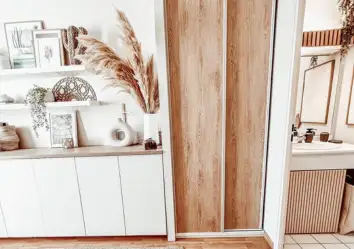
Create your custom closet door
Are you fed up with your old cupboard doors? Yes, but the problem is that replacing them with new doors comes at a price, and you need to be a bit of a handyman.
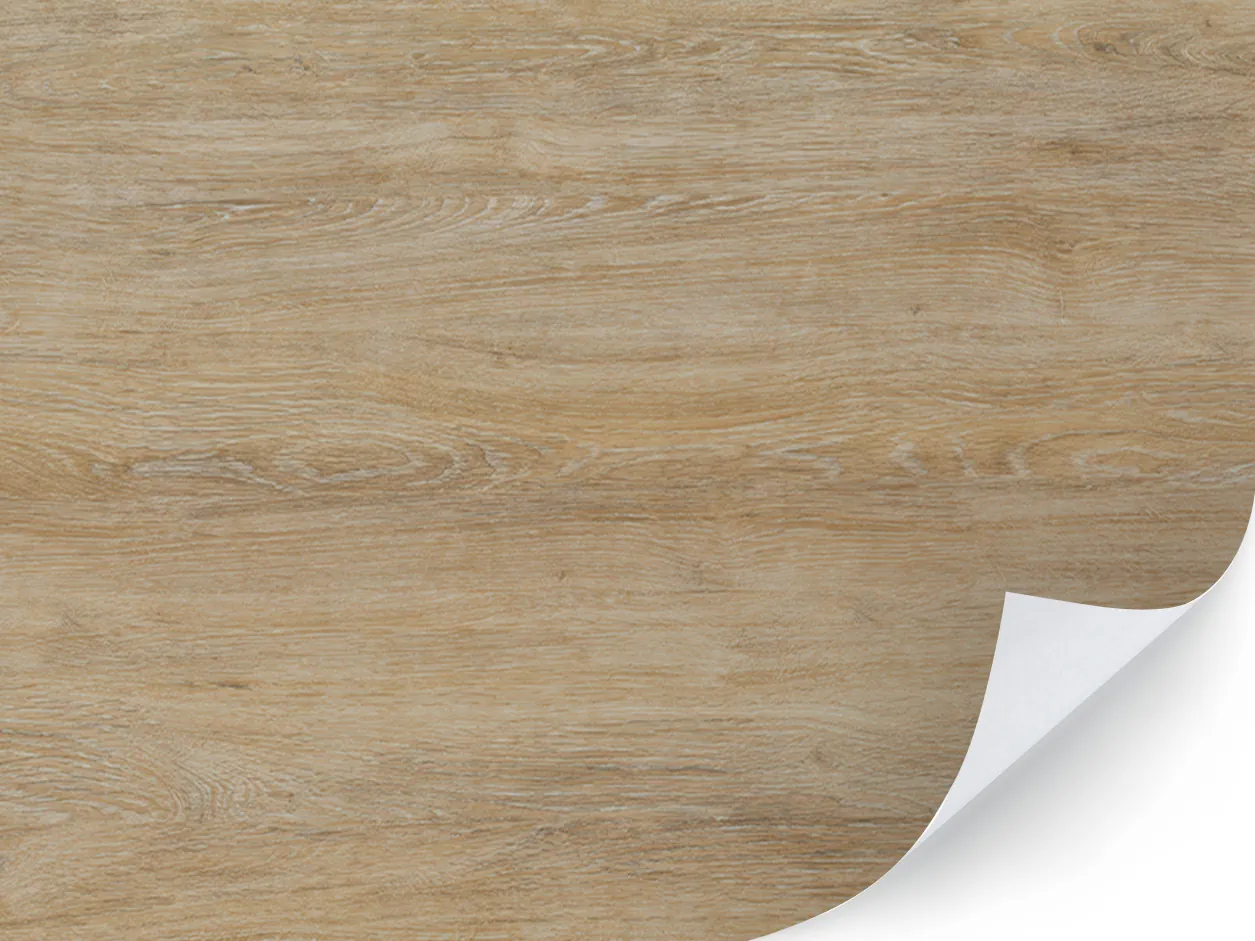
If you're in this situation, rest assured, you can also opt for a Luminis Films solution! Quickly and easily apply a decorative coating to your closet door, in a light wood effect for example, for a beautiful, cocooning room.
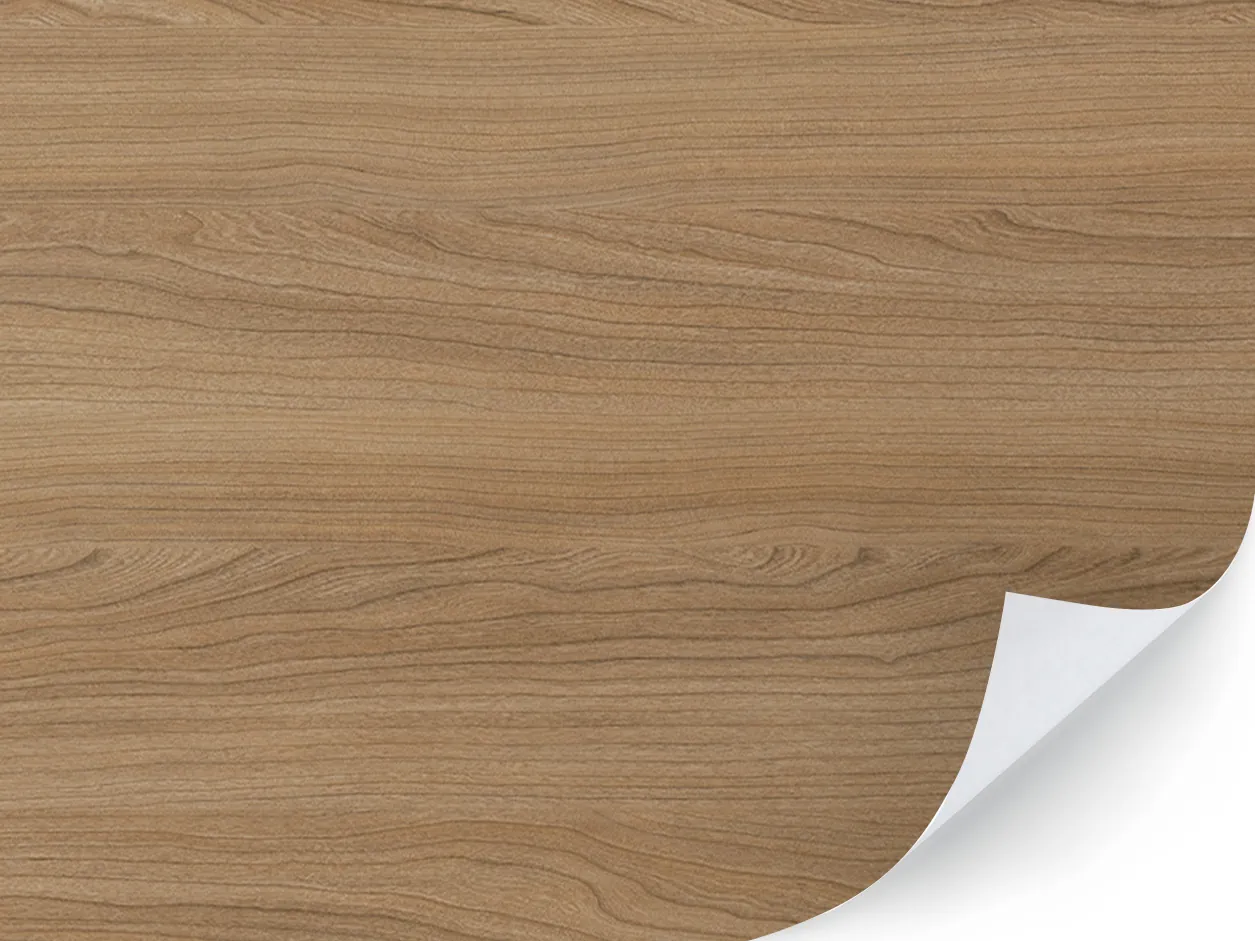
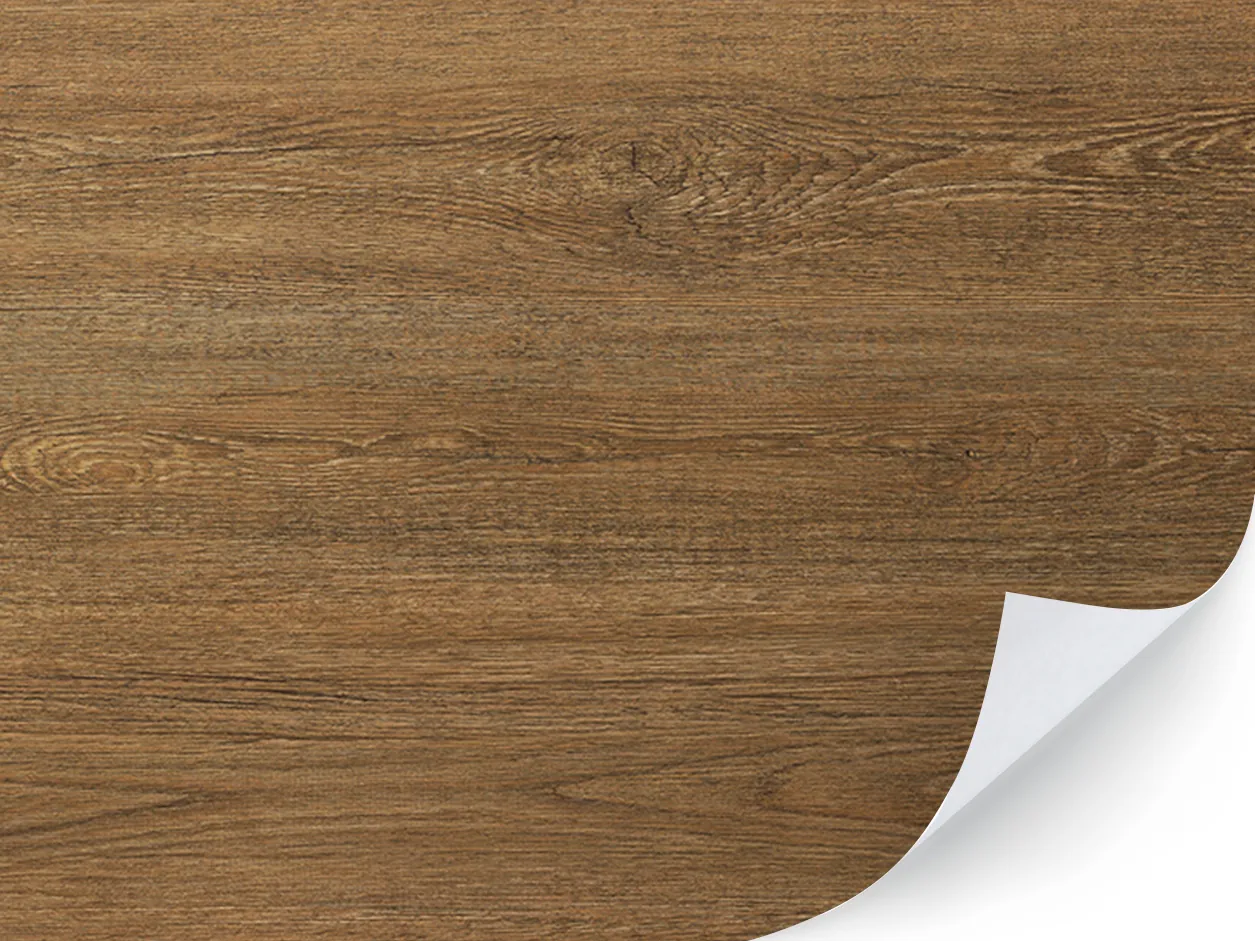
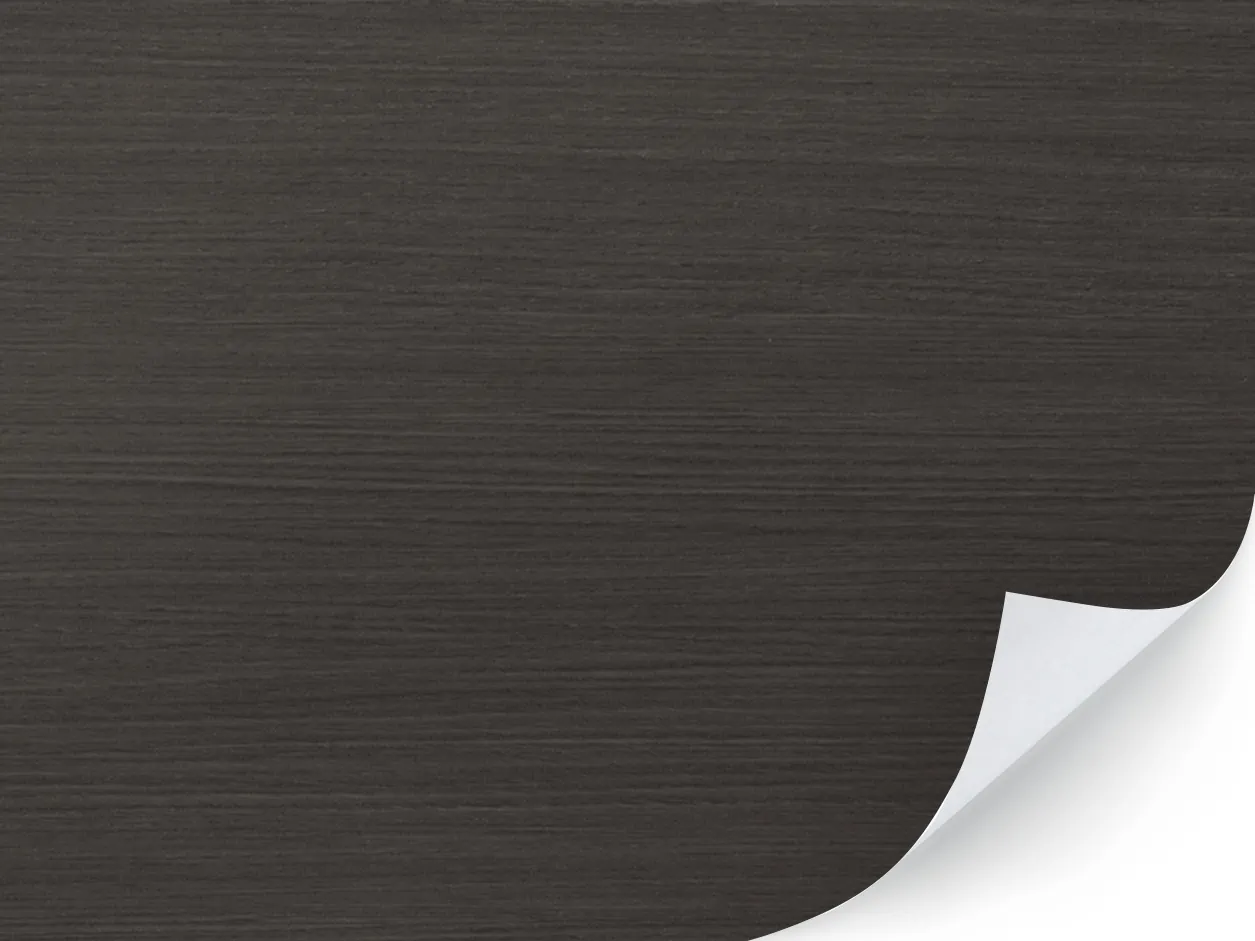
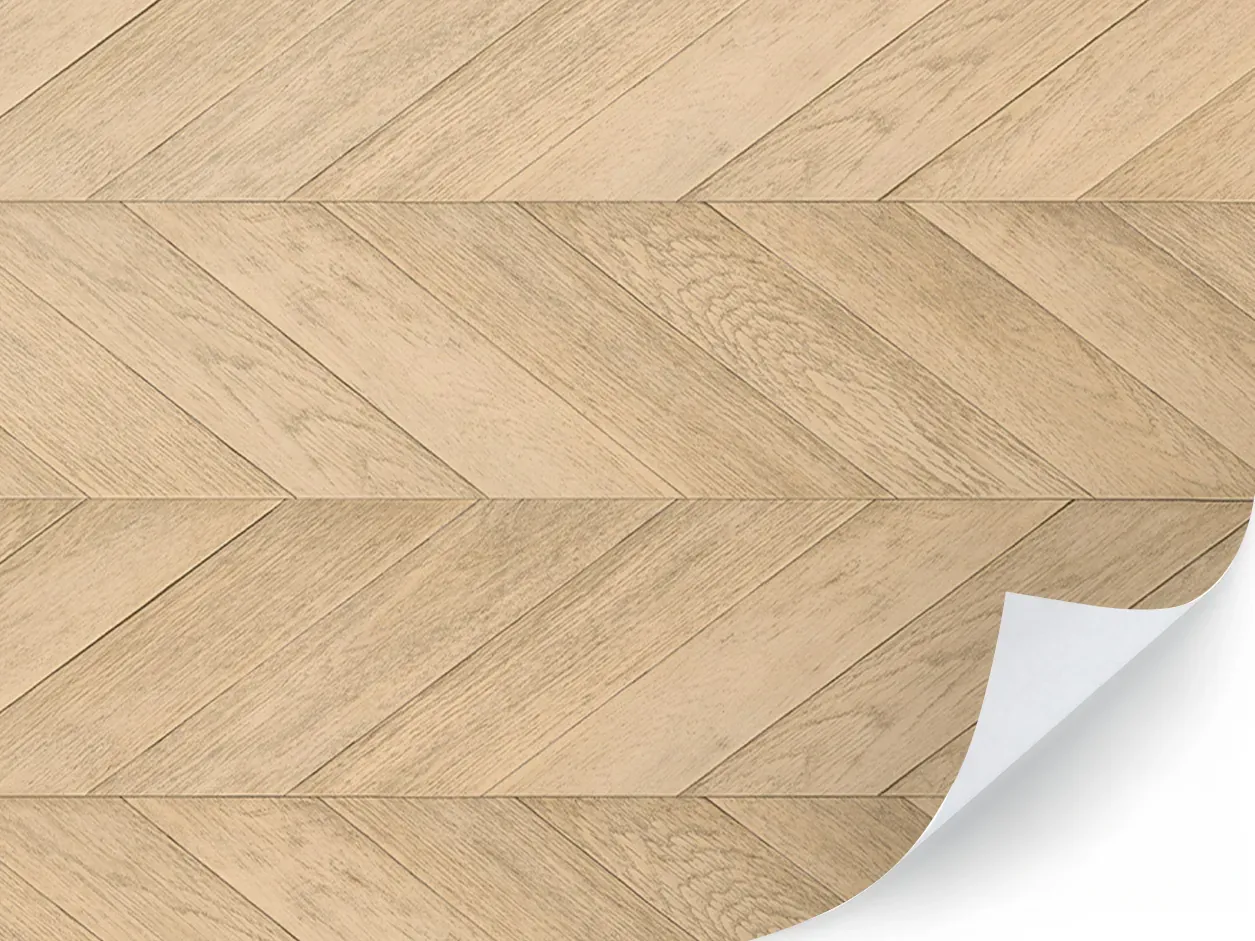
Discover 4 of our wood bestsellers
Find the shade and effect you prefer to match your decor! Feel free to order samples to test thickness and texture ;)

Dress up your walls
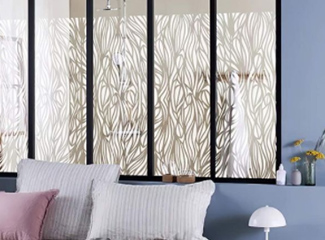
If you want to transform your bedroom into a cocoon, it's all about the walls too. Forget all-white and dare a touch of originality by covering a wall with decorative adhesive or wallpaper.
Our pre-pasted wallpaper adhesives are high-quality and ultra-easy to stick. Discover our designs for children and adults!
Discover our cocooning selection
These 4 products will blend seamlessly into your bedroom, creating a soft, restful atmosphere.
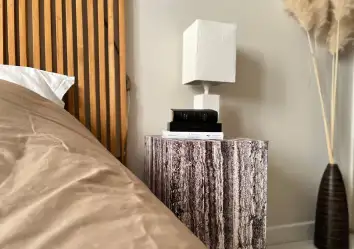
Make your own DIY bedside table
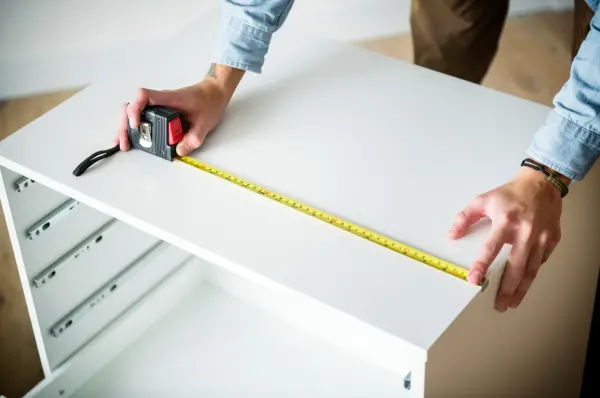
Finally, you can also create a cocooning bedroom by personalizing your bedside tables. In a softer color, for example, or with a cozy textile effect, for a peaceful atmosphere. So you don't have to buy new ones! Adhesive coveringsare easy to apply to smooth surfaces, and just as easy to clean.

