March 26, 2025
written by Alice O.
Rounded corners: how to achieve a beautiful finish?
Our installation tips for clean, precise edges.
You're looking to give a surface with rounded corners a makeover with adhesive coating, but it seems complex? However, with the right techniques, the result is impeccable! 👌
In this article, discover our practical tips, our essential tool for perfect rounded edges and a step-by-step video tutorial. Clean, precise edges are yours! 💪
On what types of surface can this technique be applied?
Unlike adhesive coating on rectangular edges, the technique for rounded edges is slightly different.
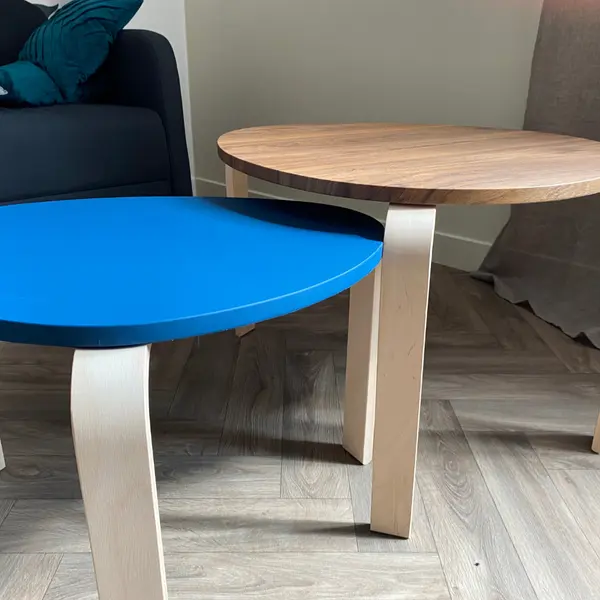
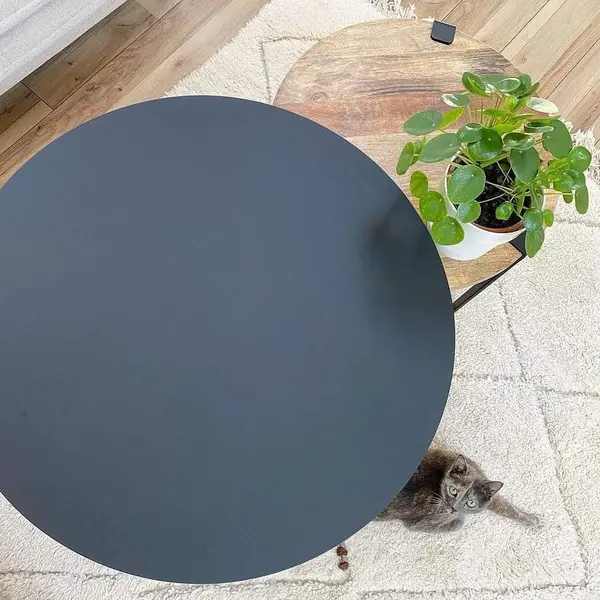
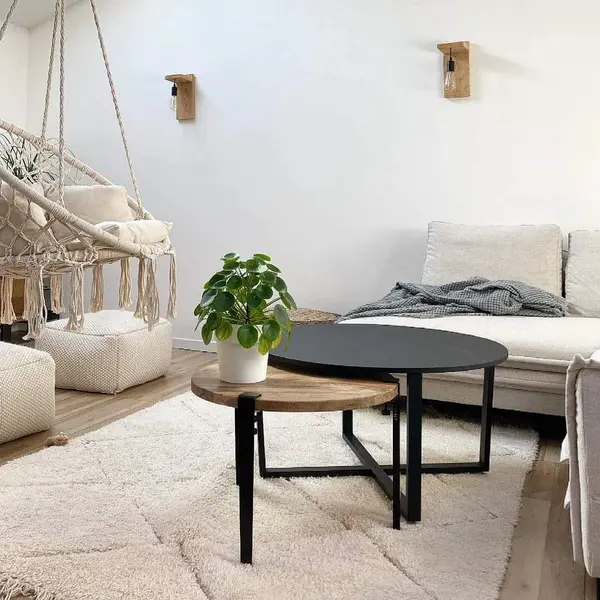
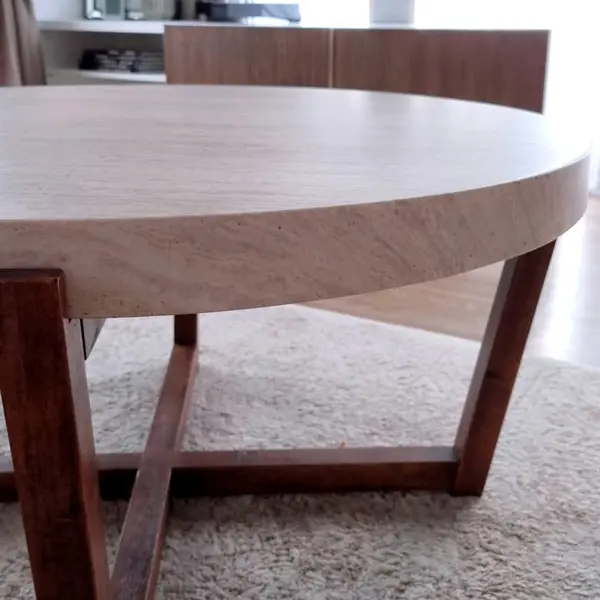
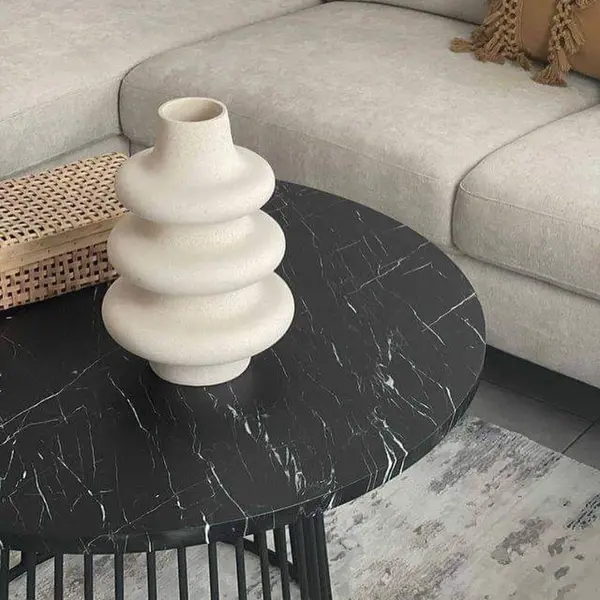
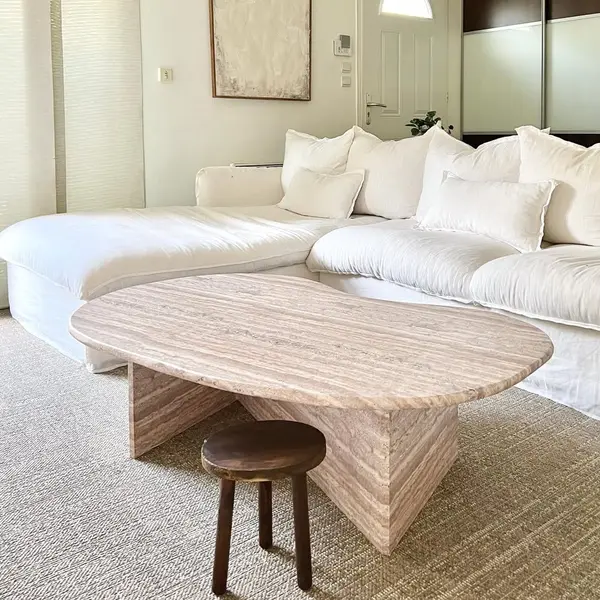
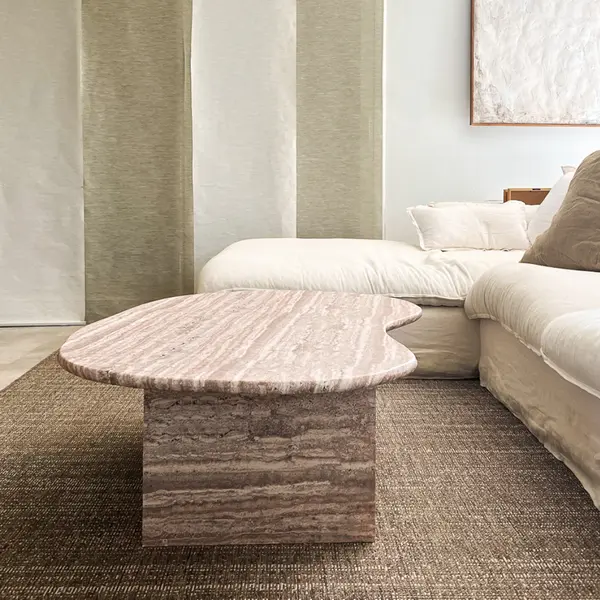
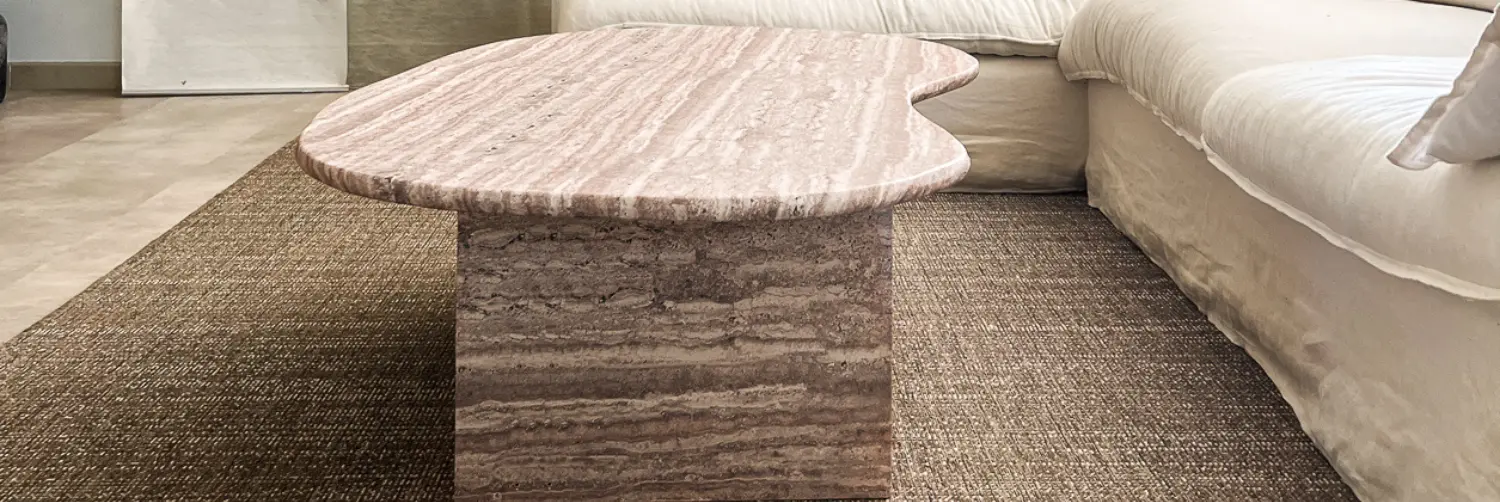
But you need to know it well, because rounded surfaces can be found in many places: a worktop with curved lines, a round coffee table, a contemporary TV cabinet or even some vintage appliances such as rounded fridges.
While the preparation and marouflage steps remain the same, fixing the adhesive to the edges of the surface differs slightly. You'll still need a cutter, but you'll need an extra accessory!
In the video below, you'll learn how to apply decorative adhesive to a rounded surface.
The benefits of thermal stripping
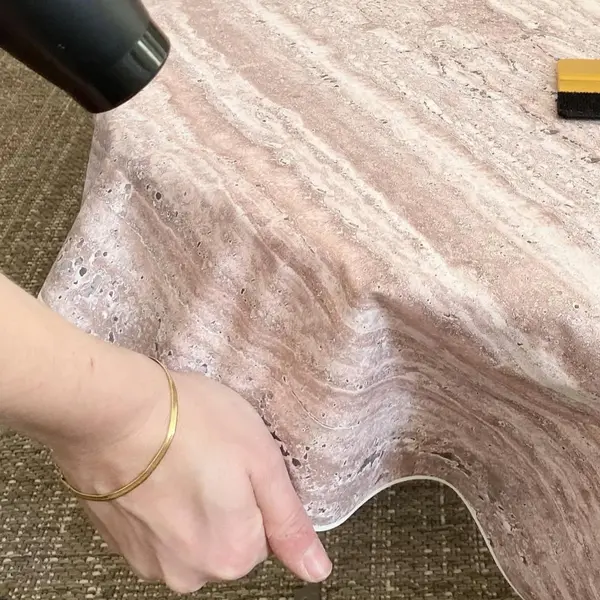
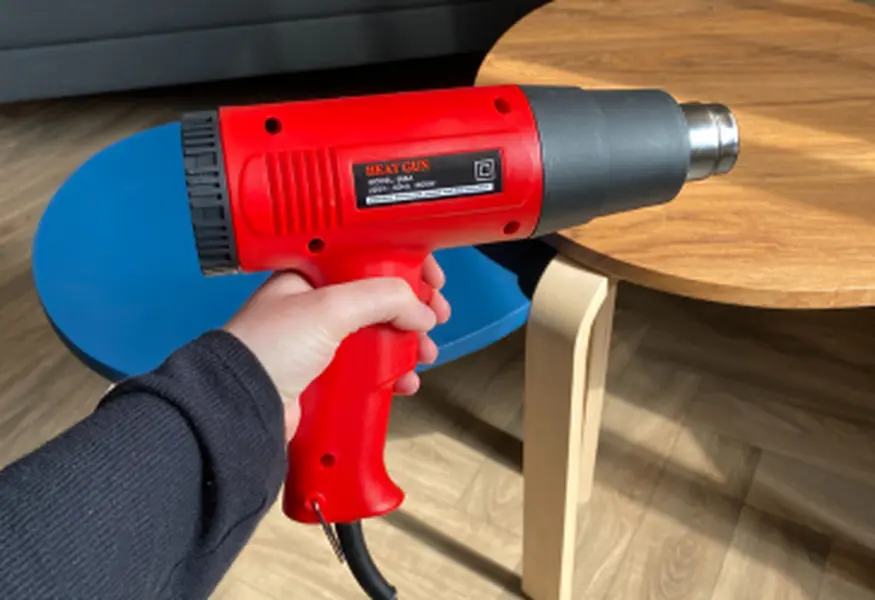
Using a heat gun will make life easier if you're applying adhesive to a surface with rounded corners!
In fact, heat softens the adhesive coating, making it more malleable and facilitating its adaptation to curves without creating creases or bubbles. 👌 A simple pass at moderate temperature is all it takes to achieve a clean, long-lasting finish, even on the most complex surfaces.
Yes, we did say moderate heat: beware of overheating! Adhesive that's been left on too long at too high a temperature runs the risk of puncturing itself. Then it's impossible to recover it...
To use it correctly :
- Place the heat gun about 30 cm from the adhesive.
- Keep moving by "sweeping" the area with heat
This tool alsoimproves film adhesion by perfectly conforming to the shape of the substrate. If you want a smooth, professional finish, the heat gun is your best friend! 😉


